Are Ring doorbells really that easy to install? Is the cute Instagram advertisement really all it’s cracked up to be? Will hot hair rollers really make my hair look like a supermodel? Are Olaplex products really worth all the hype? Here at LIY, these are the kind of questions we ask ourselves. The LIY Team recently decided to do a little investigating and try out several new-to-us products that we were curious about – from Ring doorbells to iron/steamer duos. Today, we’re sharing those results with you! Here are 7 Items We Were Curious About + our results!
Erin’s Iron + Steamer Duo
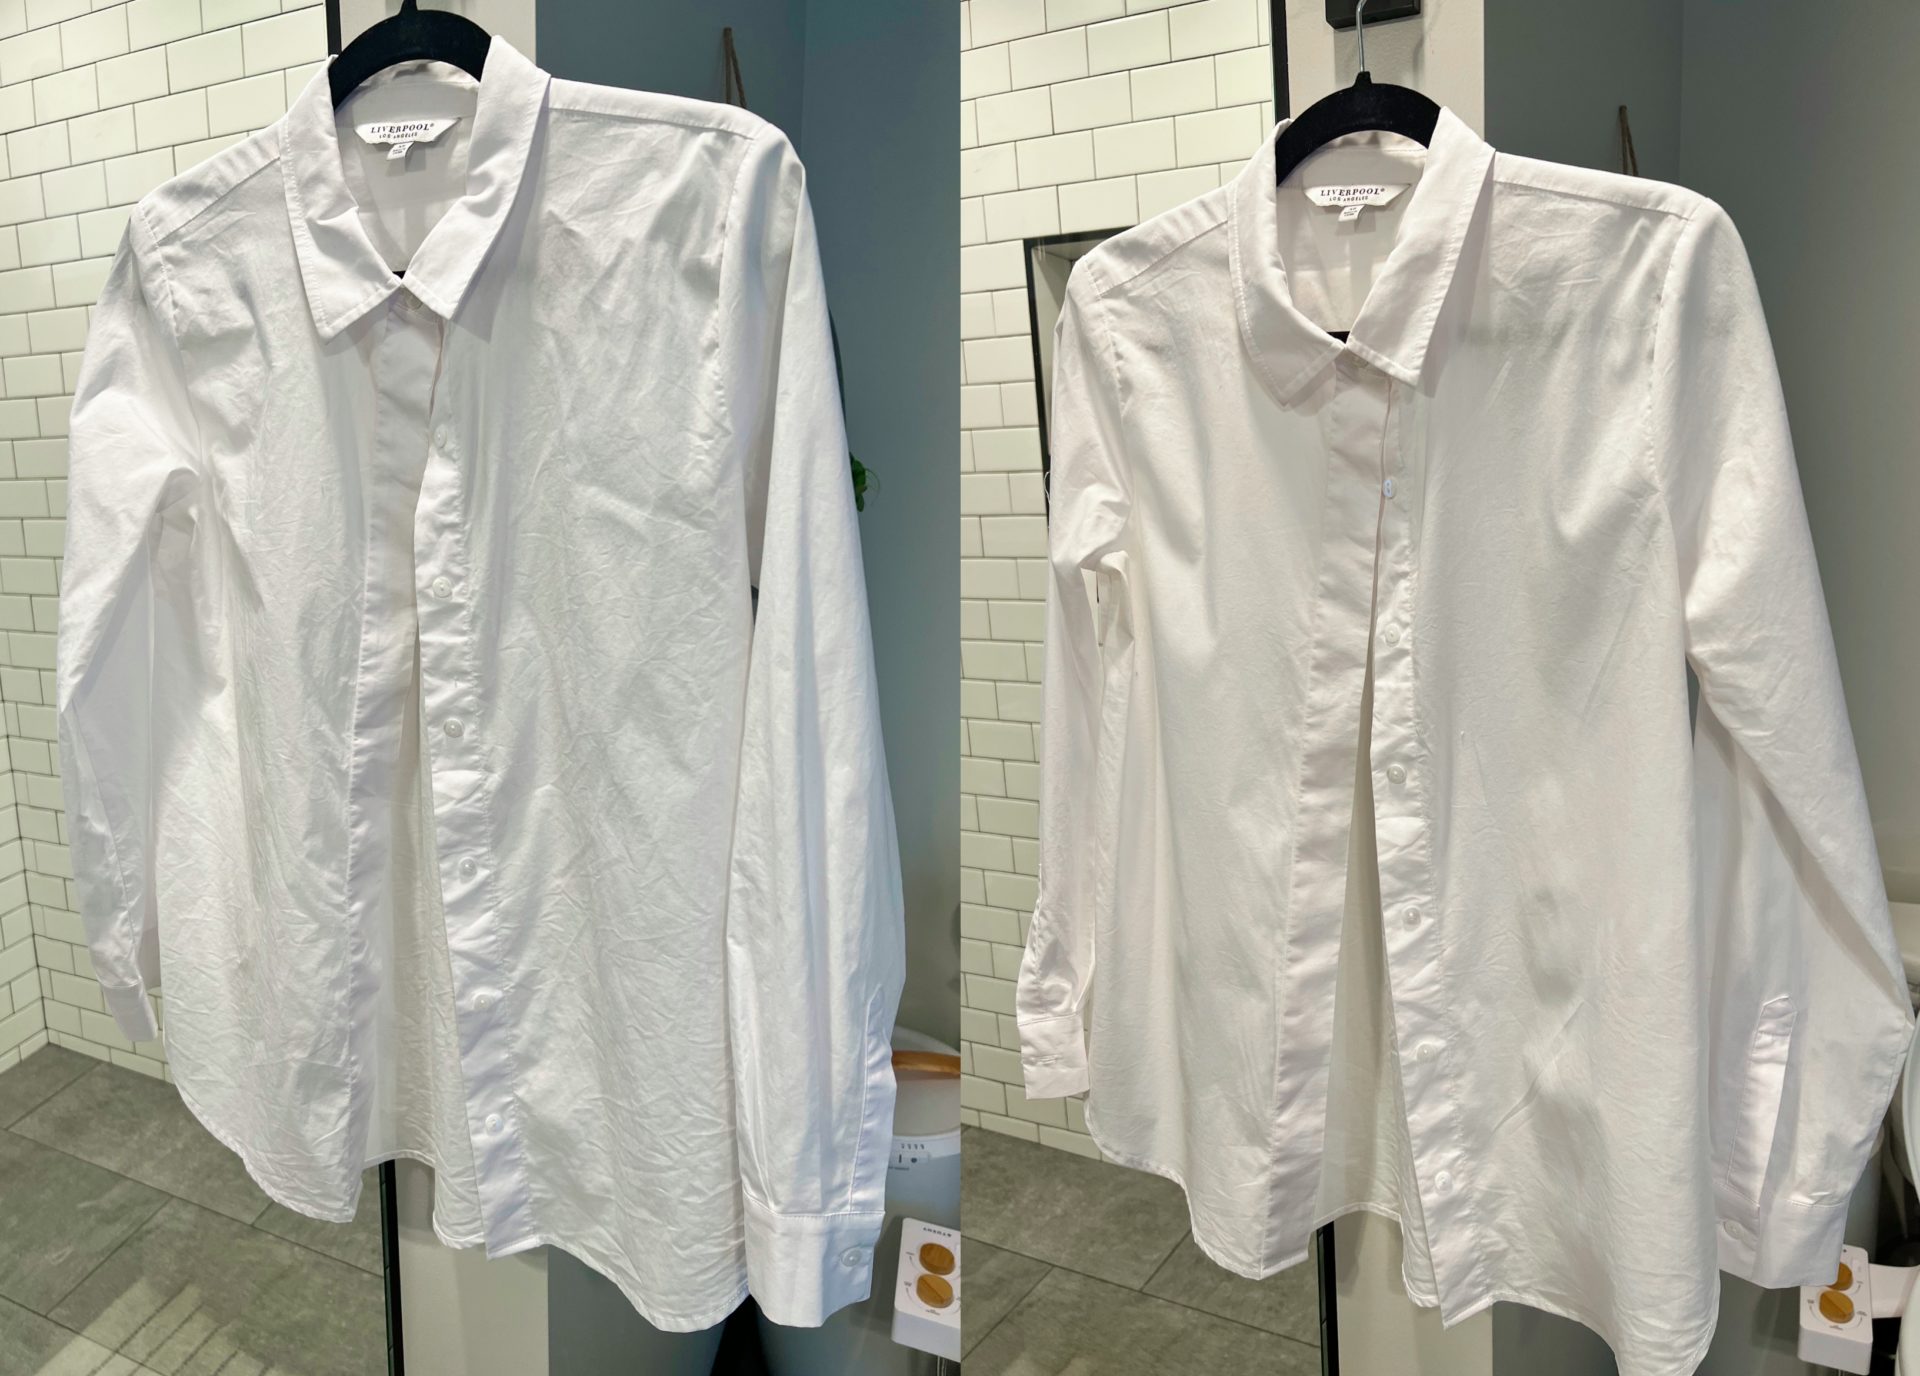
The Nori Press
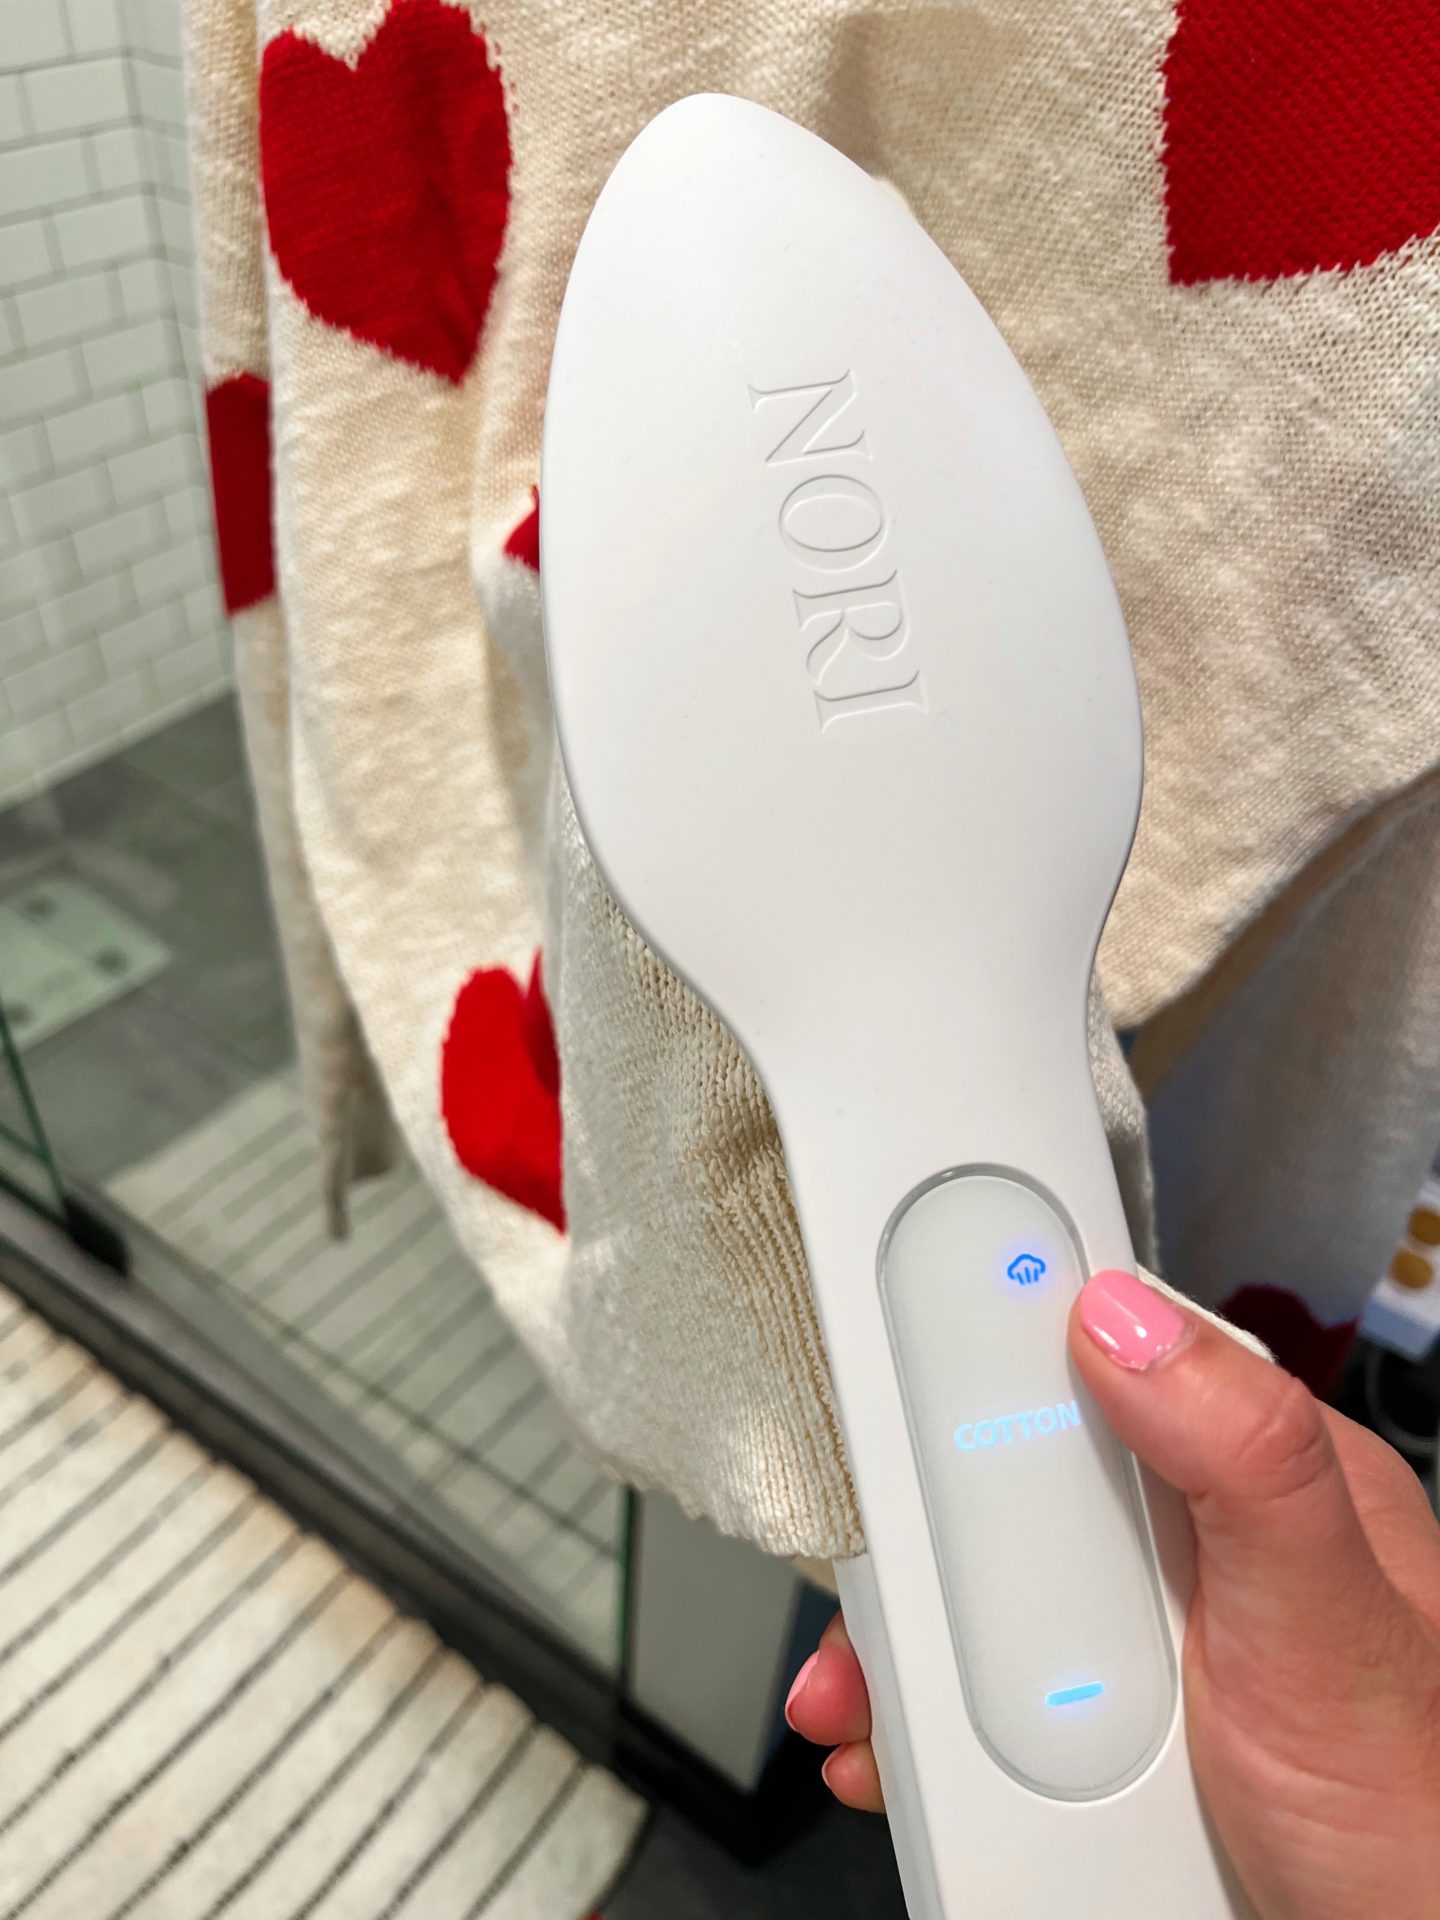
I got sucked in by an Instagram ad [again. I swear they always know exactly how to lure me in with products I didn’t know I “NEED” and then BAM, outta nowhere I’m spending hundreds of dollars on some tool that will 100% make my life better…or will it?] Well, that’s what happened to me when all of a sudden I was watching a video about The Nori Press, the iron + steamer that looks like an oversized hair straightener! I watched in amazement that you could just press your clothes [both the front and back of a shirt] at once and gently swipe to take all wrinkles away. I was also intrigued by the 1.4 pound weight knowing I could easily pack this for future vacations.
Upon arrival, I was impressed with the packaging and fun sayings. It looked like a gift [which at the $120 price tag, it should]. I quickly put it to use selecting which fabric I was going to try first [it gives you 6 fabric options to choose] and then decided if I wanted to iron or steam [to steam you simply add water into the water reservoir]! It advises to either have your items flat or hanging, I prefer hanging so it feels like I have more control over what I’m doing so that’s the route I went. I will admit, it took me some time to get comfortable with maneuvering it on my clothes, but once I got the hang of it, it was pretty easy to understand.. Additionally, I couldn’t decide if using it seemed to go faster or slower than ironing or steaming my items? After trying several different articles of clothing I decided that yes, it did seem to be taking me a much longer time to work the wrinkles out than I’ve experienced in the past. While I would overlook these things if the wrinkles melted away immediately, that’s not what happened unfortunately. It did remove most of the wrinkles in my clothes, but not without a good amount of effort to make it happen.
The final verdict: I wouldn’t spend my money on this again. For the price, I was expecting to be blown away. Because I wasn’t, I would much rather opt to spend $100 less on this $25 travel steamer. While I will keep trying to fall in love with The Nori Press, I can’t say it was love at first use. Sorry Instagram ad, maybe next time it will be “the one” ;).
Hannah’s Hair Dryer
Shark Hair Dryer
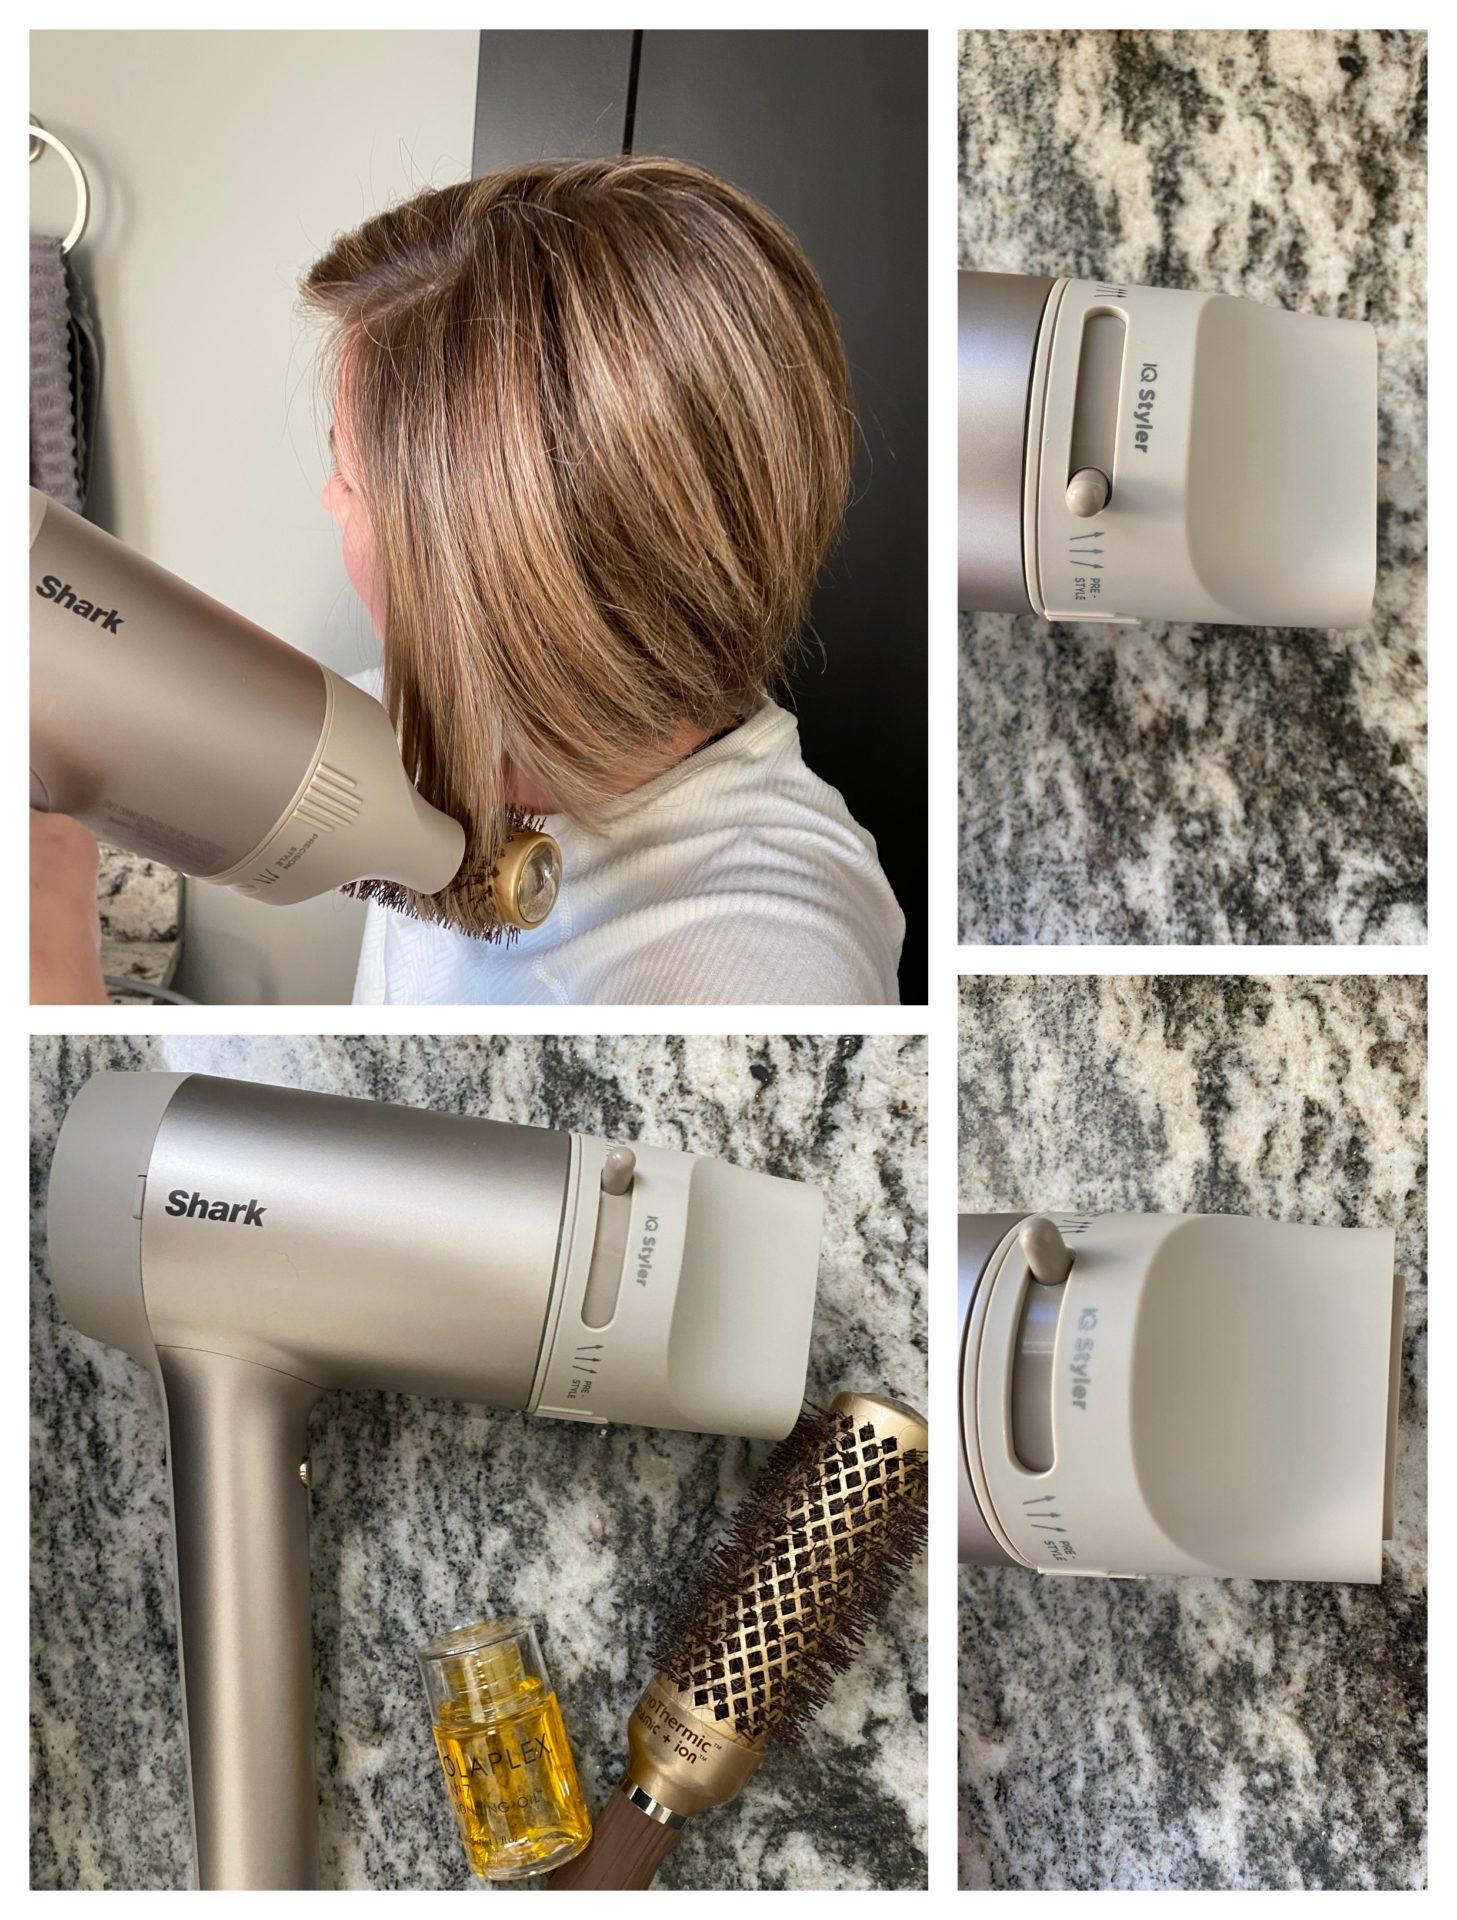
Shark HyperAir Hair Dryer // Round Brush // Oil
Since the Shark Hair Dryer launched several months ago, I was curious to know if it worked as well as the Dyson hair dryer I’ve had my eye on! I’ve used the Dyson several times and was shocked at how well it worked on my hair! My hair was smoother, shinier and I didn’t need to use my straightener. The only downfall…. the price…. It wasn’t within my budget and for it being a hair dryer I just couldn’t pull the trigger. So, when the Shark Hair Dryer launched and almost half the price of the Dyson I was intrigued! Since I received it [Christmas present] I was shocked at how well it worked! Not only is my hair incredibly smooth and shiny but also it doesn’t smell like it’s burning, feels so much better on my hair and it’s way more cost effective! I love that the Shark offers two attachment options and the “smoothing” attachment goes from pre-style to precision style with the flip of a switch! This allows the focus of the heat/air of the dryer to smooth out your hair without damaging it! I didn’t even have to use a straightener after using it! Highly recommend it if you’ve also been wanting the Dyson but don’t love it’s price!
Claire’s Hair Rollers
T3 Hot Hair Rollers

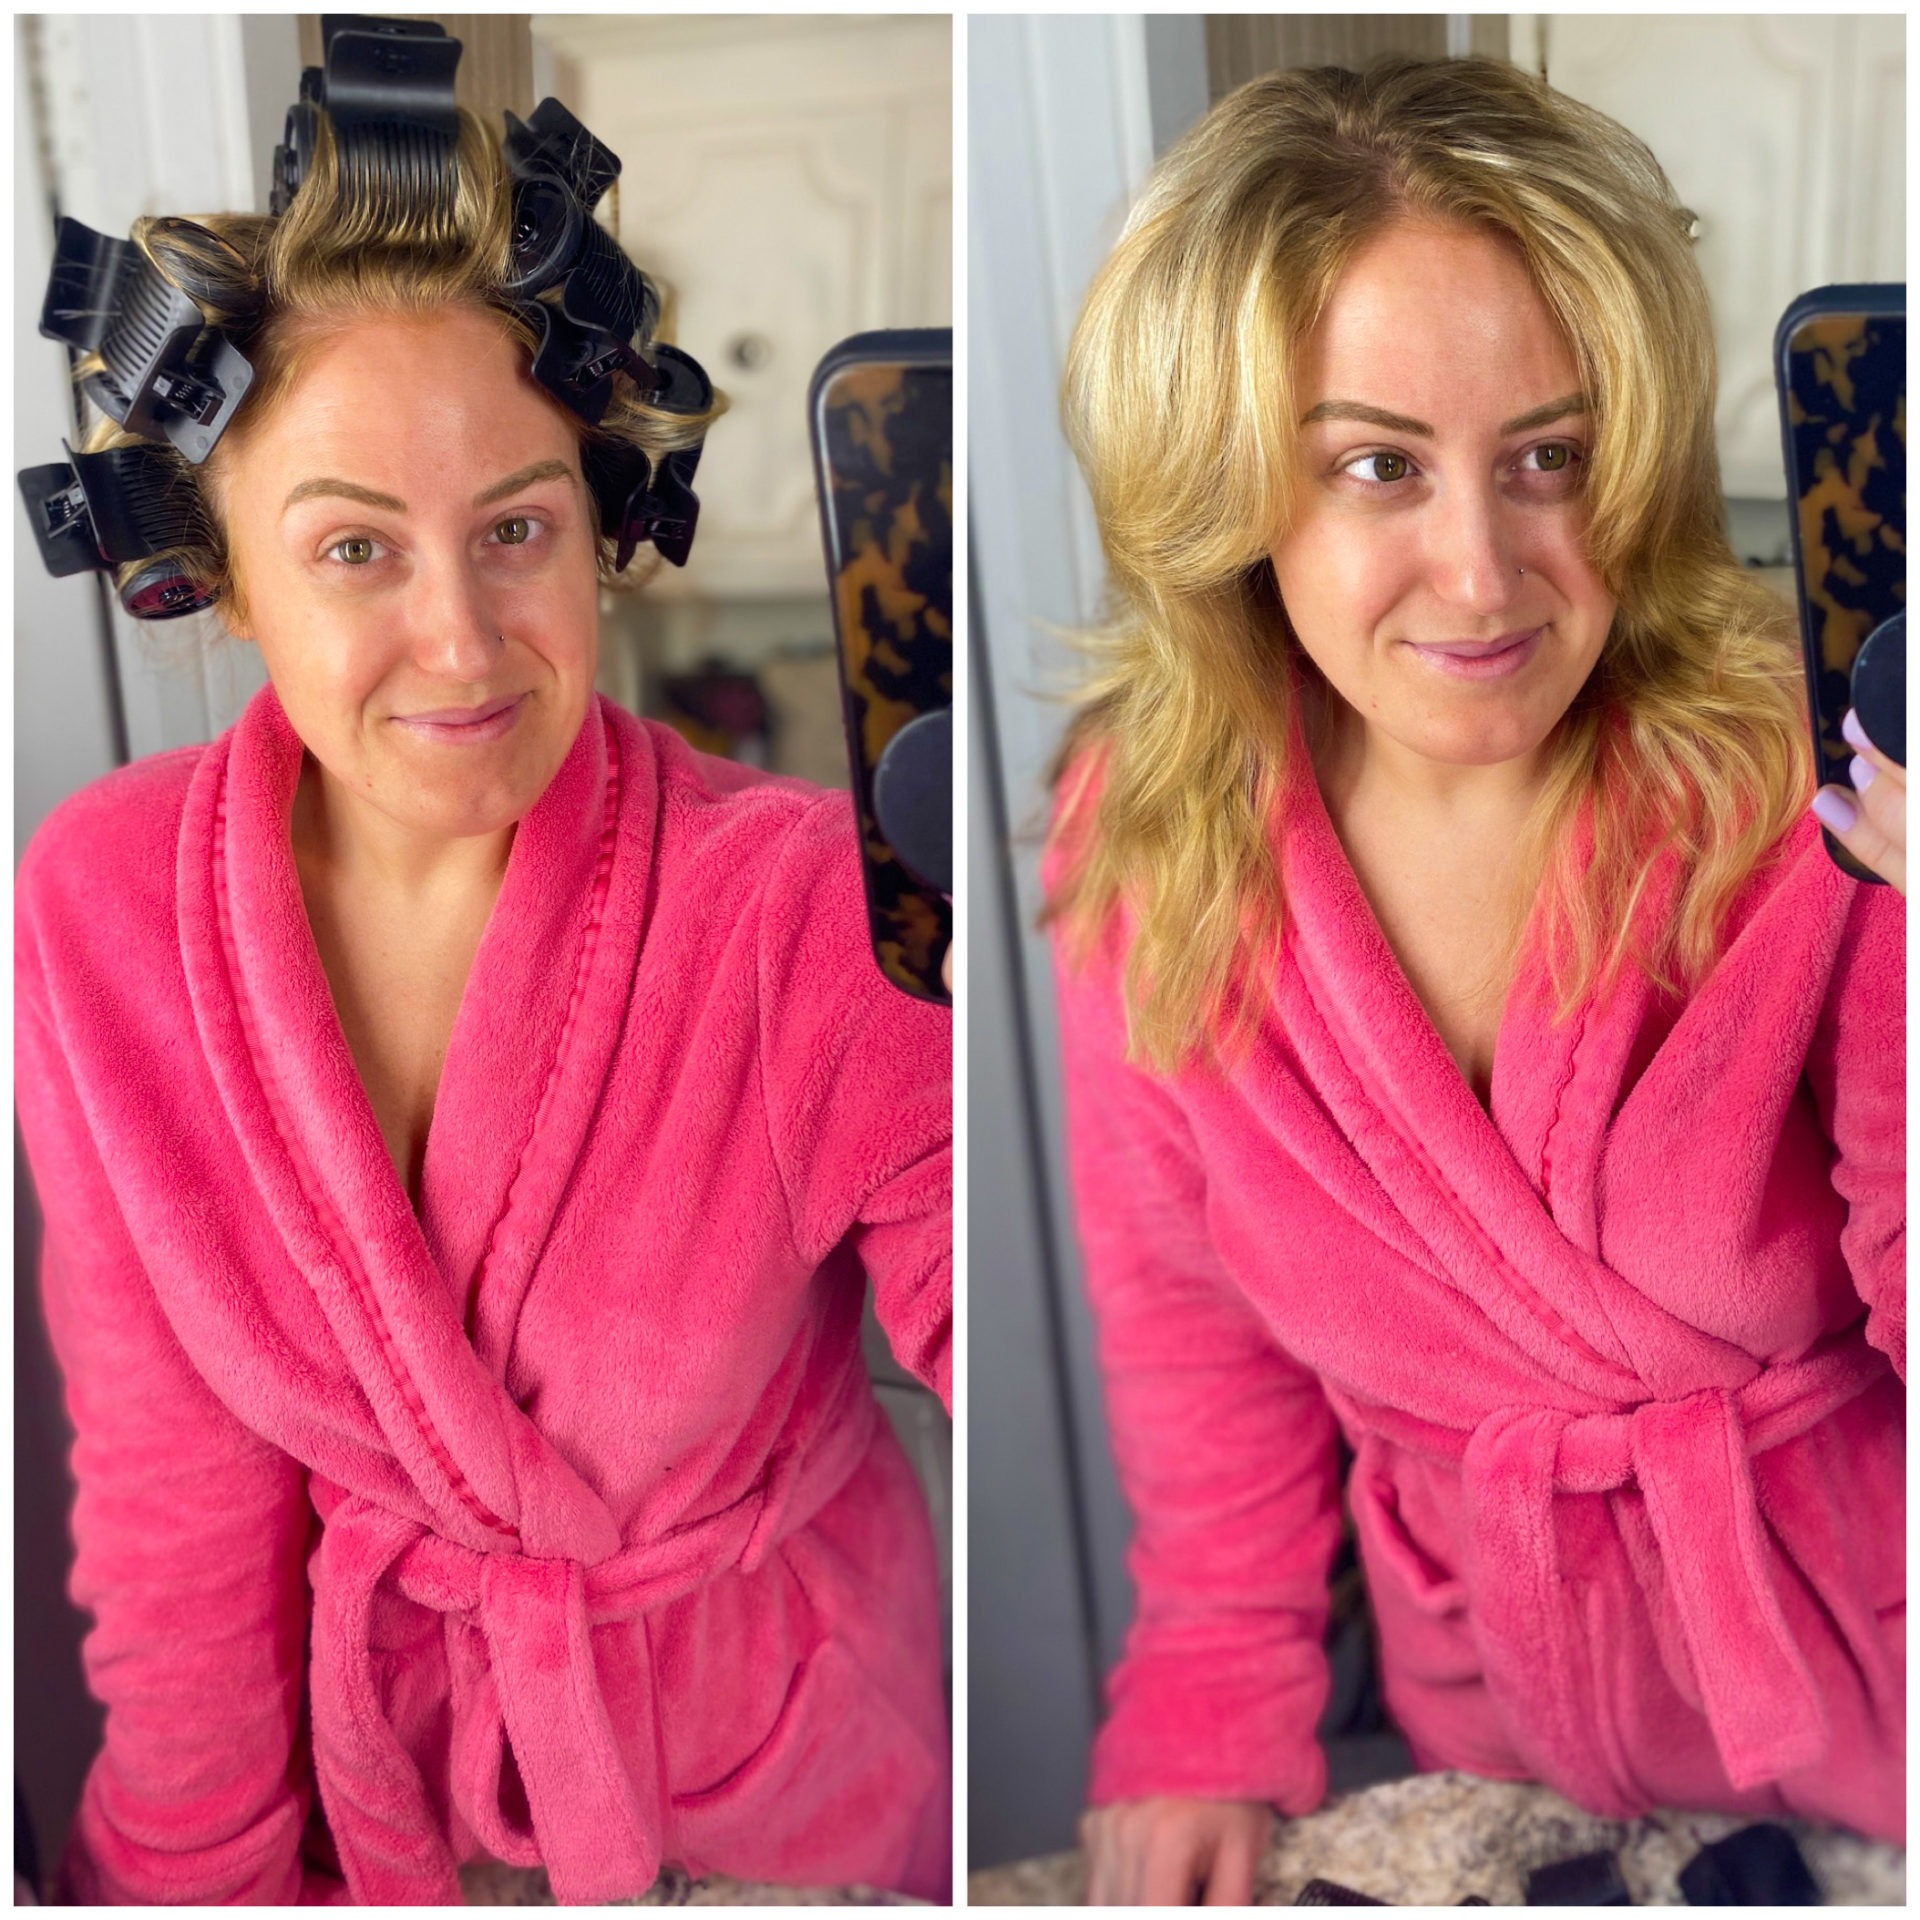
Within the last year or so, I’ve noticed hot hair rollers making a major comeback. Our great granny’s would be so proud! I’ve never used them myself, but as someone with extremely flat hair, I’m willing to try just about anything to achieve a little extra volume. Several of my favorite influencers use T3 brand which is certainly on the pricier side, so I snagged these on sale during Black Friday/Cyber Monday weekend. They still weren’t cheap by any means, so I was excited to see if they’re really worth the hype. I’m also very low maintenance when it comes to my hair, so I was curious to see if these little gadgets are as easy to use as the internet claims!
To make a long story short, it was a disaster! 1.) The curlers are too hot to touch – I would recommend a heat resistant glove, and for $130, you would think they would include one! Spoiler Alert: they don’t. 2.) This set only comes with 8 rollers, which wasn’t enough to cover my whole head. If you plan to do your entire head, you would need to let the first round cool, remove, and re-use them for the rest of your hair. I personally prefer to curl it all at once, let them cool while I do my makeup, and be done with it! 3.) They were so hot, they burned my scalp as they set. I kept flipping my entire head over, so they wouldn’t be directly touching my scalp. They say beauty is pain, but that was overkill. And 3.) The clips provided left kinks in my hair at the roots. Several influencers I follow go back though their hair with a curling iron or wand after using the curlers, which kind of defeats the purpose to me. If I wanted to do that, I would’ve just used a curling iron alone in the first place! To summarize, it seemed like more work than it’s worth. I have naturally straight hair, and the waves seemed to fall straight pretty quickly after I shook out the curls. I had high hopes and they seemed to fall flat – pun intended. But if you’re going for a Farrah Fawcett vibe, you might be in luck. 😉 I think I will keep practicing on the days I have time, but unfortunately, it wasn’t a breakthrough purchase for me.
Steph’s Ring Doorbell
Ring Doorbell
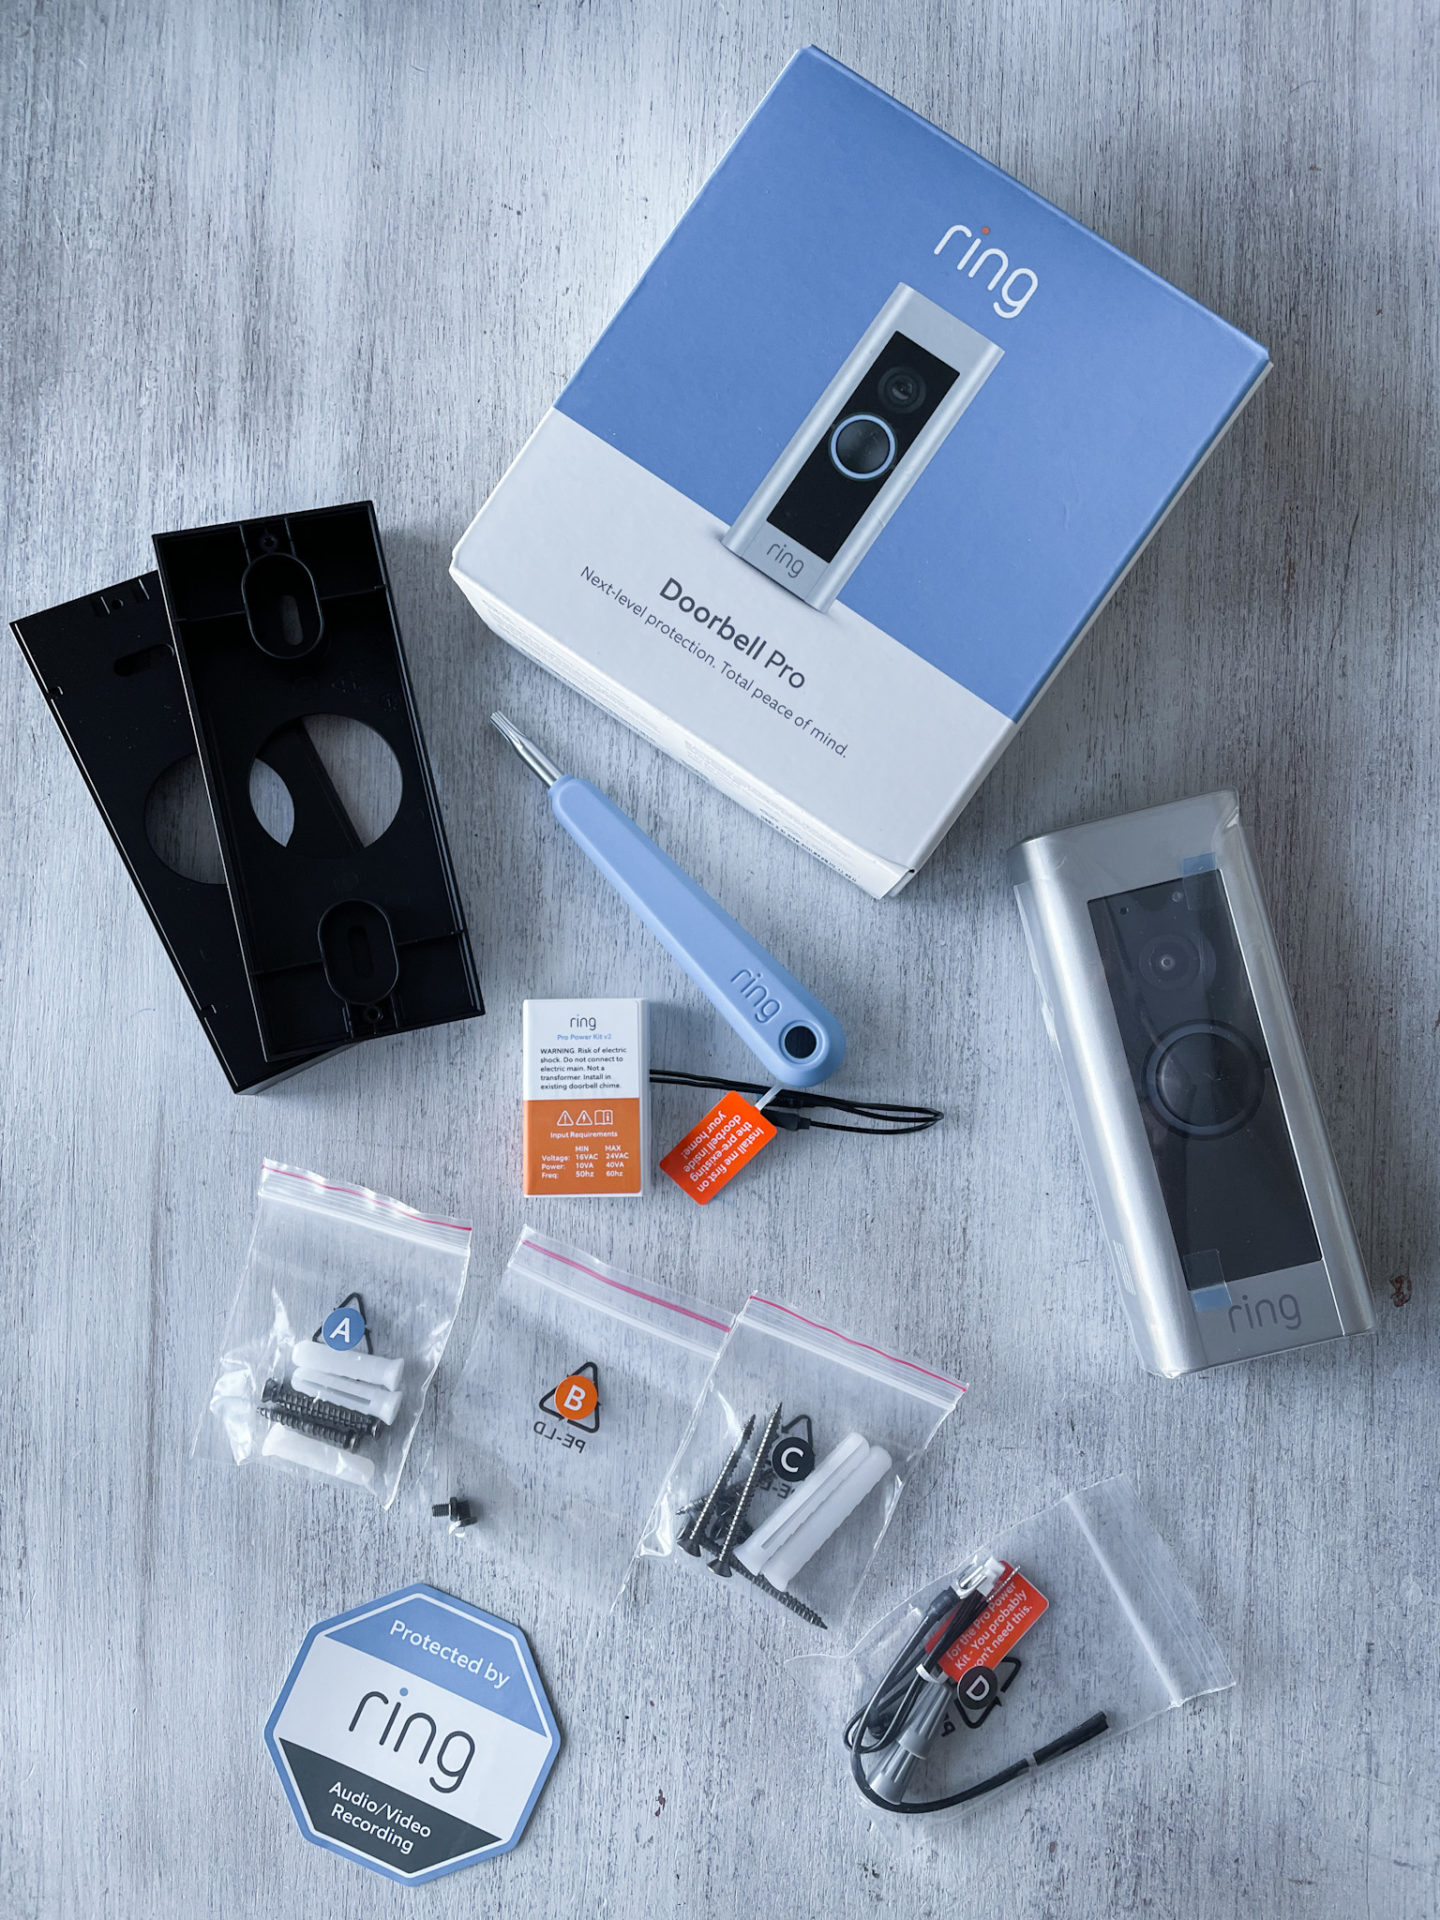
As you can imagine, with my job (and general preference for online shopping) there are a lot of packages arriving to our house regularly. I’ve been thinking a Ring Doorbell would be a good idea for several years now, but never purchased one because I assumed it would be THE WORST to hook up. When we got the assignment to try something we were curious about, I decided it was time! I’m here to tell you, it’s easier than I could have imagined and the peace of mind is freeing!
From start to finish, I worked on setting up the doorbell for just under an hour. However, I had 3 kids in and out of the room talking to me and asking questions, I didn’t collect my tools ahead of time so I had to stop 3 different times to get another tool, and I ran into every possible bump in the road I could run into hooking it up. I say that not to tell you it’s complicated, but to tell you that even with minor setbacks, it’s very easy to hook up and doesn’t take much time at all! Here are some helpful tips to make your installation as easy as possible:
1) If you can’t easily figure out which breaker your doorbell is on, it’s probably not directly connected to any of the switches and you may need to just shut off power to the whole house. It should only be off for around half an hour (not long enough to disrupt much of anything!) and will save you so many steps up and down the stairs – I wish I had thought of this sooner!
2) Gather all the tools you’ll need ahead of time! For me, this was a phillips head screwdriver, flathead screwdriver and drill with a standard phillips bit. The screwdrivers are dependent on which type of screws are holding in your previous doorbell, but may as well grab both to be safe! The drill is in case you need to attach one of the Ring positioning wedges to get the ideal angle on your camera. This is totally dependent on the shape of your house and your preference (I used both!).
3) After you remove the previous doorbell, if the wires you’re left with are extremely short – don’t fight with them to make them reach the Ring, just use the conveniently provided (and very easy to install!) wire extenders! If I had paid attention to what came in the box I would have saved probably 10 minutes on this step alone!
Macy’s Shampoo & Conditioner
Olaplex
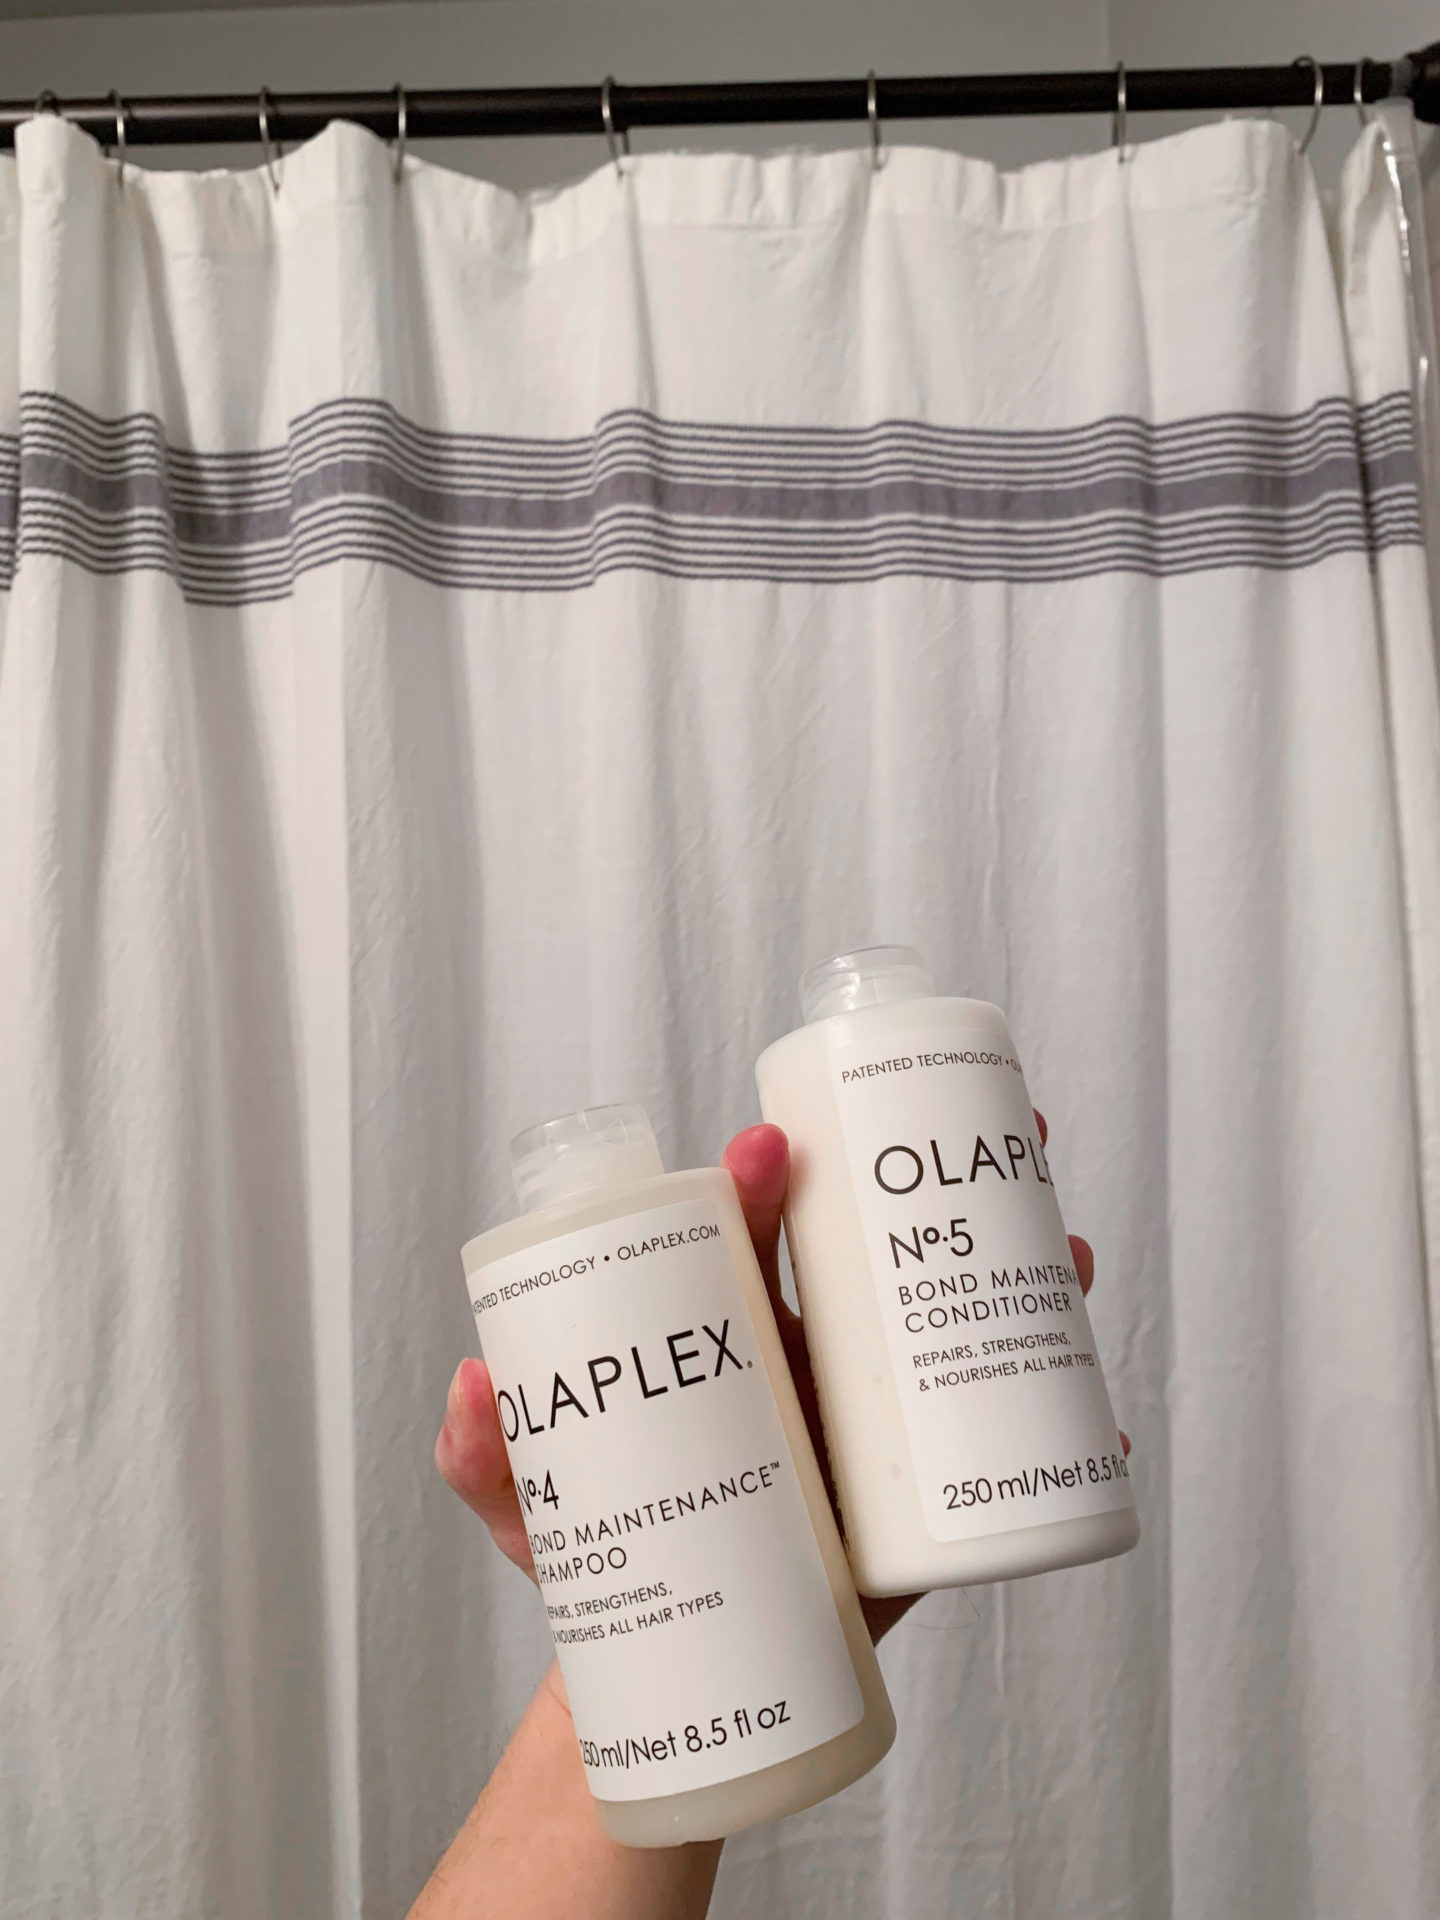
Olaplex Shampoo and Conditioner
I have been seeing this stuff all over the place! It was staged front and center at Ulta and the manager said it has been flying off the shelves…so I guess I was sold! I don’t know about you but my hair could definitely use a little extra nourishment during these dry winter months. I typically wouldn’t spend a whole lot on shampoo and conditioner but my hair dries out and breaks so easily in the winter so I wanted to try something different. This product is so thick, so a little goes a long way (learned that the hard way LOL) My hair already feels smoother and I haven’t even gone through the entire bottle yet. So far I’ve really been loving it and I may have to go back for the No. 3 Hair Perfector and the No. 7 Bonding Oil!
Katy’s DIY Dip Kit
Salon Dip Starter Kit
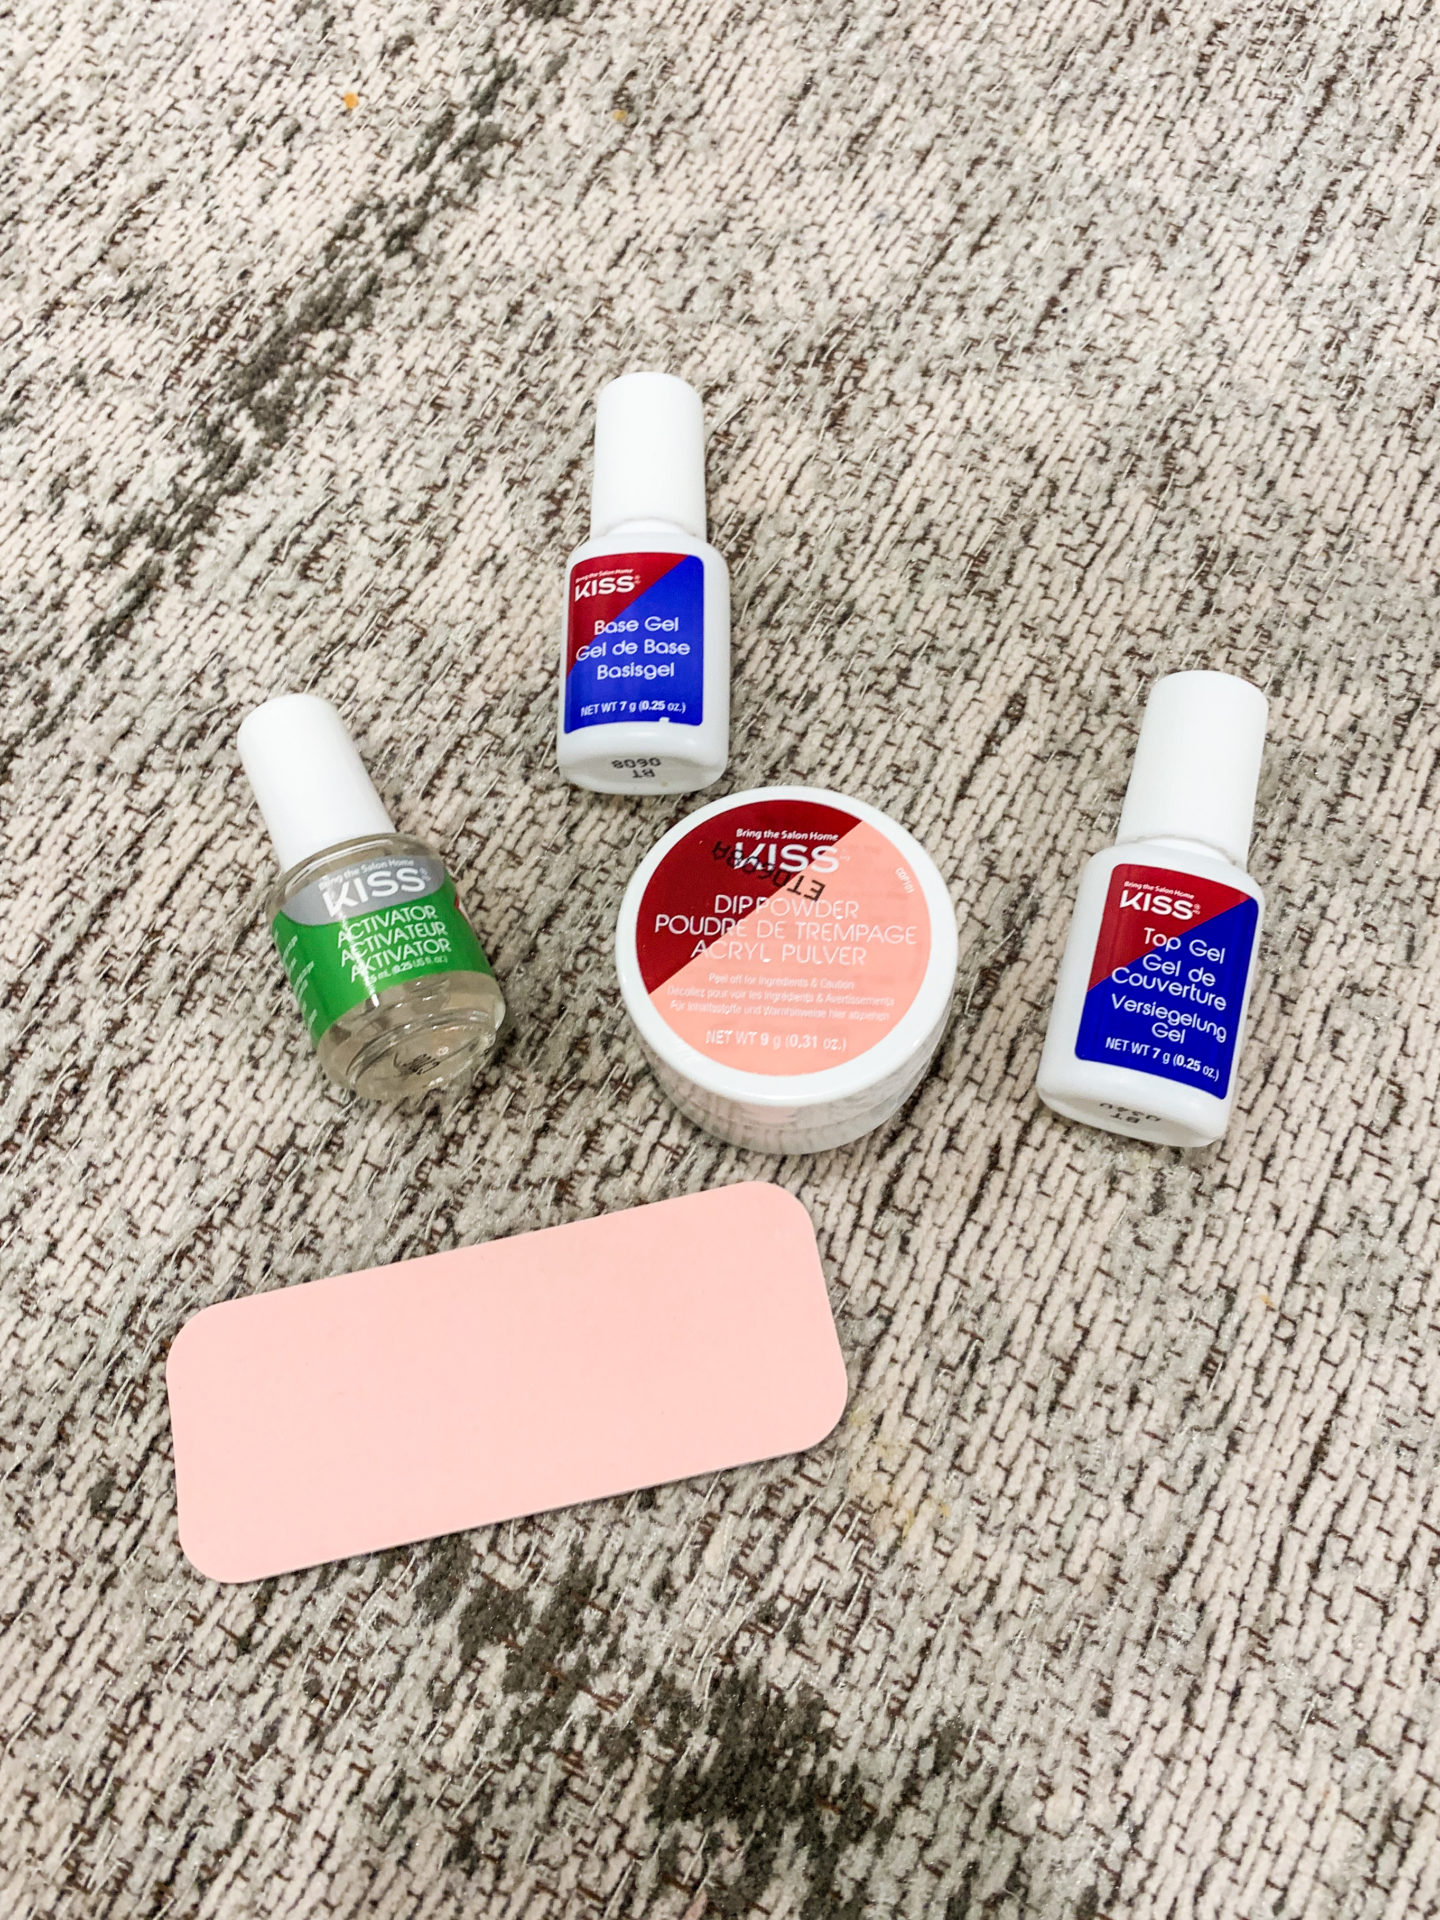

Kiss Salon Dip Starter Kit [color: Liaison]
Between time and the expense, sometimes it can be hard to fit in a manicure at the salon! That’s why I have been so curious to try an at home nail dip kit! Steph gifted me this one for our Secret Santa Exchange and I was excited to get to dippin’ 💅 The instructions are small print and I prefer watching/listening to learn how to do something, so I actually watched this YouTube video to walk me through my application. Overall, it was a pretty easy experience! I would watch out for using the sponge too hard/early to wipe off the excess powder because I ended up messing up a couple nails that way. Also, be sure to get the excess product off of your skin and the edges of the nail before your top coats. I’m definitely not a professional here (as you can see) and have room for lots of improvement, but for a fraction of the price and ability to do multiple applications at home I am excited to keep trying this home dip kit! It did chip a bit on me pretty quickly, but I also think that was due to trying to get off the excess product and needing more practice, so we will see!