Oh sweet sweet photography.
Something I know so little about, but something that I enjoy so much.
Now hear me out when I say am no expert.
I am no expert.
Ya heard?
But, over the past year or so I have picked up a few {what I like to think helpful} tips and tricks that I thought I could share with you all.
Let’s face it—whether you want to agree or not, pictures are important in blogging.
Heck.
Pictures are important if you don’t blog.
I mean Helllllo Facebook profile pic.
{what has this world come to?}
Anyhow.
So maybe some of you are like me.
And by “like me” I mean “Photoshop will never be in my vocabulary”
Do.Not.Get.It.
I quickly realized this after spending 4 hours playing around in there and the only thing I had accomplished was creating “one layer”. I think?
So friends, I present to you my “Completely Free & Easy Guide to Beautifying Your Pictures” tutorial.
Let’s begin.
1. Take the picture.
Obviously. But think differently when you are taking your next picture. And no, you do not have to have a fancy schmancy camera to do so with {although it sure helps a heck of a lot}.
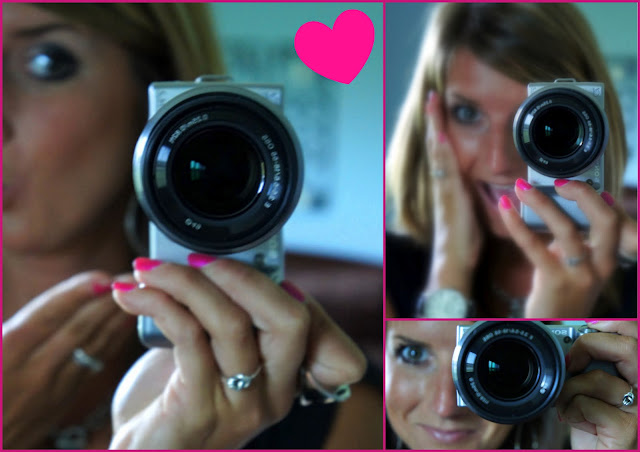
My camera of choice? Sony NEX-5. Love her. Make that more than love.
Back to how to think differently when taking your next photo…
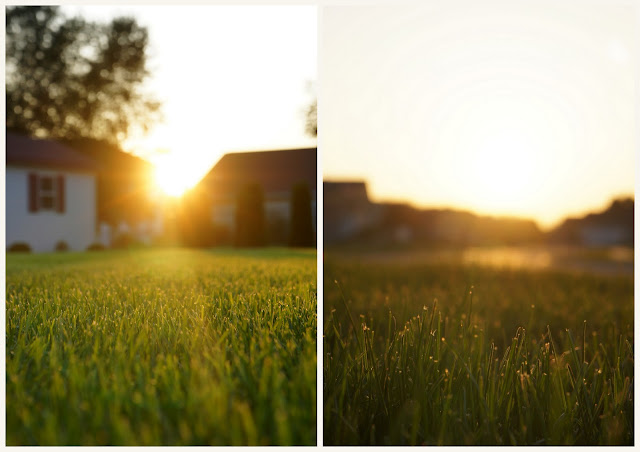
a. Change Positions. Creating different angles is where it’s at these days in photography apparently. If you would normally shoot something from overhead, try shooting it from the side.
My favorite view is from ground level. For this you gotta lay yourself flat on the ground girlfriend. Those laughing at you will be bowing to you when they see your pictures 😉
b. Light That Mother Up. Naturally. Not all this flash crap. Especially when shooting pictures of people. Natural light is the best light. You will want to be in between the natural light and the subject (don’t have the natural light behind the subject). Yes, I think that is correct?
c. Centering Is For Losers. Word on the street is that the new cool thing to do is to remember the “rule of thirds” when taking pictures. I believe this means that your main focal point should be in one third of the picture. Not in the dead center. Like so.
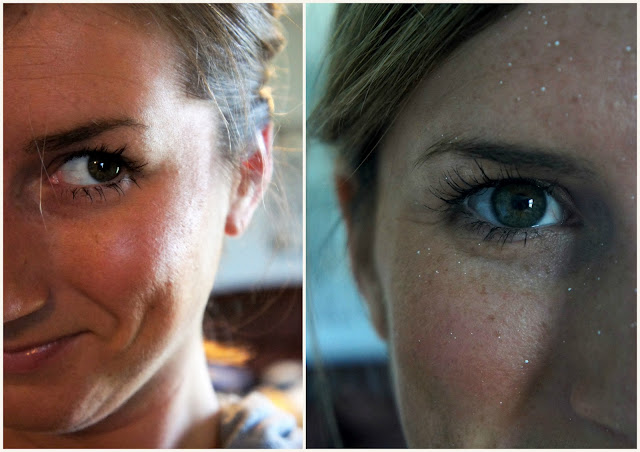
d. Crop That Shaz. You can create a visually appealing picture by chopping half of it off. I know that sounds weird, but hear me out. We are used to seeing the whole picture. But when you take half of it away, it creates a different look. Say for instance when your face is covered in paint. Or when you have no eyeliner on.
2. Editing the picture. This is where the fun begins. All my editing takes place in either Picasa or my new absolute favorite, PicMonkey.com. There is no reason why you should not be using either of these programs. They are free and easy. Just like I like my men. Joke people.
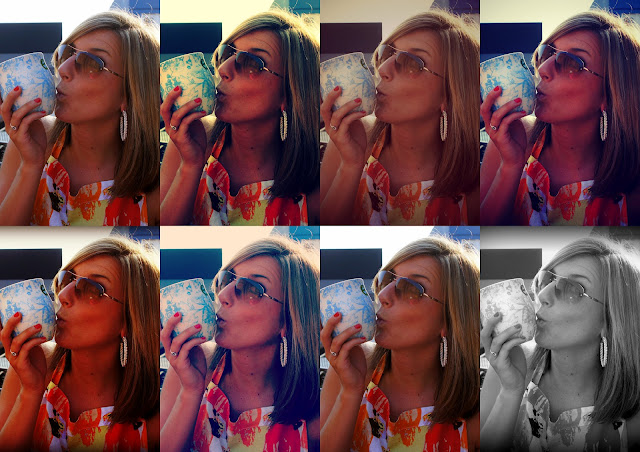
Instead of talking, I am going to go through all of my favorite “scenes” to use on my pictures.
Prepare yourself to be amazed at the transformation one click of a button can do.
Different scenes done in PicMonkey//Collage done in Picasa
Another fun thing to do with some of your pictures is to add some text. Like so.
3. Finishing Touches. Truth—I can be a greasy mother sometimes. Or my teeth can be yellow. Or I can have a mountain on my face. Basically. I ain’t perfect. But thankfully, my photo editing software allows me to be. Well, almost.
Before editing on the left–after on the right. Bye bye grease. All completed in PicMonkey by using the Shine Reduce feature. I adore the teeth whitening feature as well. Try it out!
4. Displaying Your Pictures.
I think it is so important in blogging to make your pictures BIG. I always make em’ XL.
Remember–size does matter.
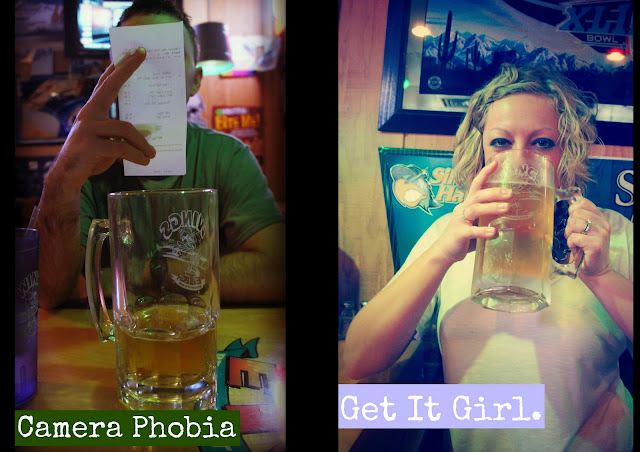
Another thing that I have recently discovered is to try to make all of your pictures the same direction. Example: Don’t use vertical pictures amongst horizontal pictures. It will make your post look all jacked up. Notice how the one vertical picture up top looks out of whack with all of the other horizontal photos? To fix this problem, create collages in Picasa to put two verticals beside each other to make one horizontal picture (see the Camera Phobia//Get It Girl example)
…And there you have it friends.
Easy, free, and quick ways to make HUGE differences in your photos.
Any other questions//suggestions, I’d love to hear em’.
Leave them in the comments below or email me at livinginyellow@gmail.com
Peace out little bits.


