 I have a love / hate relationship with makeup. I love it for the simple fact that it makes me look more like a human, maybe a little less like a man and hides my red nose that is full of broken capillaries [oops]. I hate it because I feel like 99.9% of the time I don’t feel like I actually know what I’m doing with it. Eyeliner an inch thick? Go for it. Piles of liquid foundation that get rubbed in typically by my hands. Why not? Concealer covered lips that disguise me for a mummy getting ready to rise from the ground? Been there done that. Needless to say, the decision that I made to do my own makeup for our recent Gibson x Living in Yellow photoshoot in Savannah was a risk but you know what they say — playing it safe is easy [and also can lead to TOO nice of a makeup job which will lead people to think that you should always look like you did in “those one photos” so no, no thanks].
When doing my own makeup for the photoshoot, I thought “duh Erin, you should document this moment to show how you go from drab to semi-fab!” so here we are. Showing you the good, the bad and the….well, me. I’m going to walk you through step-by-step in my routine [and no, I didn’t change anything from my normal other than adding lip liner and lipstick at the end!] along with all of the products that I use, have used for years and continue to use in my makeup routine. Lights, camera, CONCEALER!
The Face Base
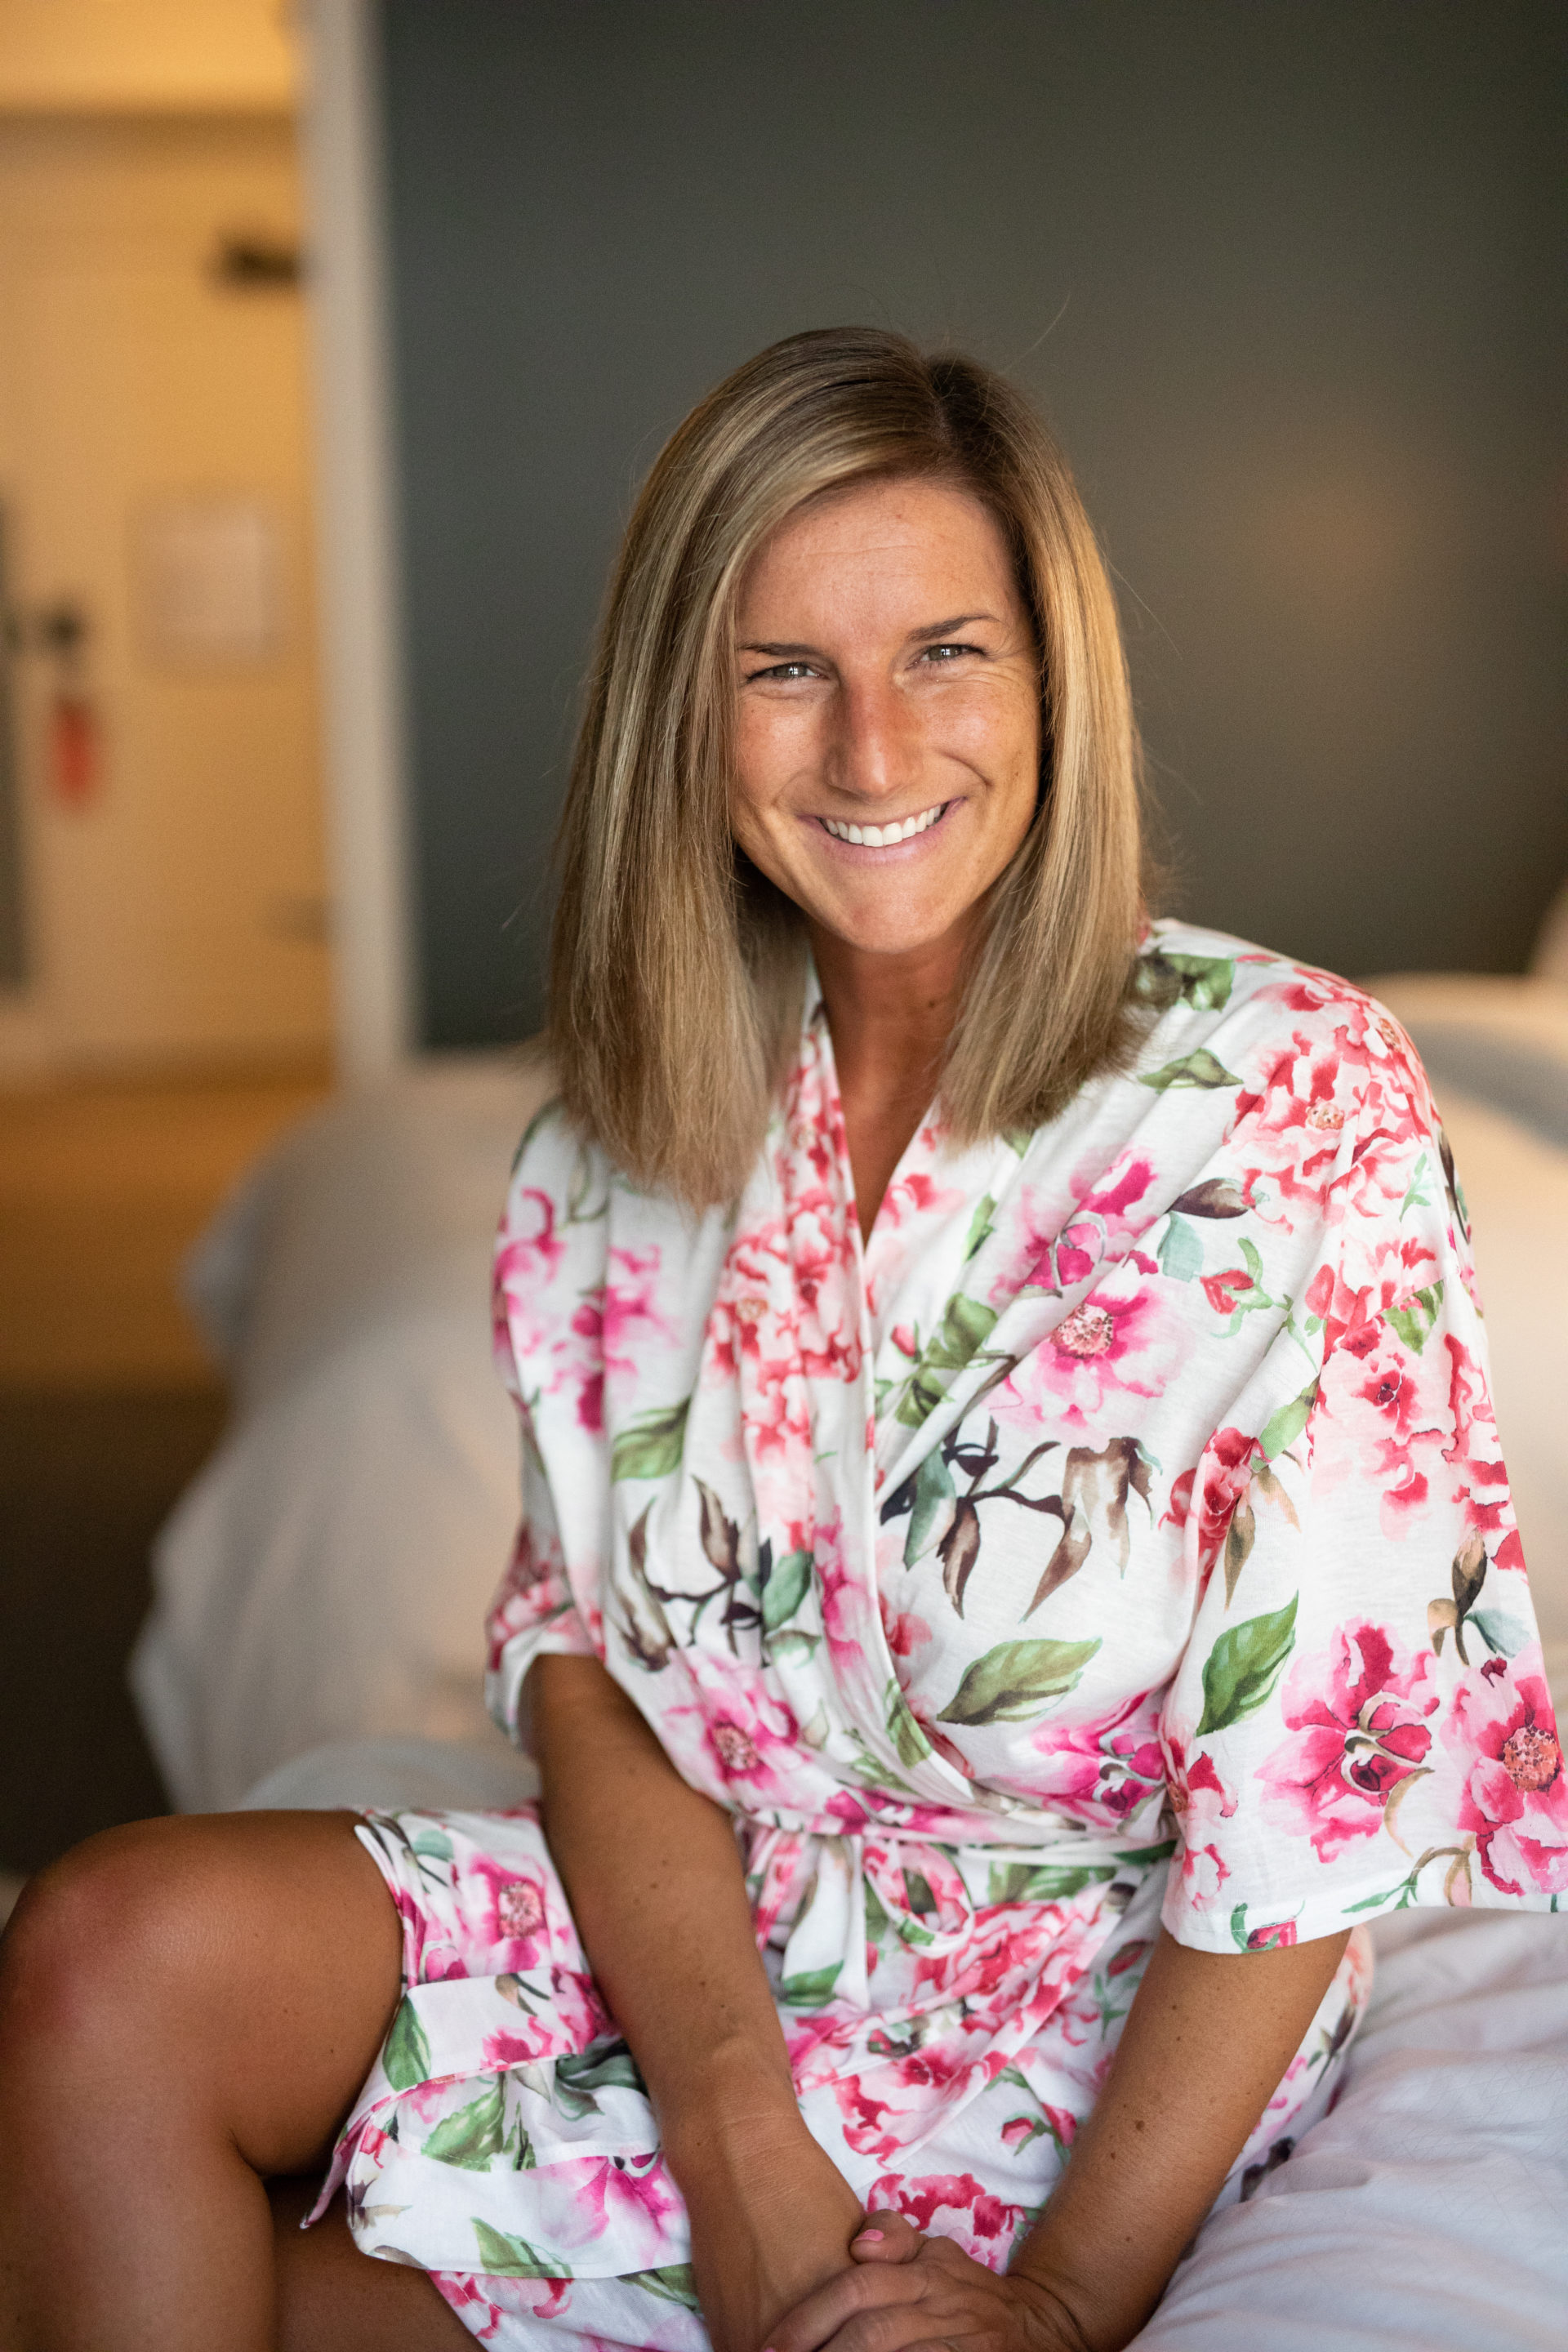 It all starts with a bare face. I think a great skin care regimen is where it all starts personally. I have been using and loving this Vitamin C Brightening Oil that has truly made quite a difference in the overall brightness and glow of my skin. Additionally a great moisturizer is key for me to set a good base for my foundation. I use Rodan + Fields Triple Defense Treatment with SPF 30 to get the job done. We can’t forget about the under eye baggage. I’ve been using this Dr. Brandt Needles No More No More Baggage for a month or two now and truly believe it is helping to make a difference in my bag situation. Now that I’ve oiled, moisturized and de-bagged, it’s time to start applying the good stuff.
Let’s start with concealer. Aka my best friend. Warning: You’re about to be frightened. Hold on tight.
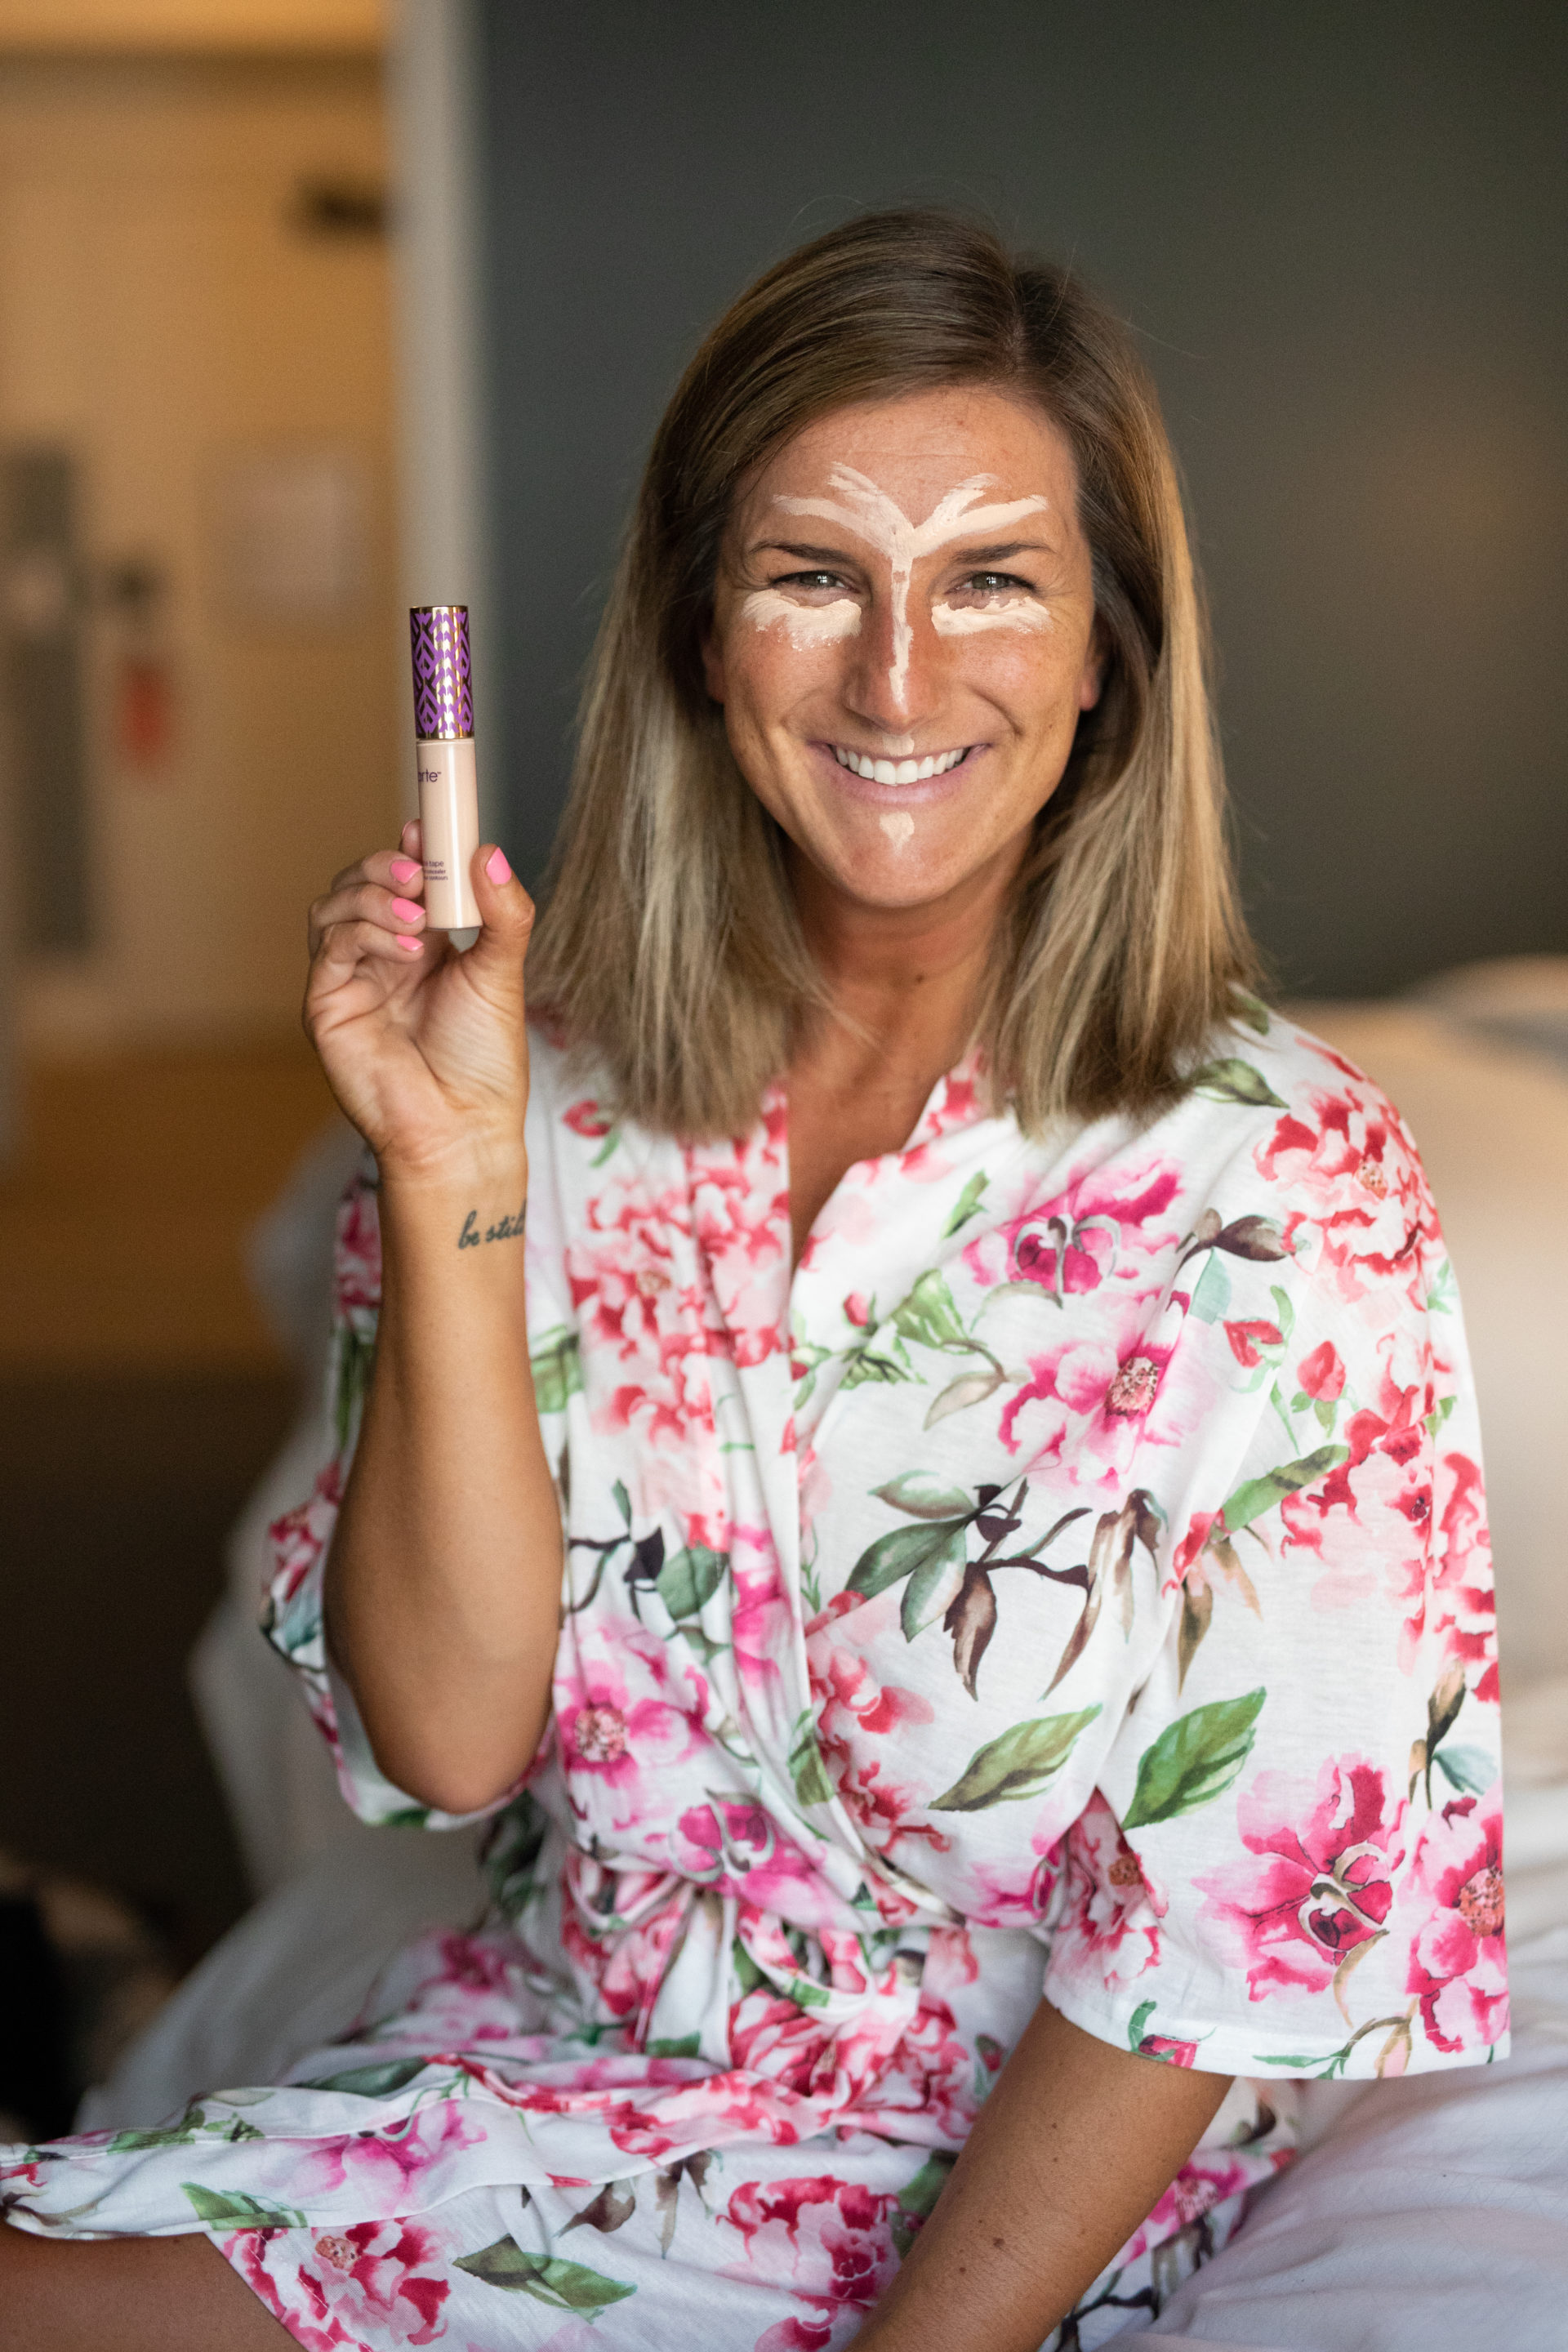 Told you. Is it me? Is it a fawn hiding behind a bush? Do I have a tree growing on my forehead? Nobody really knows. What I do know is that I started using Double Duty Beauty Shape Tape Contour Concealer a week or so before the photoshoot, fell in love and haven’t stopped applying it like a mad woman since. I watched a quick tutorial on YouTube about “how to highlight” and she did some crazy drawing on her face similar to what you see above so you can thank the internet for that visual. By applying it in these areas though, it really does brighten up the face and hides blemishes well while evening out skin tones.
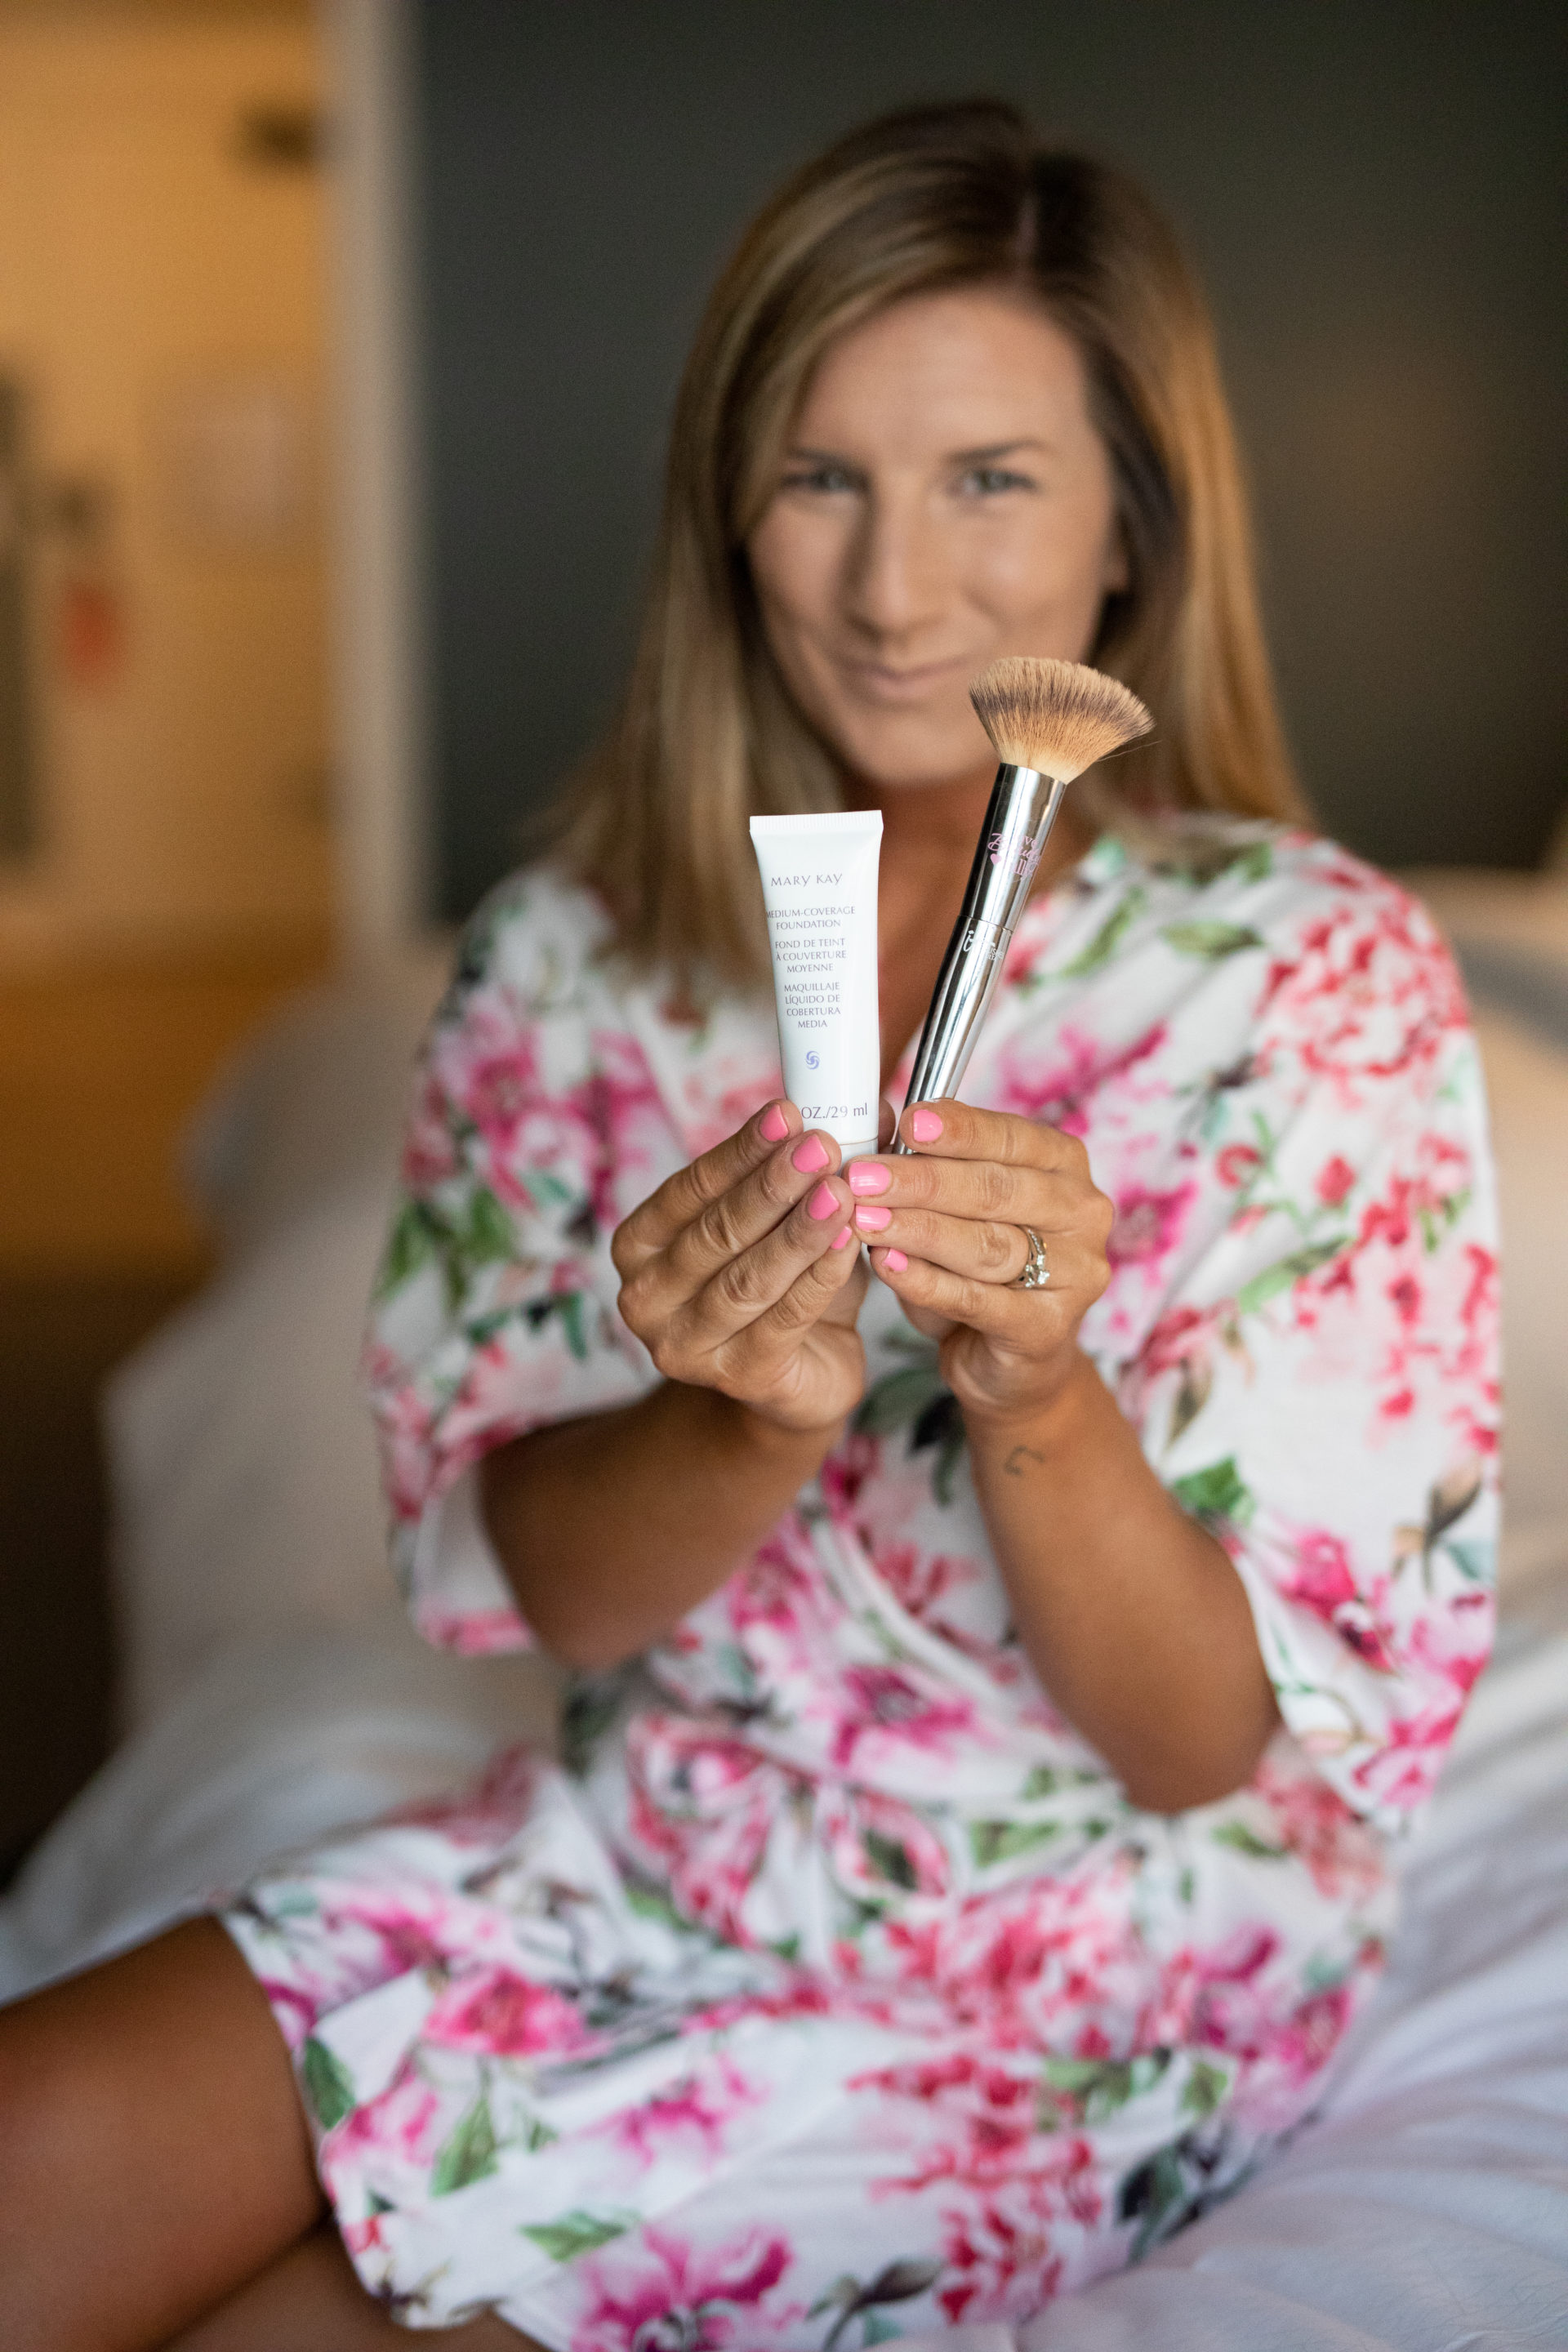
Now that I’ve highlighted like a fool, it’s time to lather up in foundation. My go to for years has been Mary Kay Medium Coverage [in Beige 400 if you must know ;)] It’s the perfect coverage, translates great in photos and doesn’t leave me dry or oily! I’ve stepped things up a bit and now use a brush to apply rather than my hands and it turns out, the brush wins. I picked up this It Brushes For Ulta Airbrush Soft Focus Blush Brush #113 after Cassidy on the team bought it and loved it. It’s SO soft and works perfectly for blending my foundation in! I simply put a few dabs of foundation on my skin or directly on the brush and then go to town! While this is technically a “blush” brush, I use it for my foundation and love it!
Now that I’ve got my liquid foundation on, I like to set it with bareMinerals MATTE SPF 15 Foundation and a few swipes of Bareminerals Warmth All Over Face Color. This helps keep oil away during the day while adding a touch of color!
Now, for another trick I learned thanks to good ole YouTube. Contouring. Woof. I know. Who knows how to do that?!! Apparently me now that I started throwing some darker shades on my face in a pattern the girl on the screen told me to. I went with this Benefit Cosmetics Cheekleader palette in bronze after it was recommended to me and I love it! Bonus: It comes with a card that shows you how to use which colors in which places. Basically, I take the bronzer and go along my hairline, on my cheekbone to create definition and then along my jaw line to add definition. You’ll see below dramatic contouring before I blended.
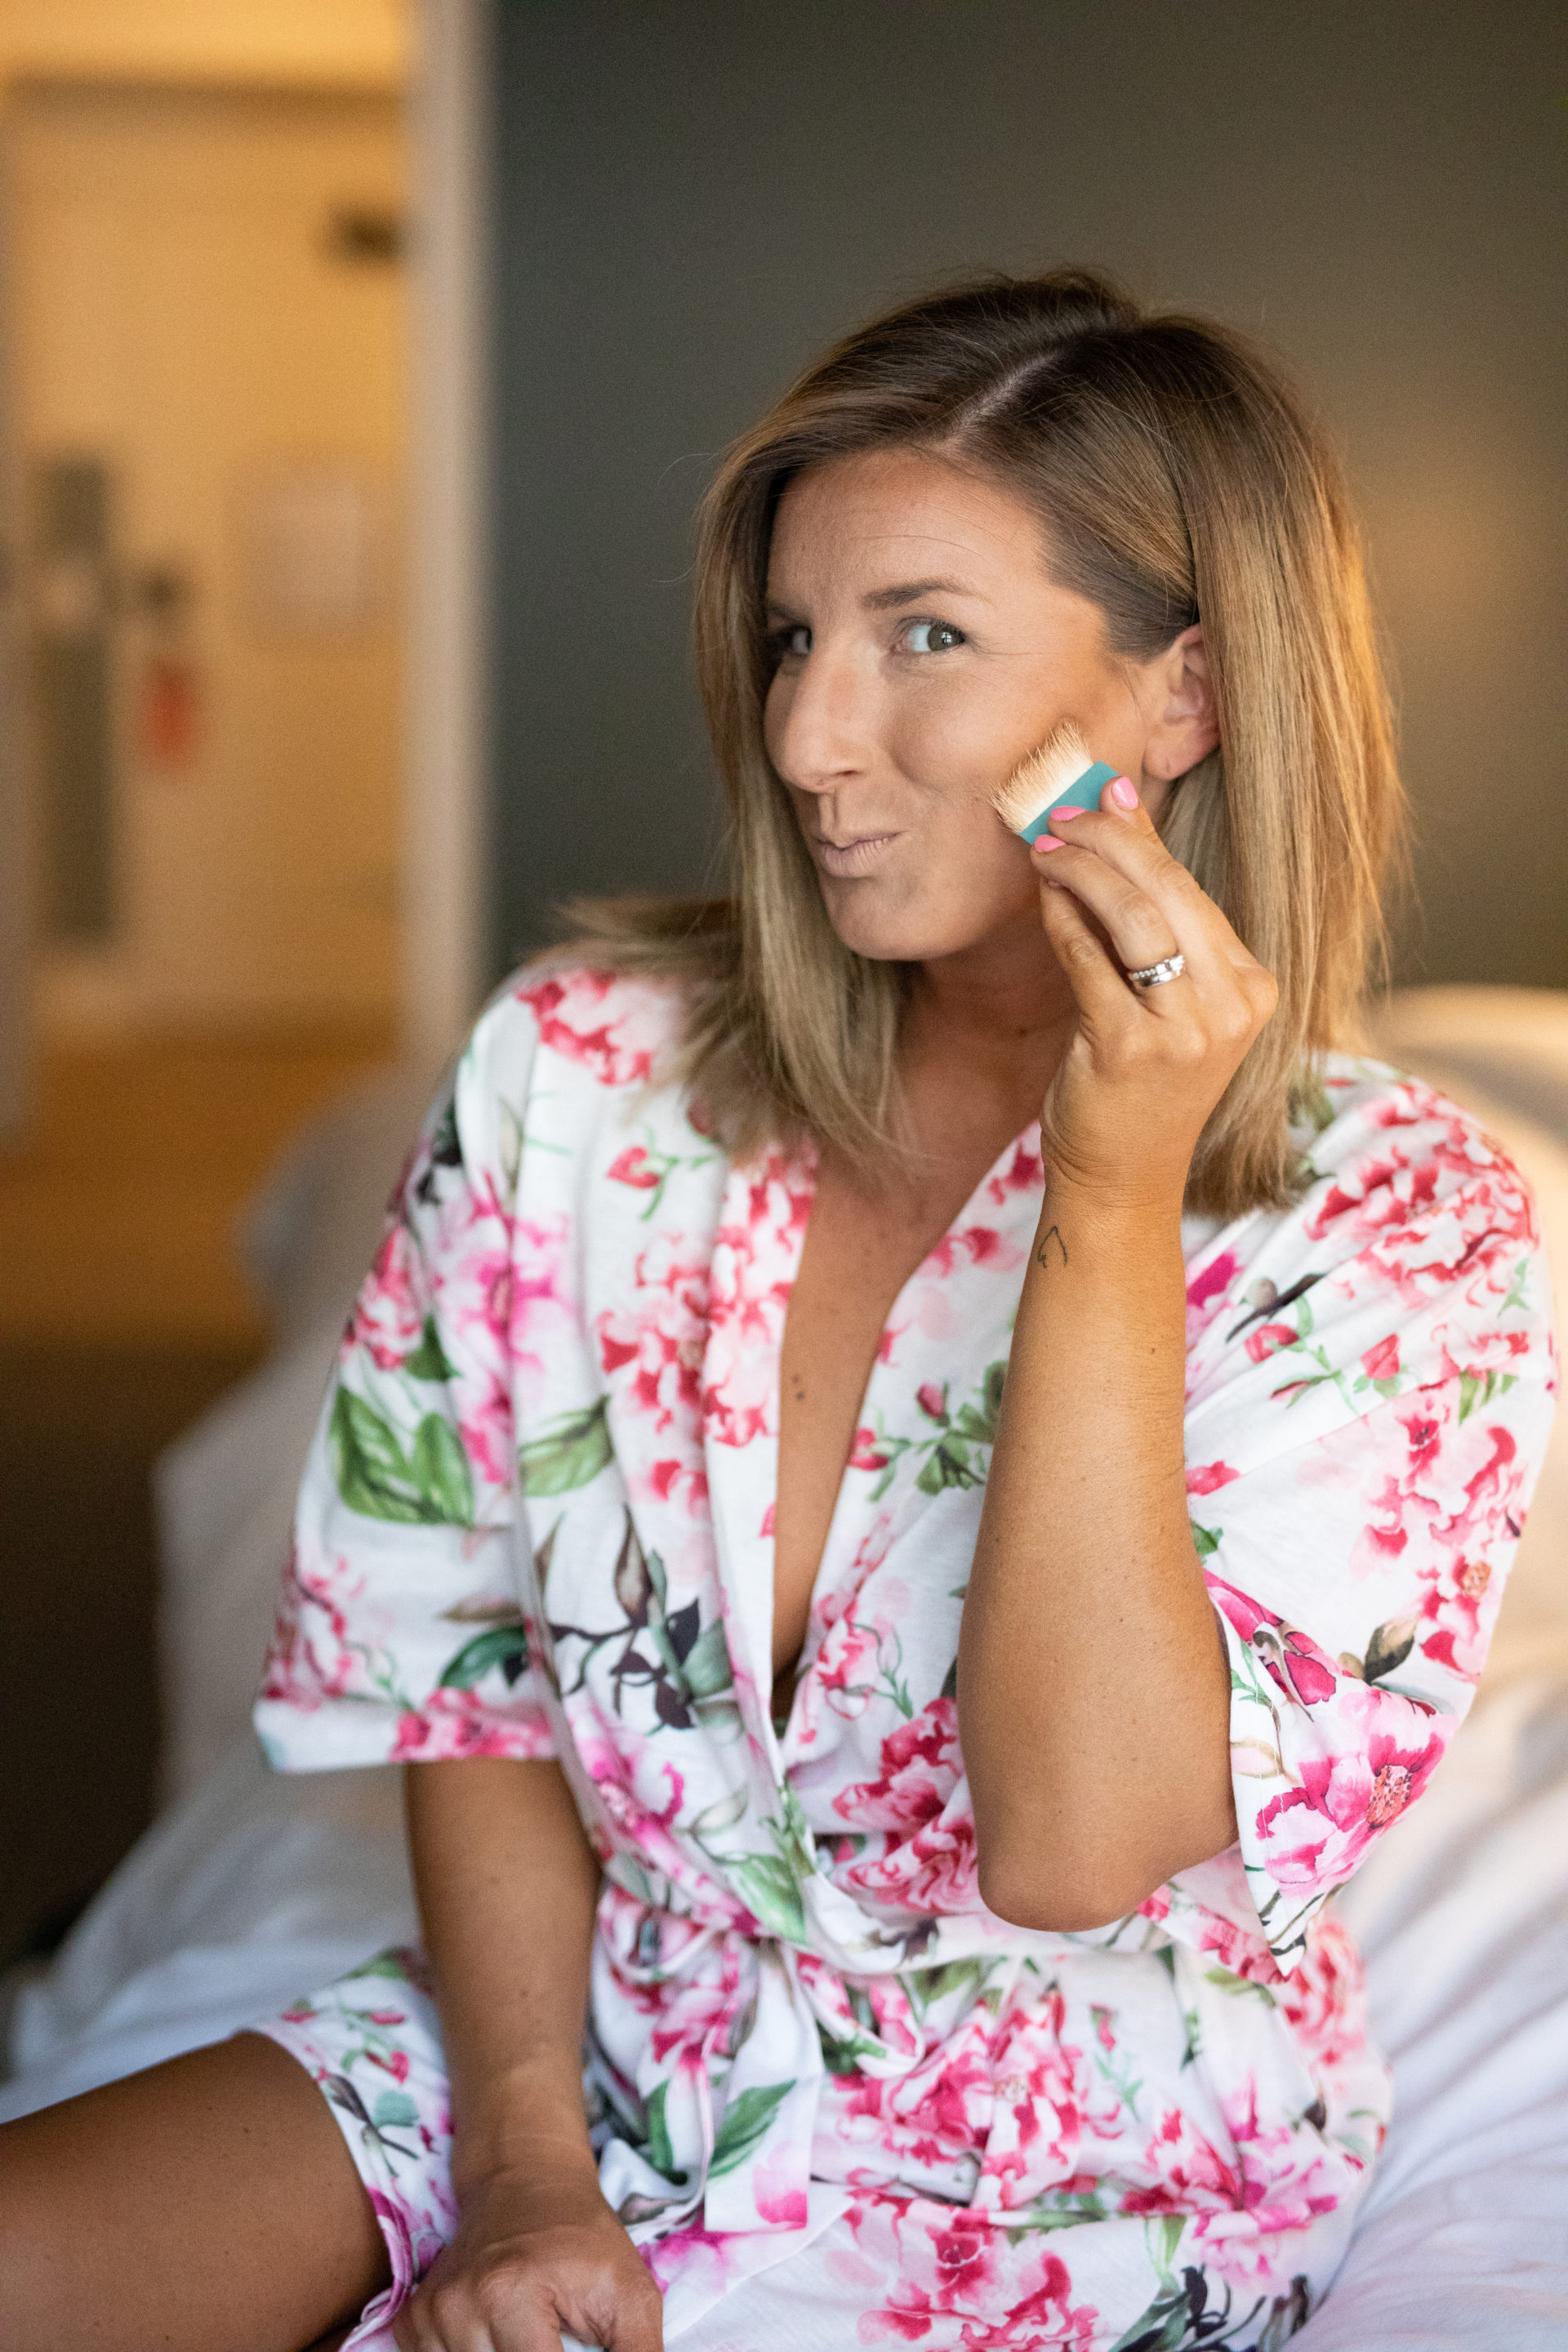
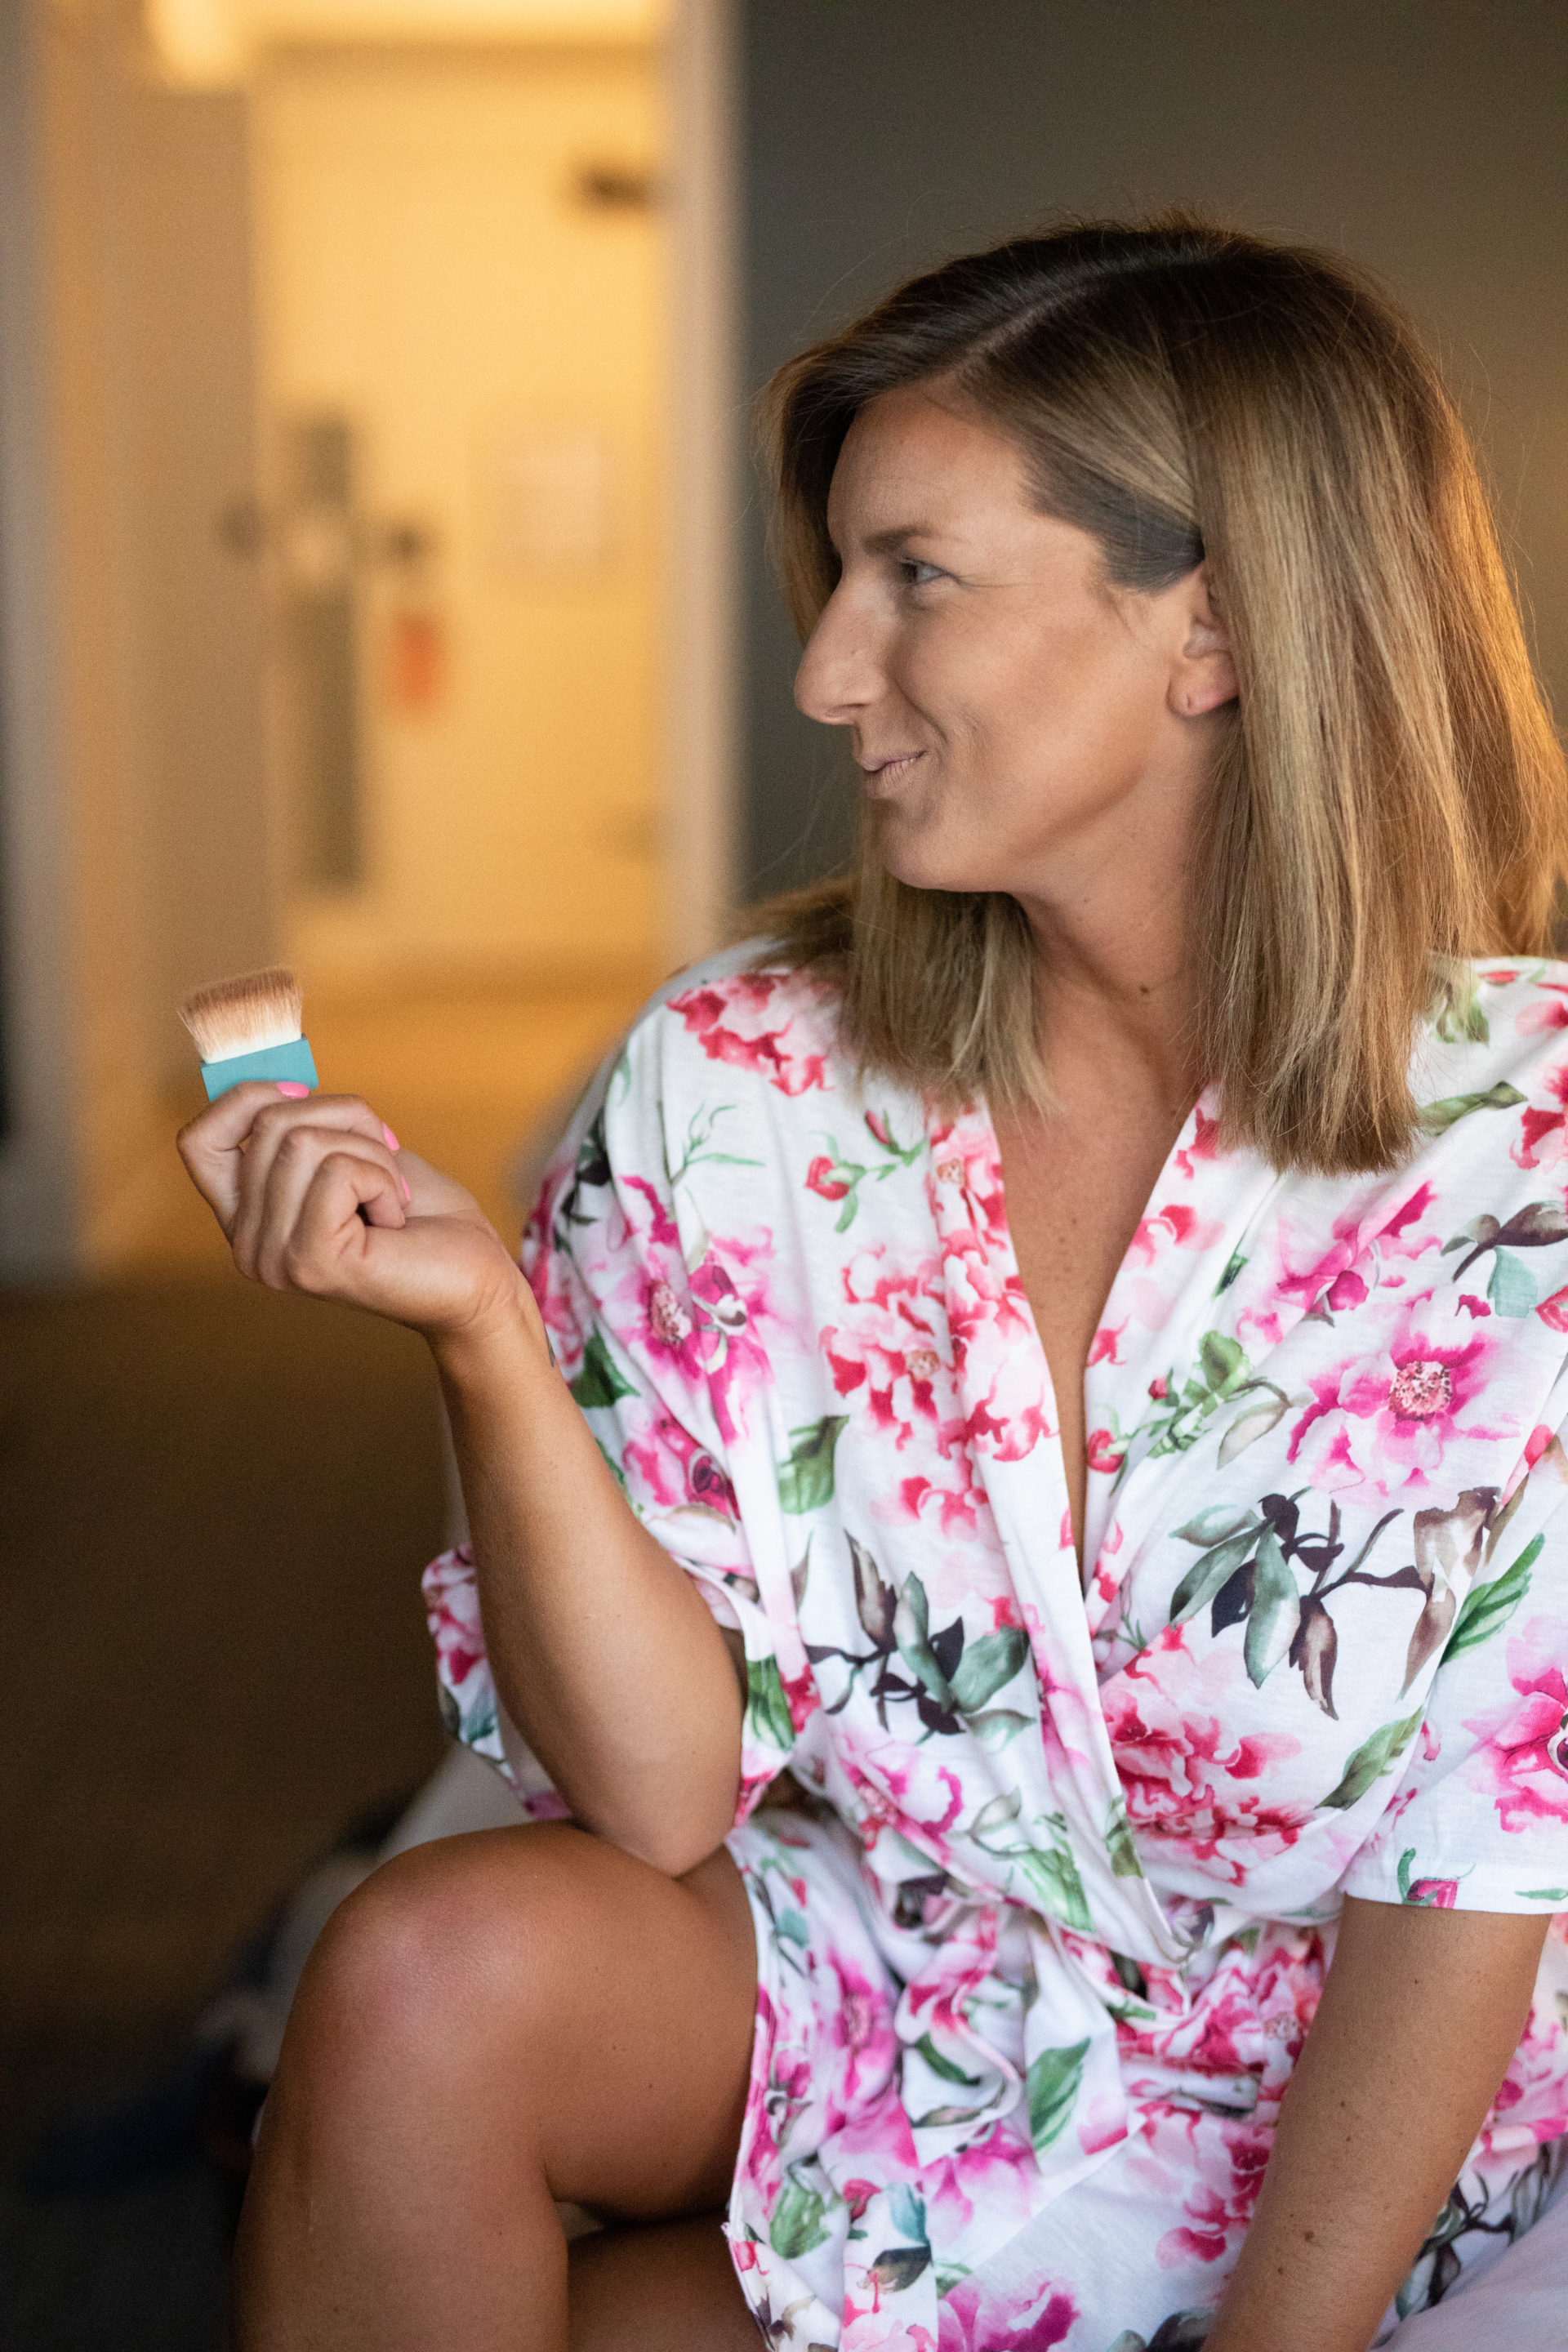
Once I blend a little more, it’s time for blush. My tried and true blush for years has been Becca Shimmering Skin Perfector Luminous Blush in snapdragon. I apply a few swipes of color to the apples of my cheeks and upwards near my temples. After applying blush, I go back to my Benefit Cosmetics Cheekleader palette and take a few swipes of the highlighter to apply on my cheek bones and down the front of my nose.
The Eyes
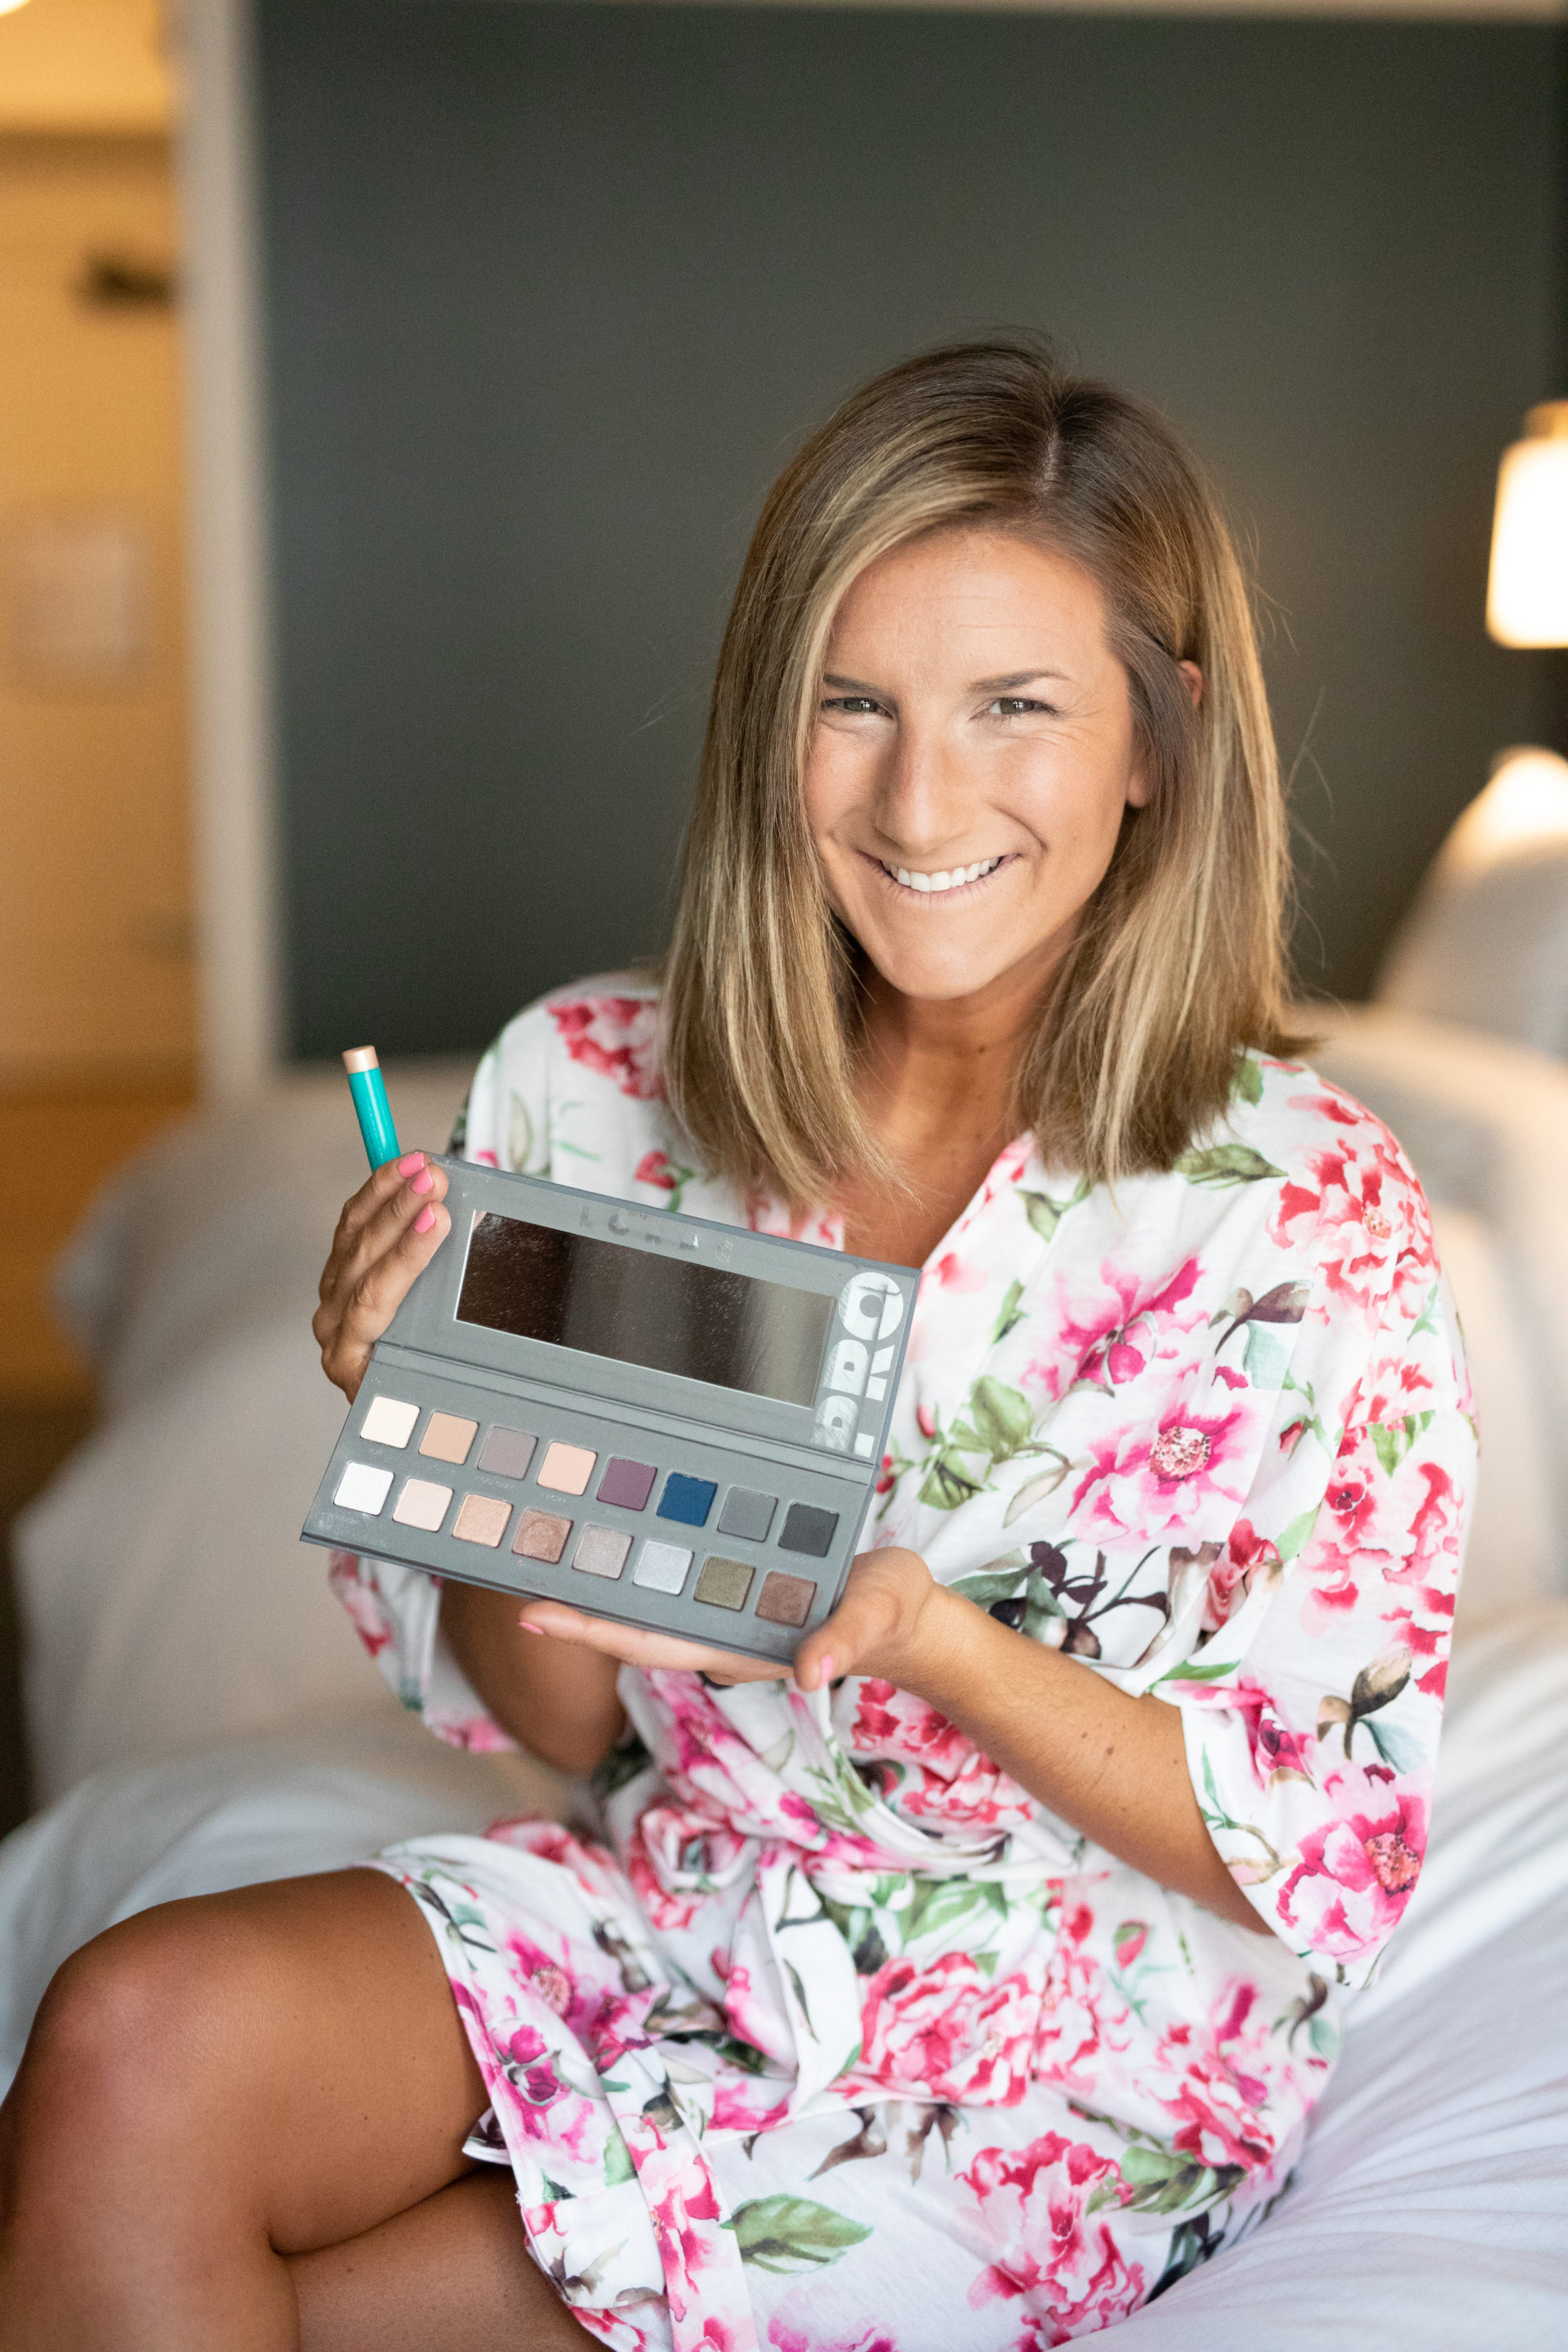
Now it’s time for all things eyes. Before I put anything on my lids, I use eye primer. I would recommend either Mary Kay’s eye primer or Urban Decay Original Eyeshadow Primer Potion. This keeps my eyeshadow look great all day long! For the photoshoot, I turned to this Lorac PRO Palette 2 as the sales associate at ULTA recommended it to me! When using, I applied Snow all over the lid and up to the brow, then a mix of Mocha and Cocoa to apply over the bone and then finished off with plum in the corner and crease. It wasn’t too dramatic but enough to photograph well!
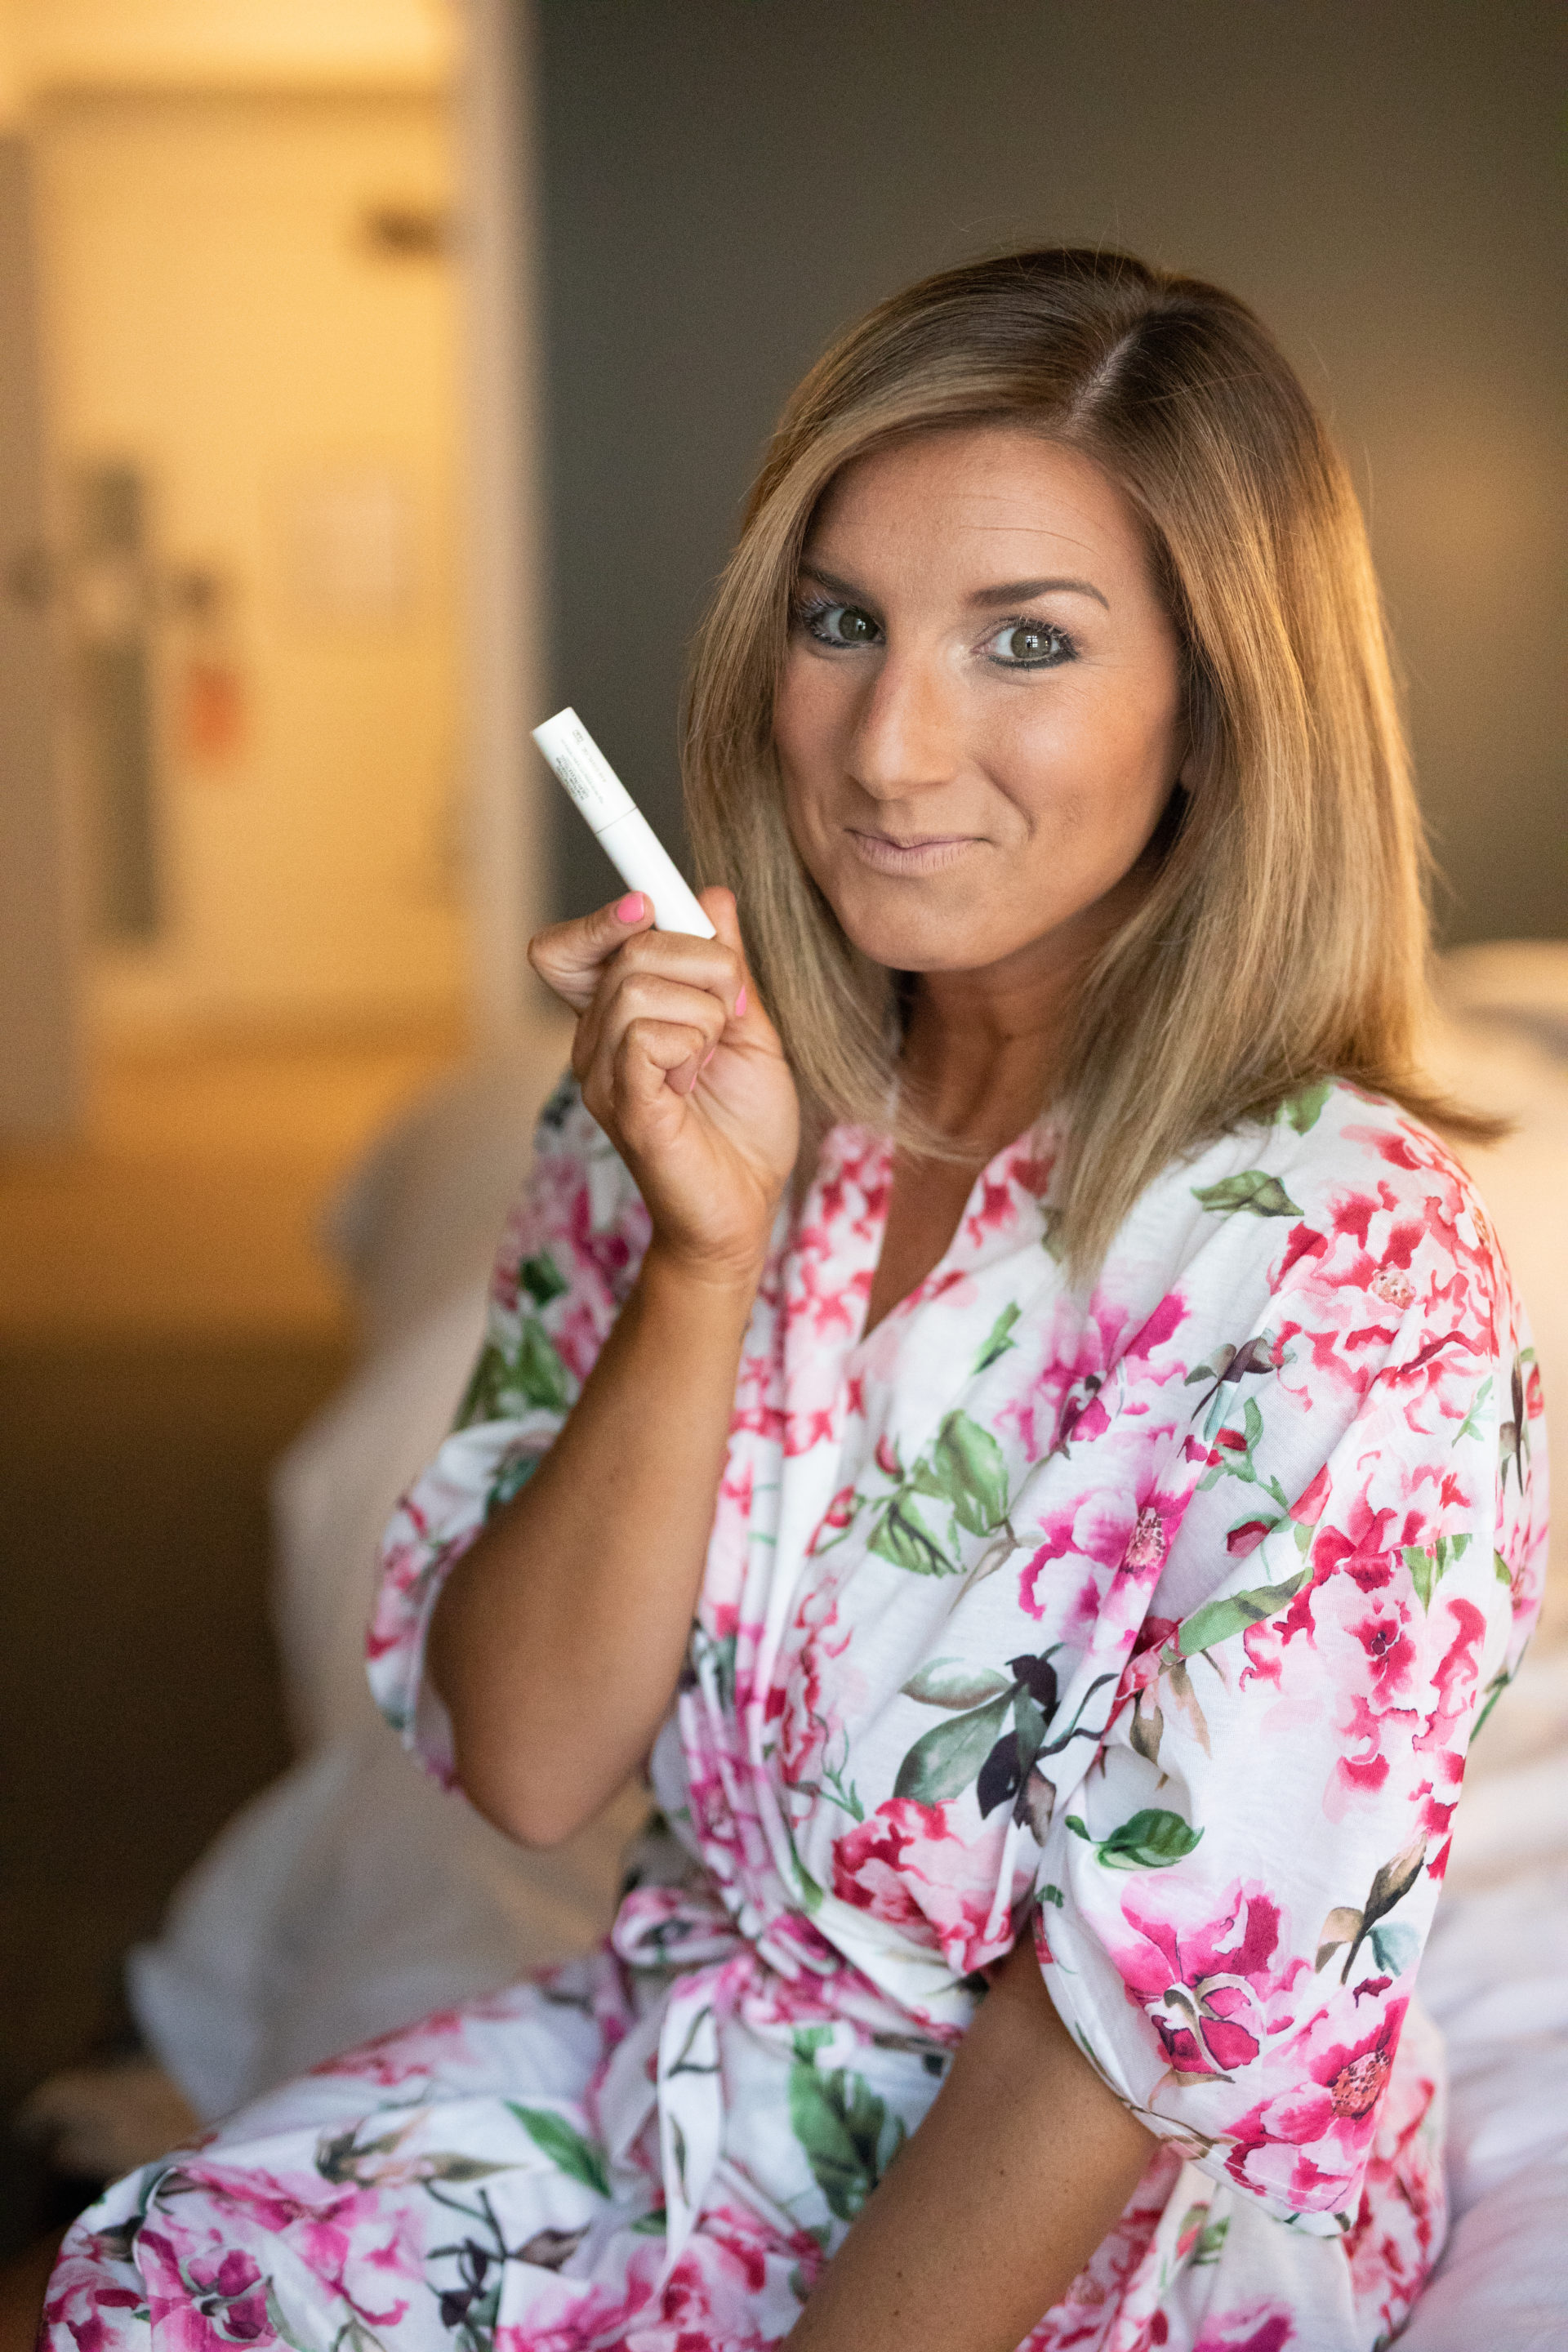
Next up, eyeliner and brows. I am a believer in Mary Kay’s Eyeliner [I use deep brown] as it goes on smoothly and doesn’t smear during the day. Again, another tried and true for years and years. I only ever line my bottom lid and then I set with eyeshadow over top [I used black from the eye shadow palette over the liner and then Snow on the corners of my eye to brighten]. Once lined, I move up to my eyebrows. Two must-have brow products I swear by: Benefit Cosmetics Precisely, My Brow Pencil Ultra-Fine Shape and Define for shaping and filling my brows and Benefit Cosmetics High Brow Highlight and Lift Pencil which I apply directly under the brown to highlight and lift the brow.
And now for another equally terrifying photo of me. Eyelash primer. Something that is new to me but apparently is a must for mascara. Who knew? Claire on the team, that’s who — she had me borrow this Lancôme Travel Size Cils Booster XL Enhancing Mascara Base which I applied before my mascara and yes, it is white and it will freak you out.
As soon as that white stuff dries [I had to] it’s time to swipe up [a lot in my case] on mascara. The woman helping me when shopping told me I should try Benefit Cosmetics BADgal BANG! Volumizing Mascara so I obeyed and listened. I really did like it for the photoshoot and have continued to use it off and on since. It lengthened to my liking and didn’t flake which is a photoshoot must!
The Lips
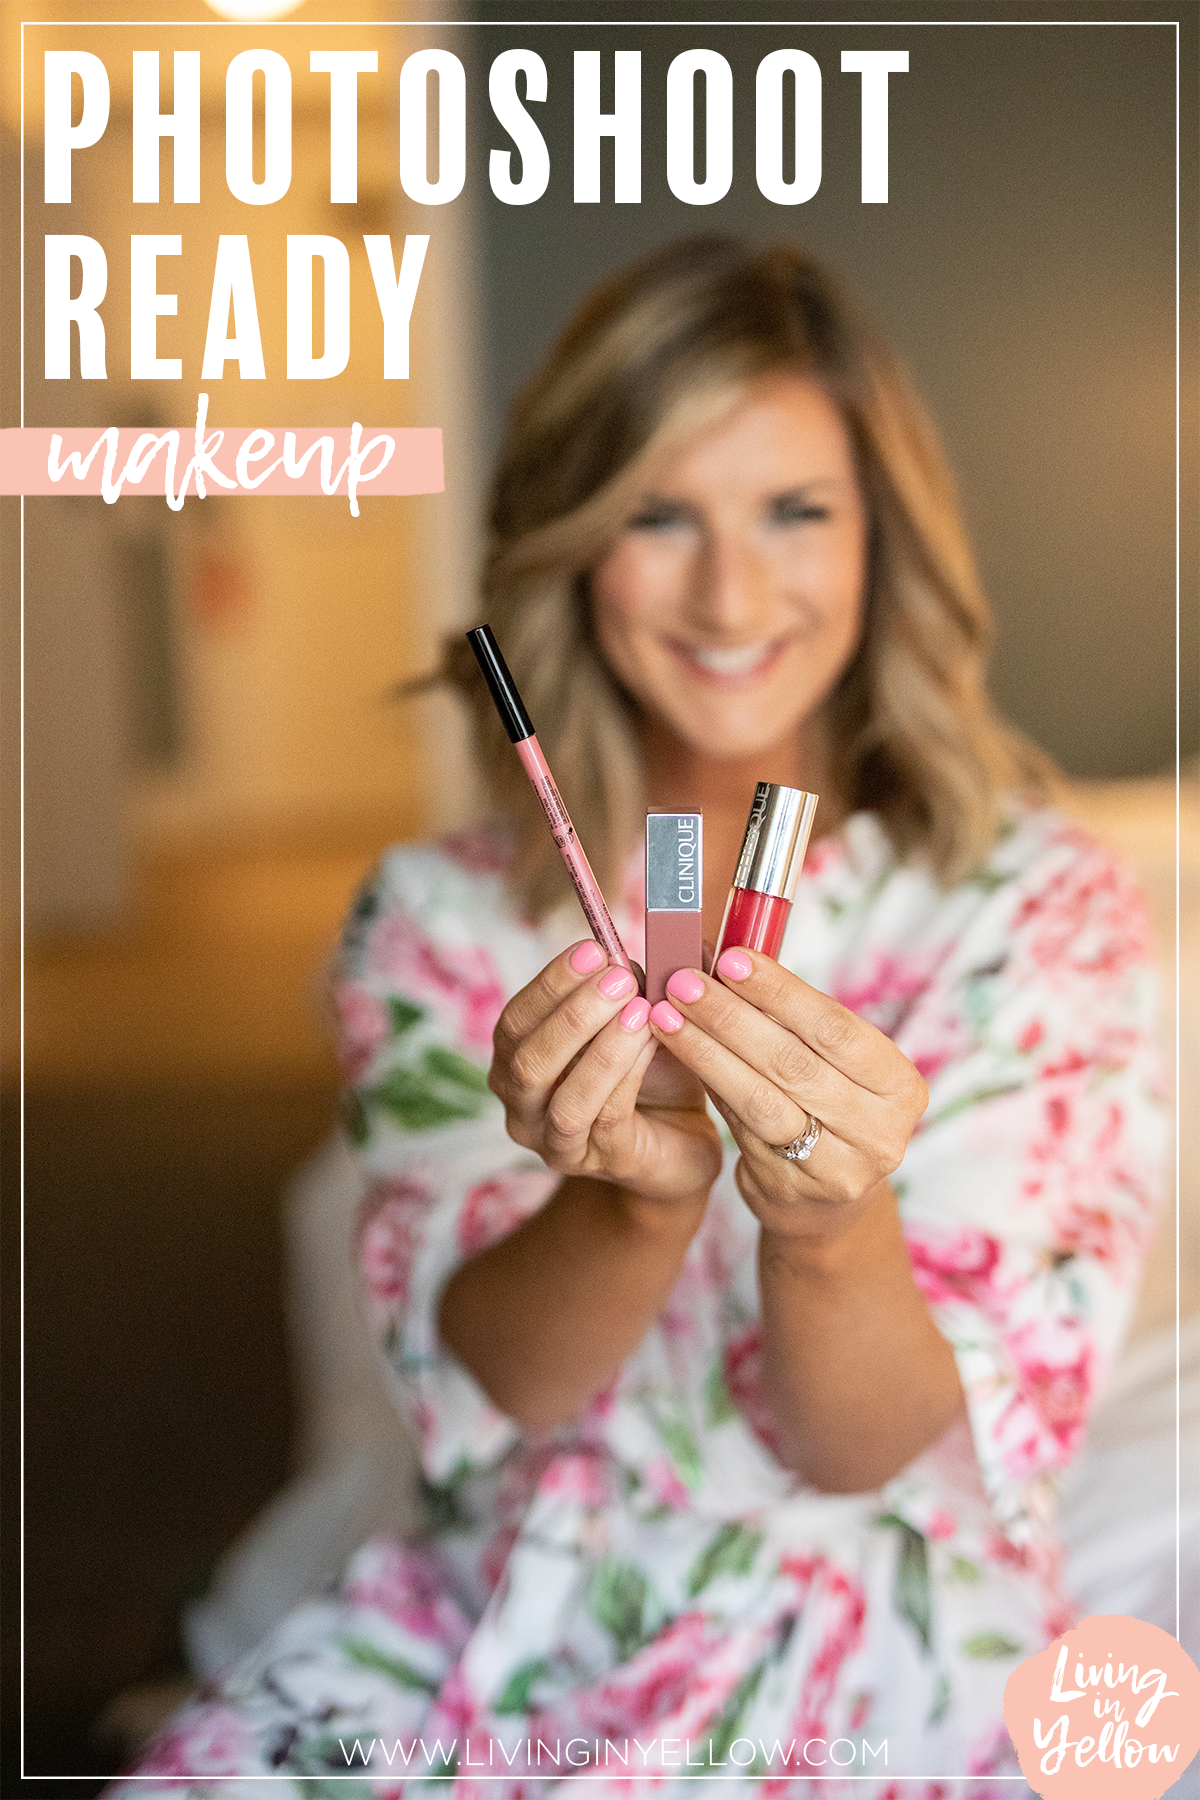
Last but certainly not least, lip time! Time to say goodbye to dead lips and hello to all things color! LIFE, YOU DO EXIST.
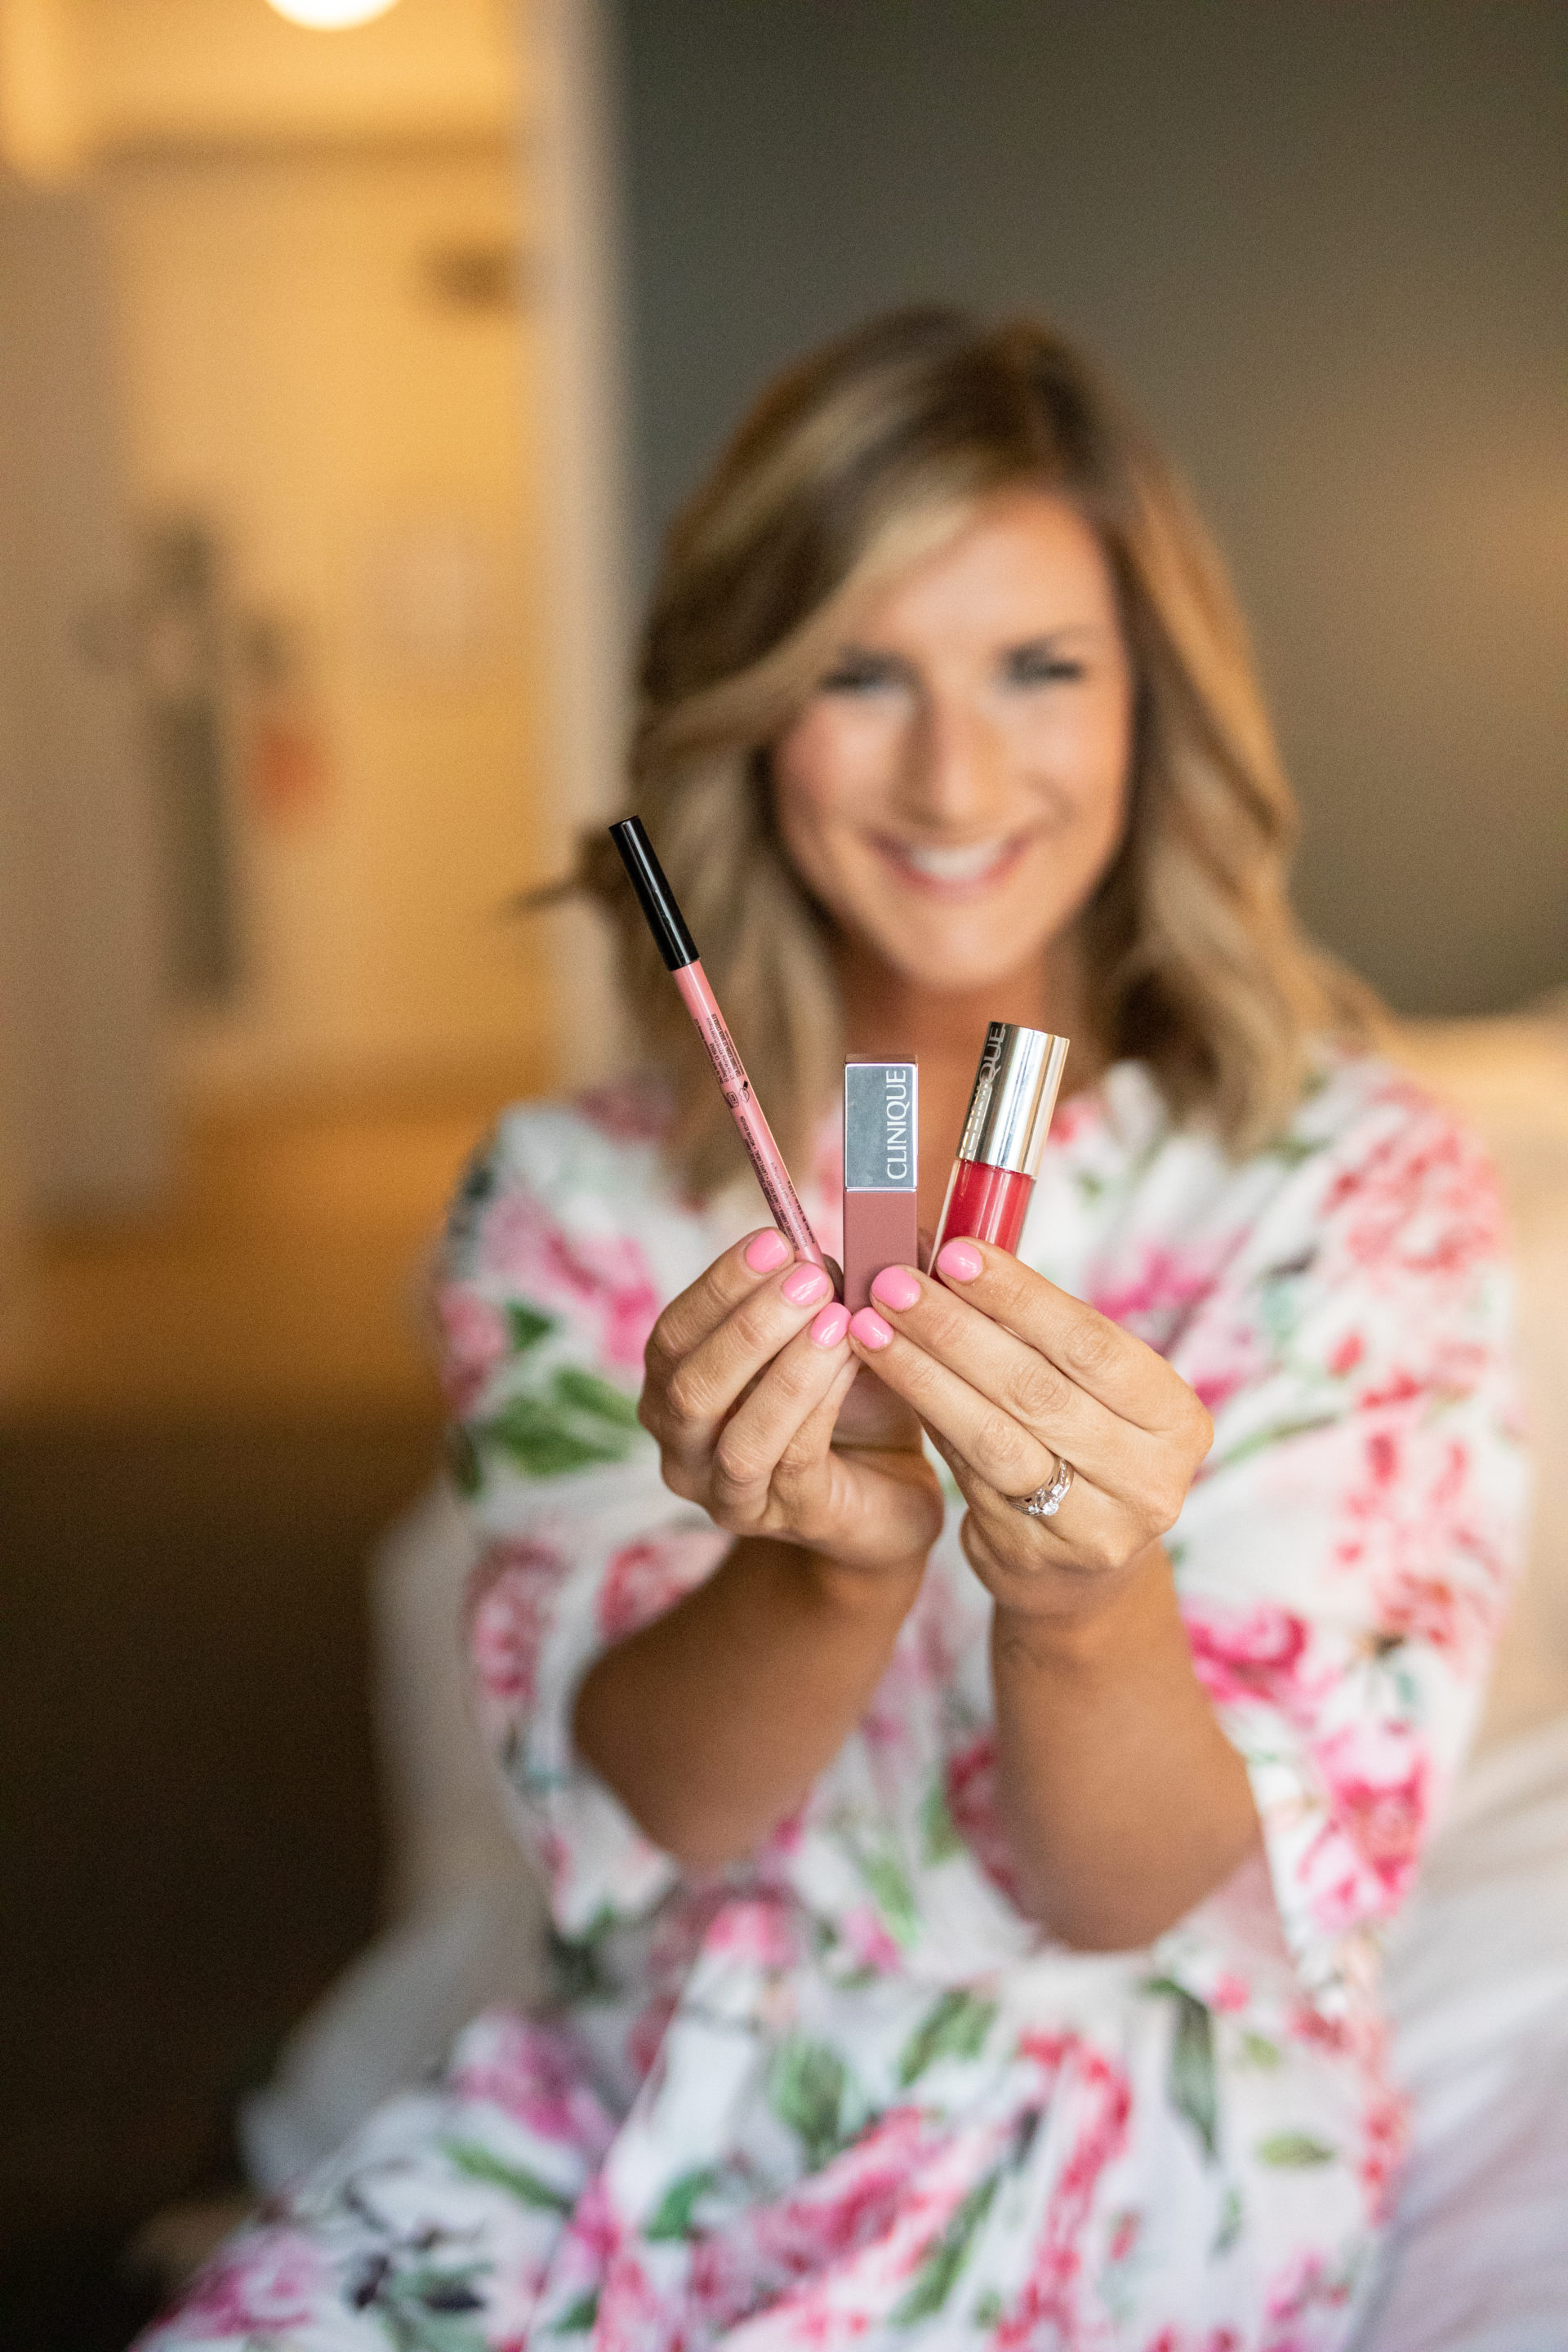
For my lips I used three things [a lot considering usually I use zero] — to line, this NYX Lip Liner in the color Alluring [it’s a great subtle hint of pink] topped off with lipstick which I went with Clinique Pop Matte Lip Colour + Primer in Beach Pop and all finished and glossified up with Clinique Pop Lacquer Lip Colour + Primer in Juicy Pop! It was just enough color to make a statement while still keeping me in my comfort zone! Once completely finished, I sprayed it all off with Urban Decay Cosmetics All Nighter Long-Lasting Makeup Setting Spray and started shooting away! 60+ outfits later, my makeup was still miraculously in tact and I’ve got 7,000 photos to prove it [not kidding].
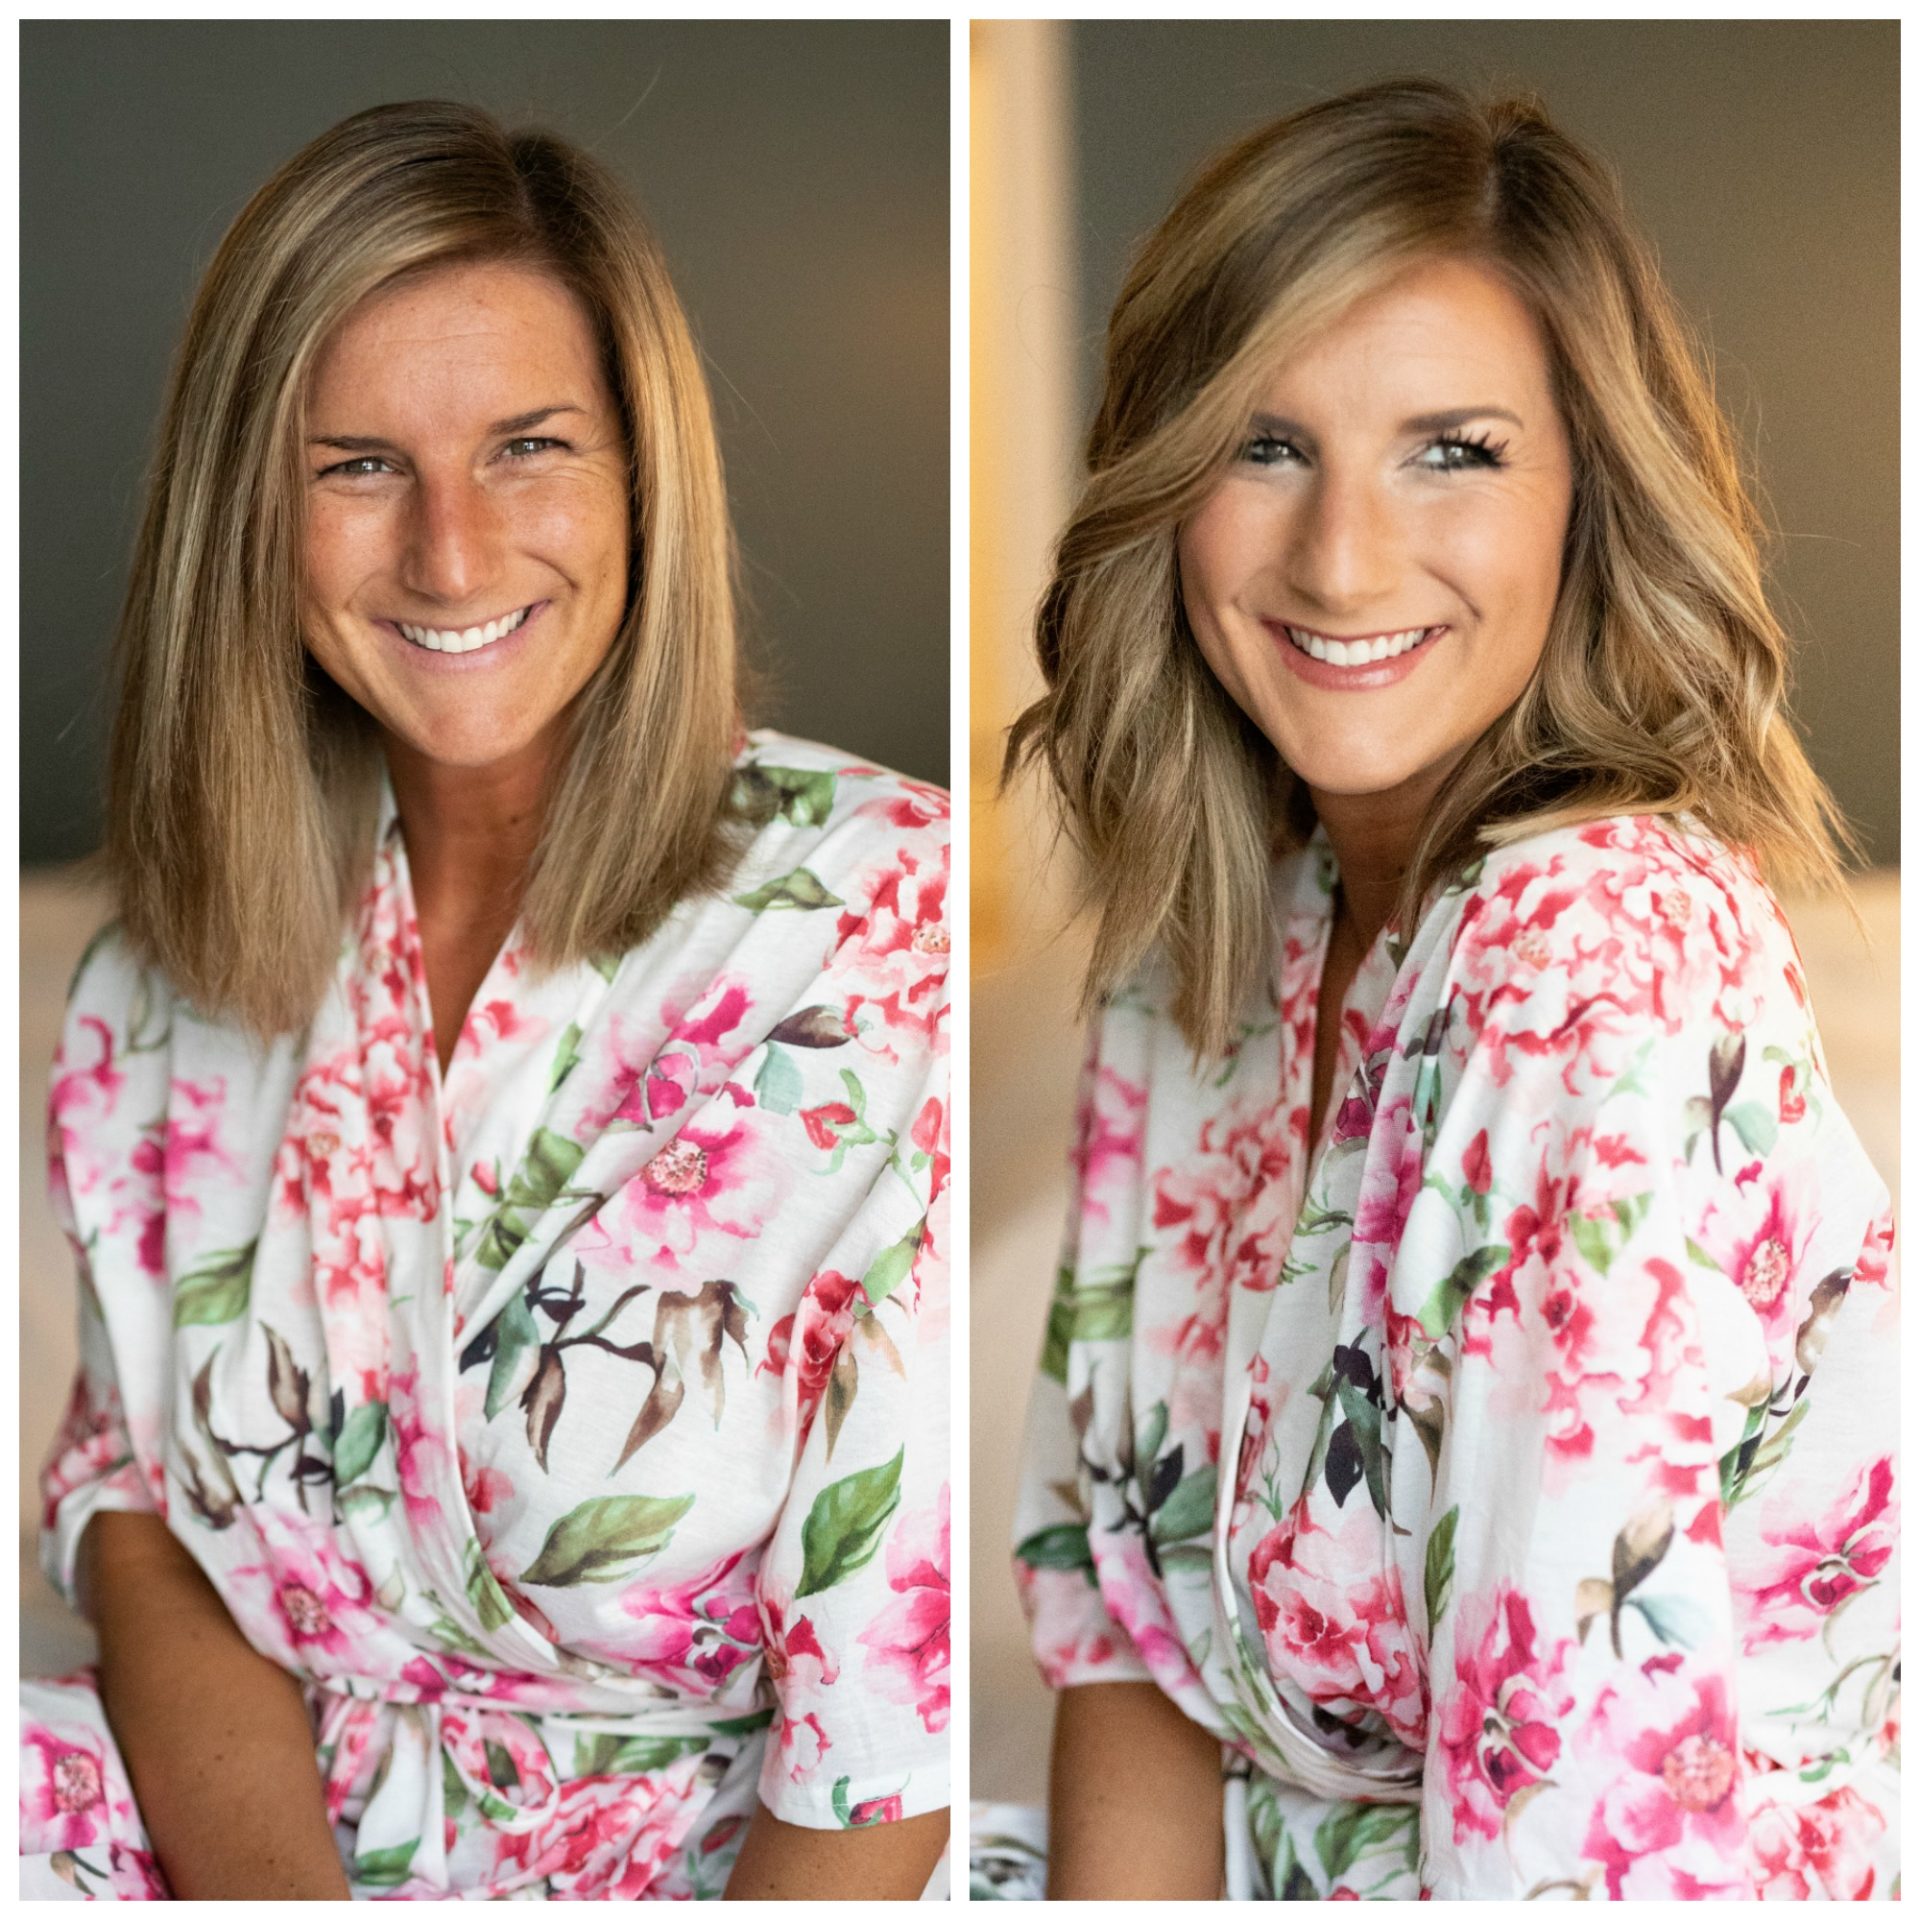
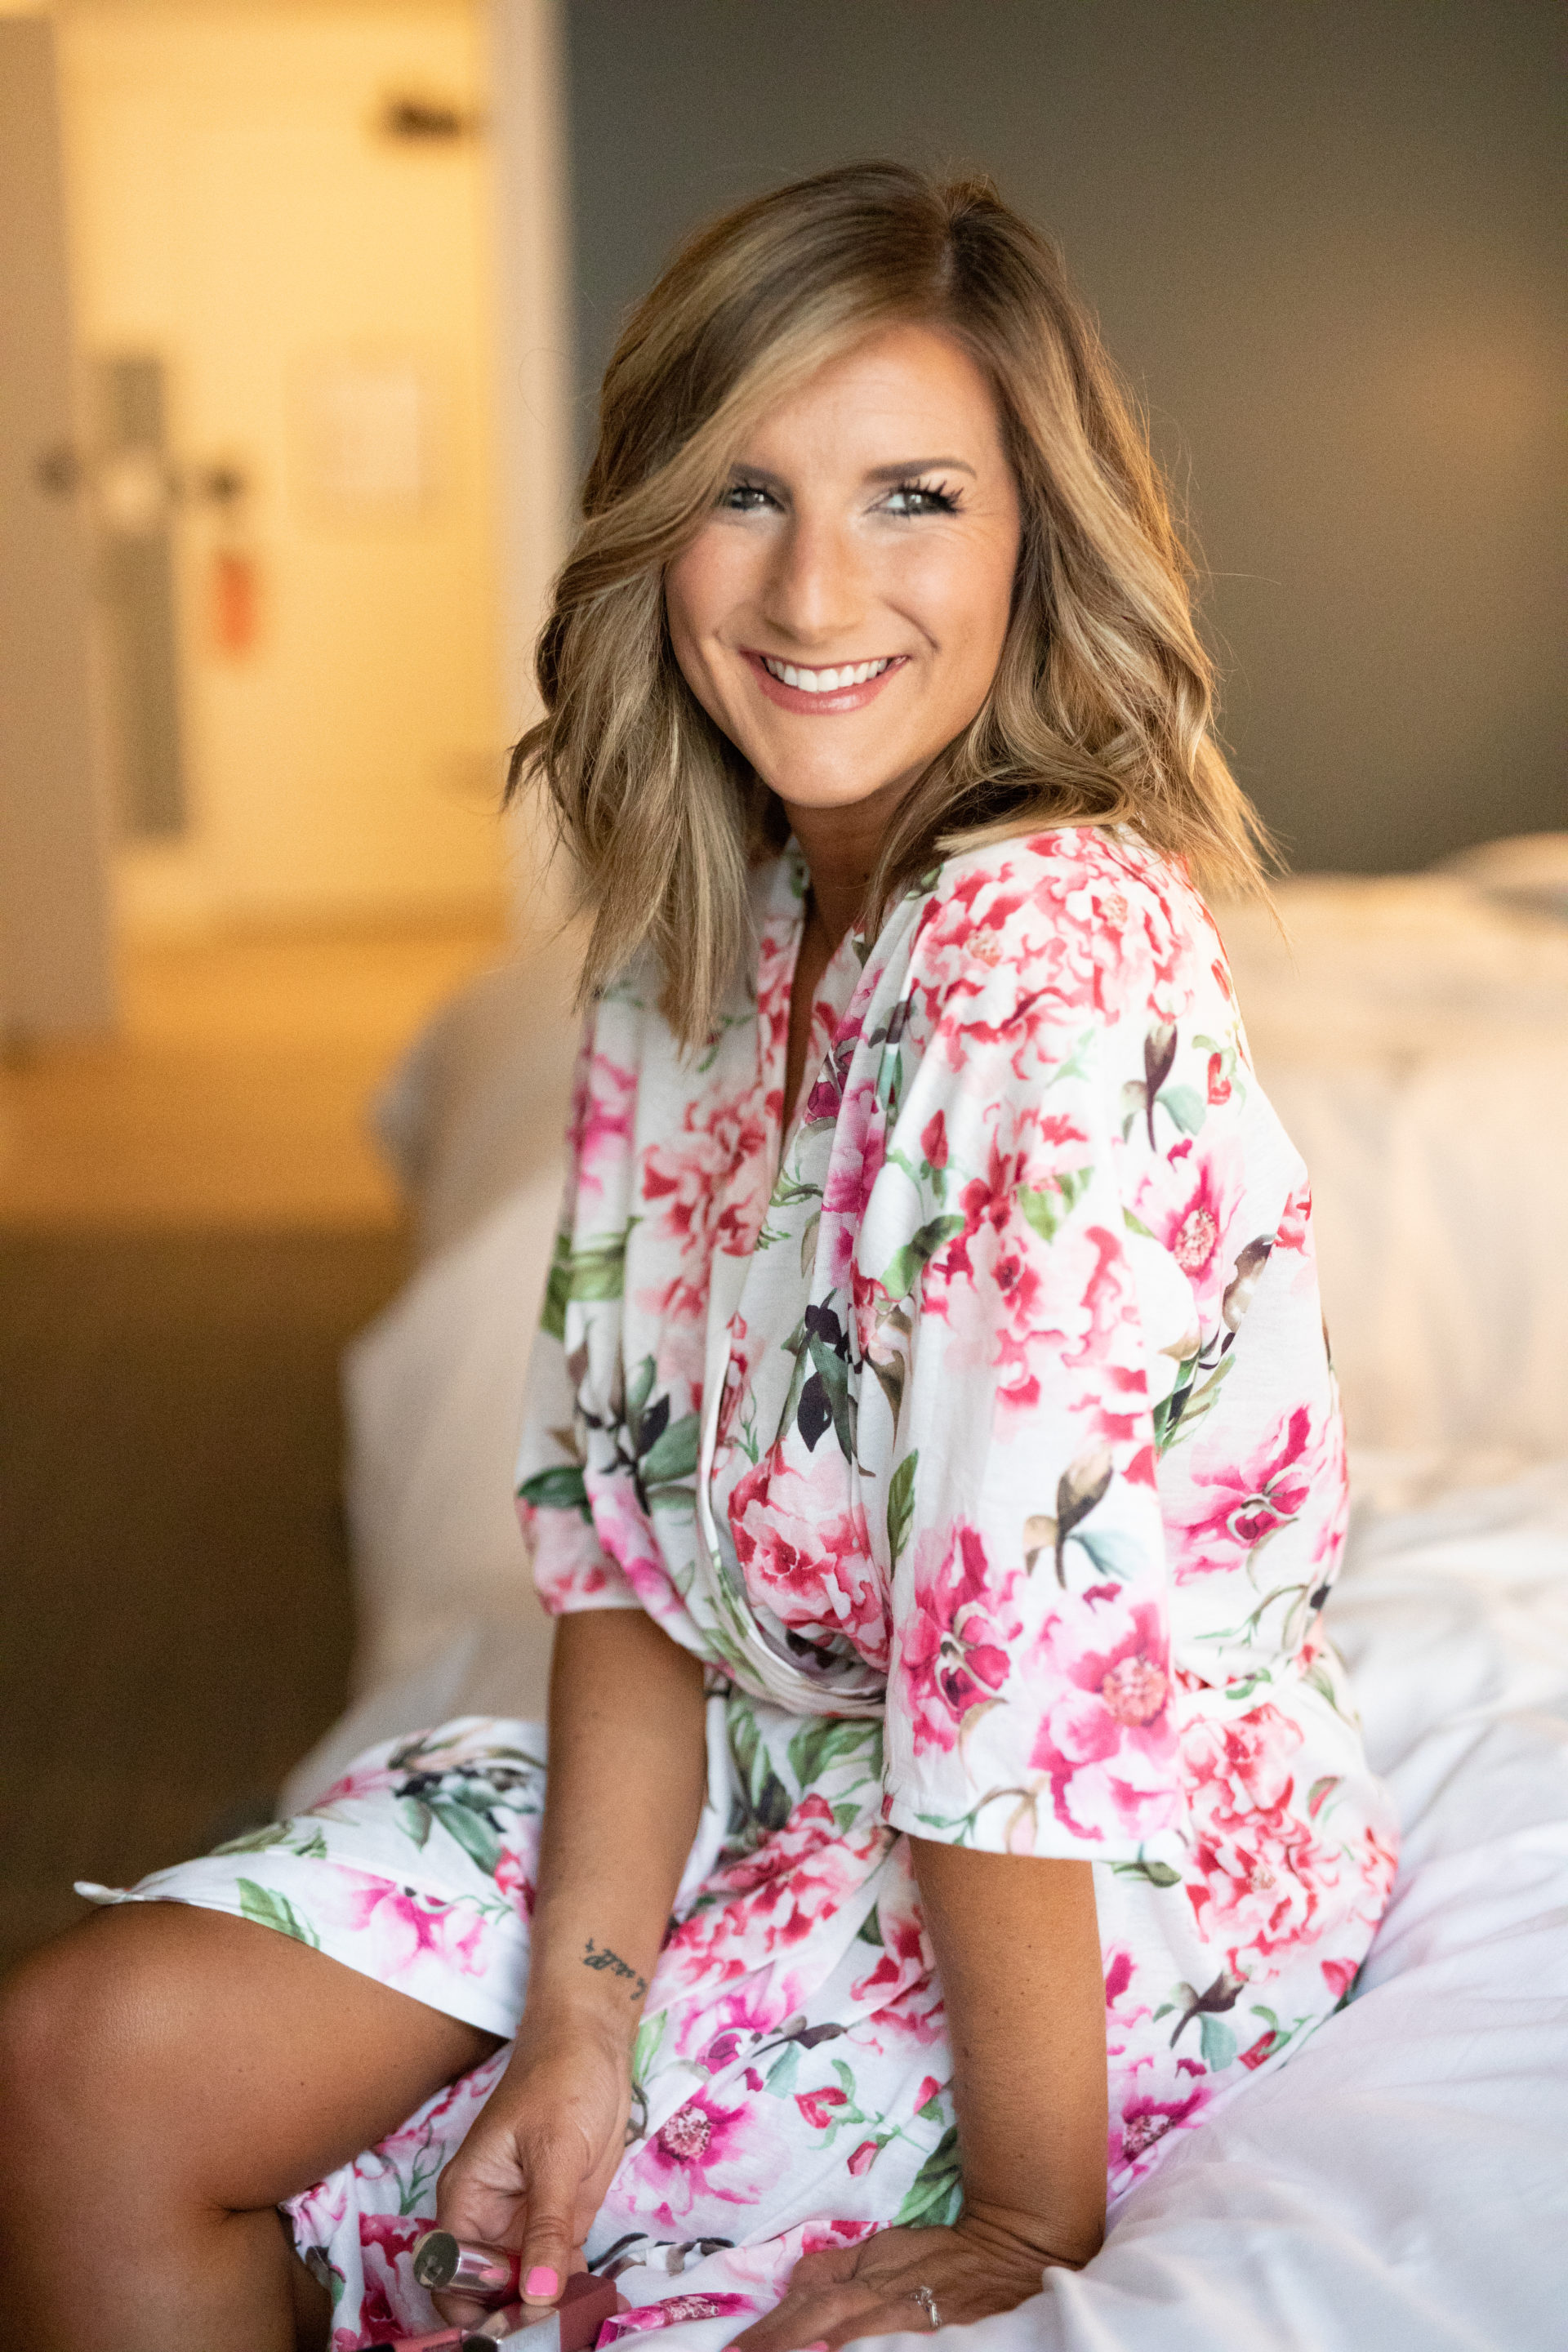
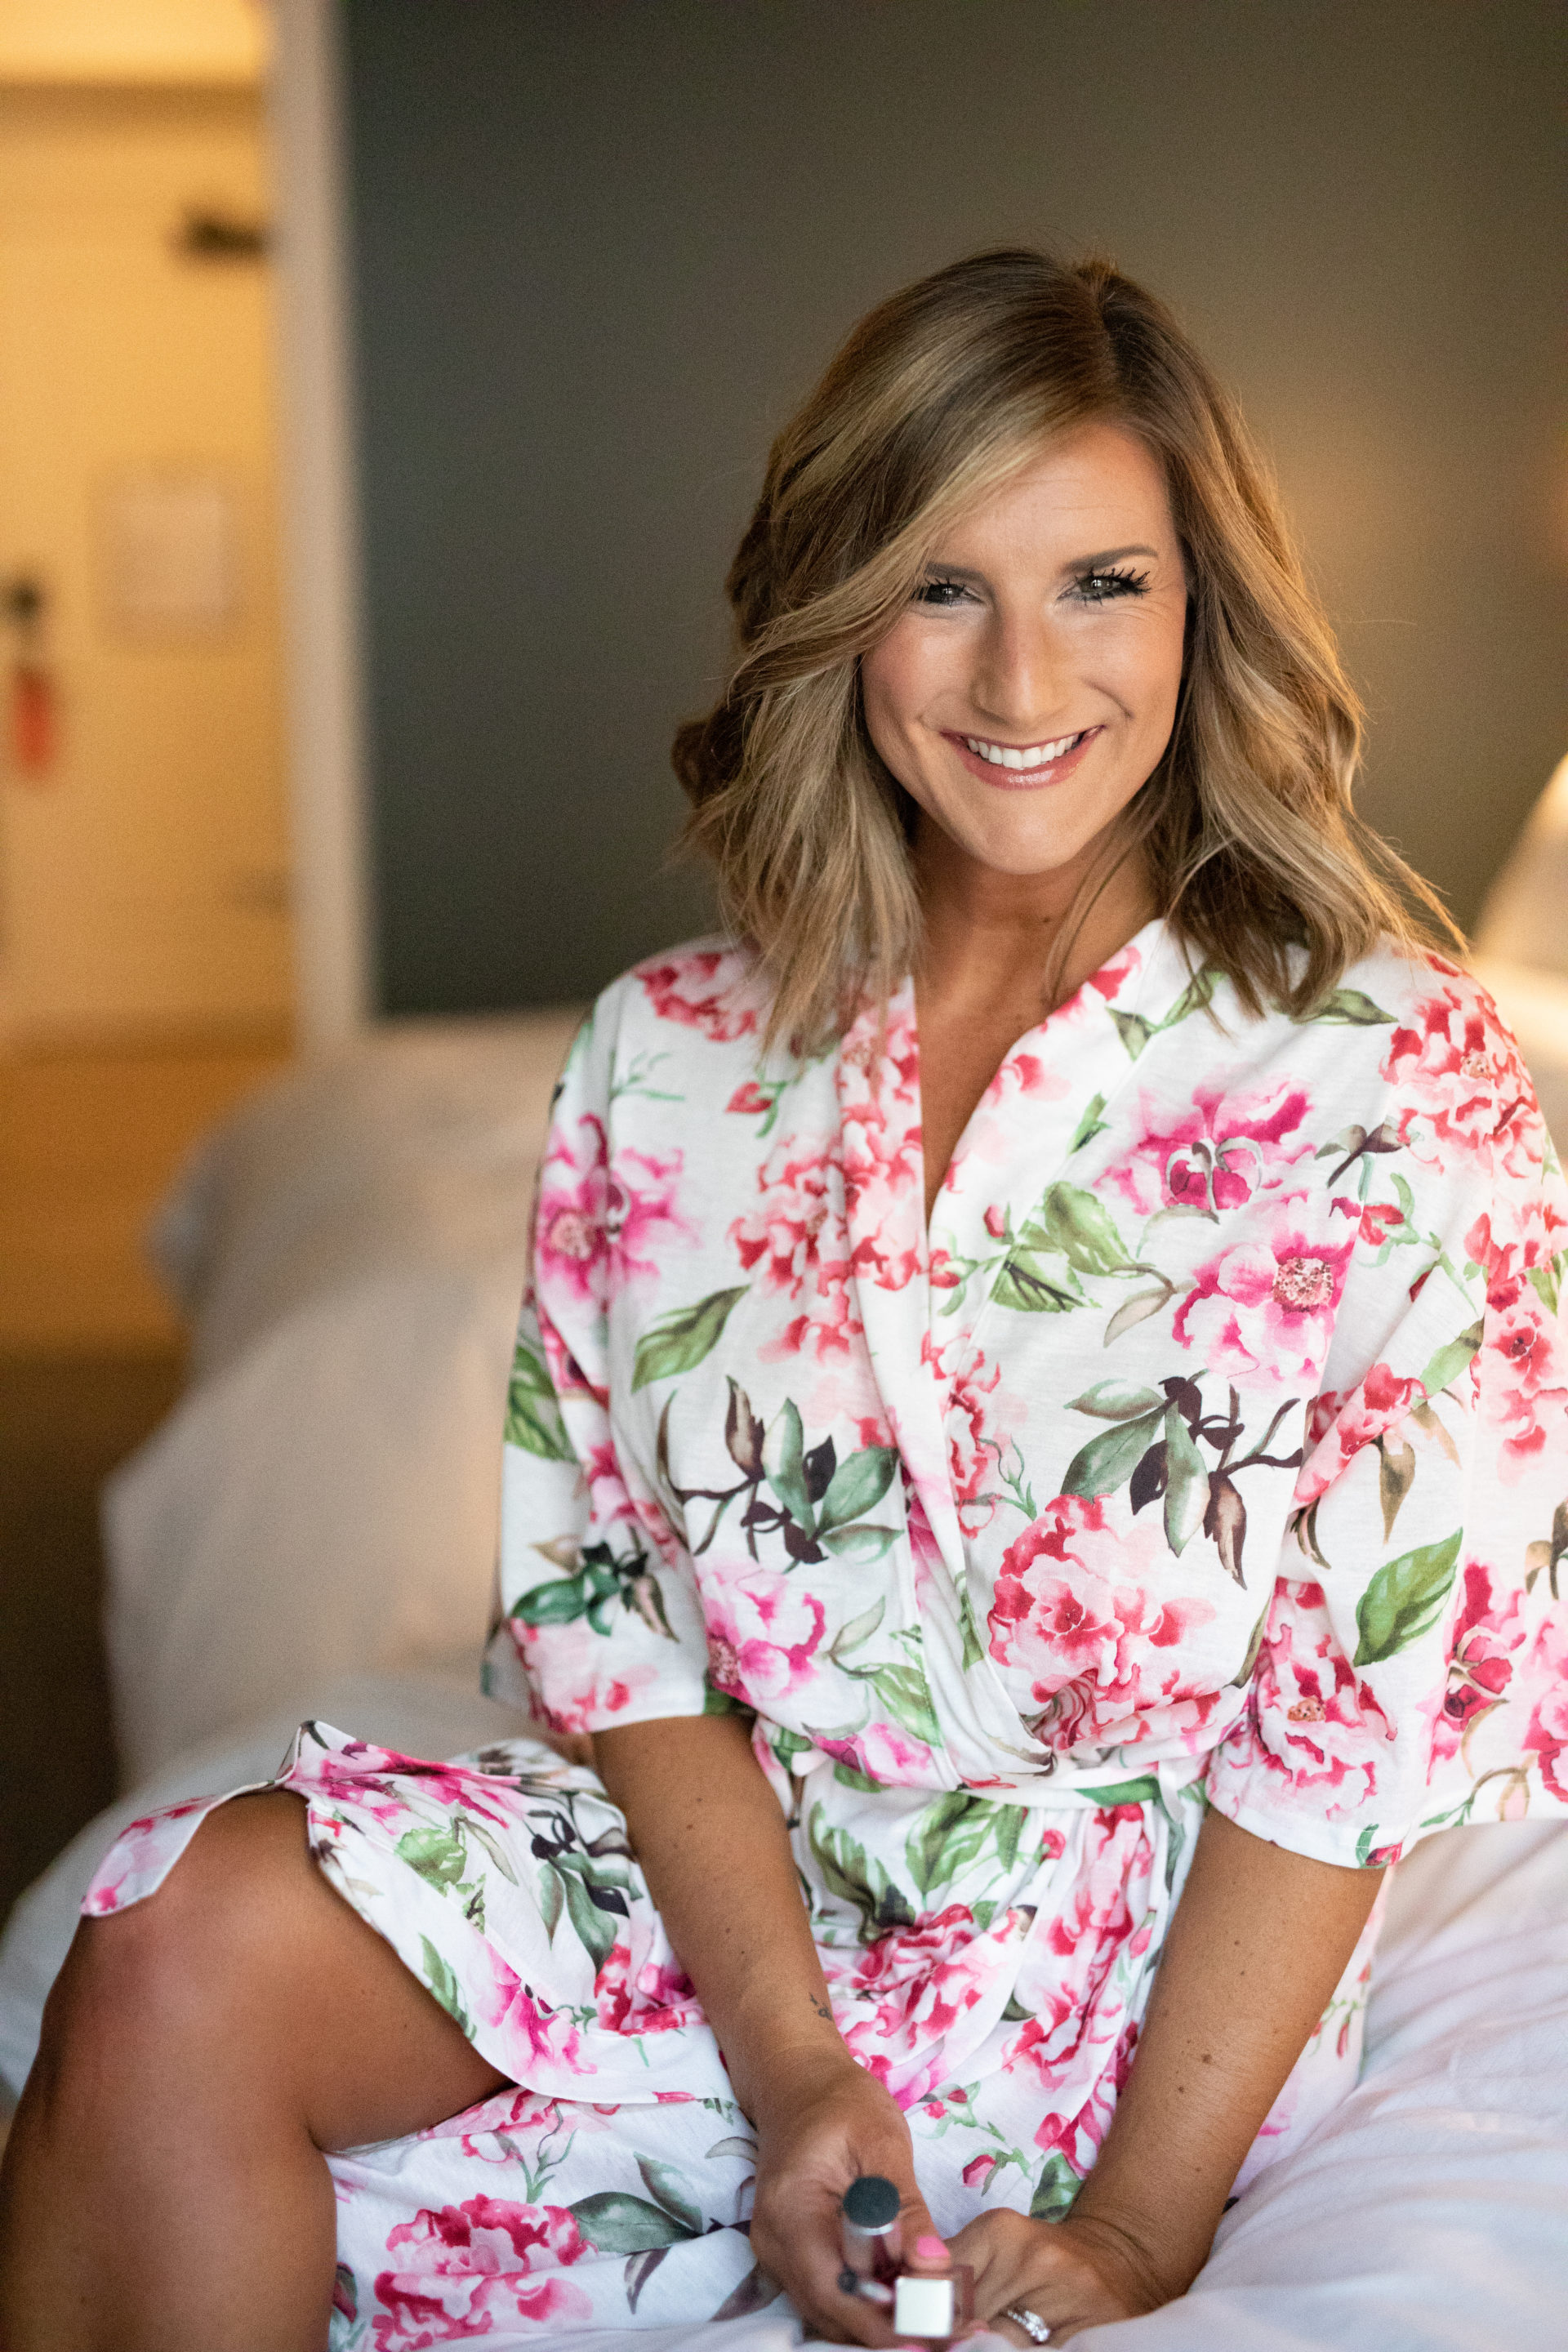
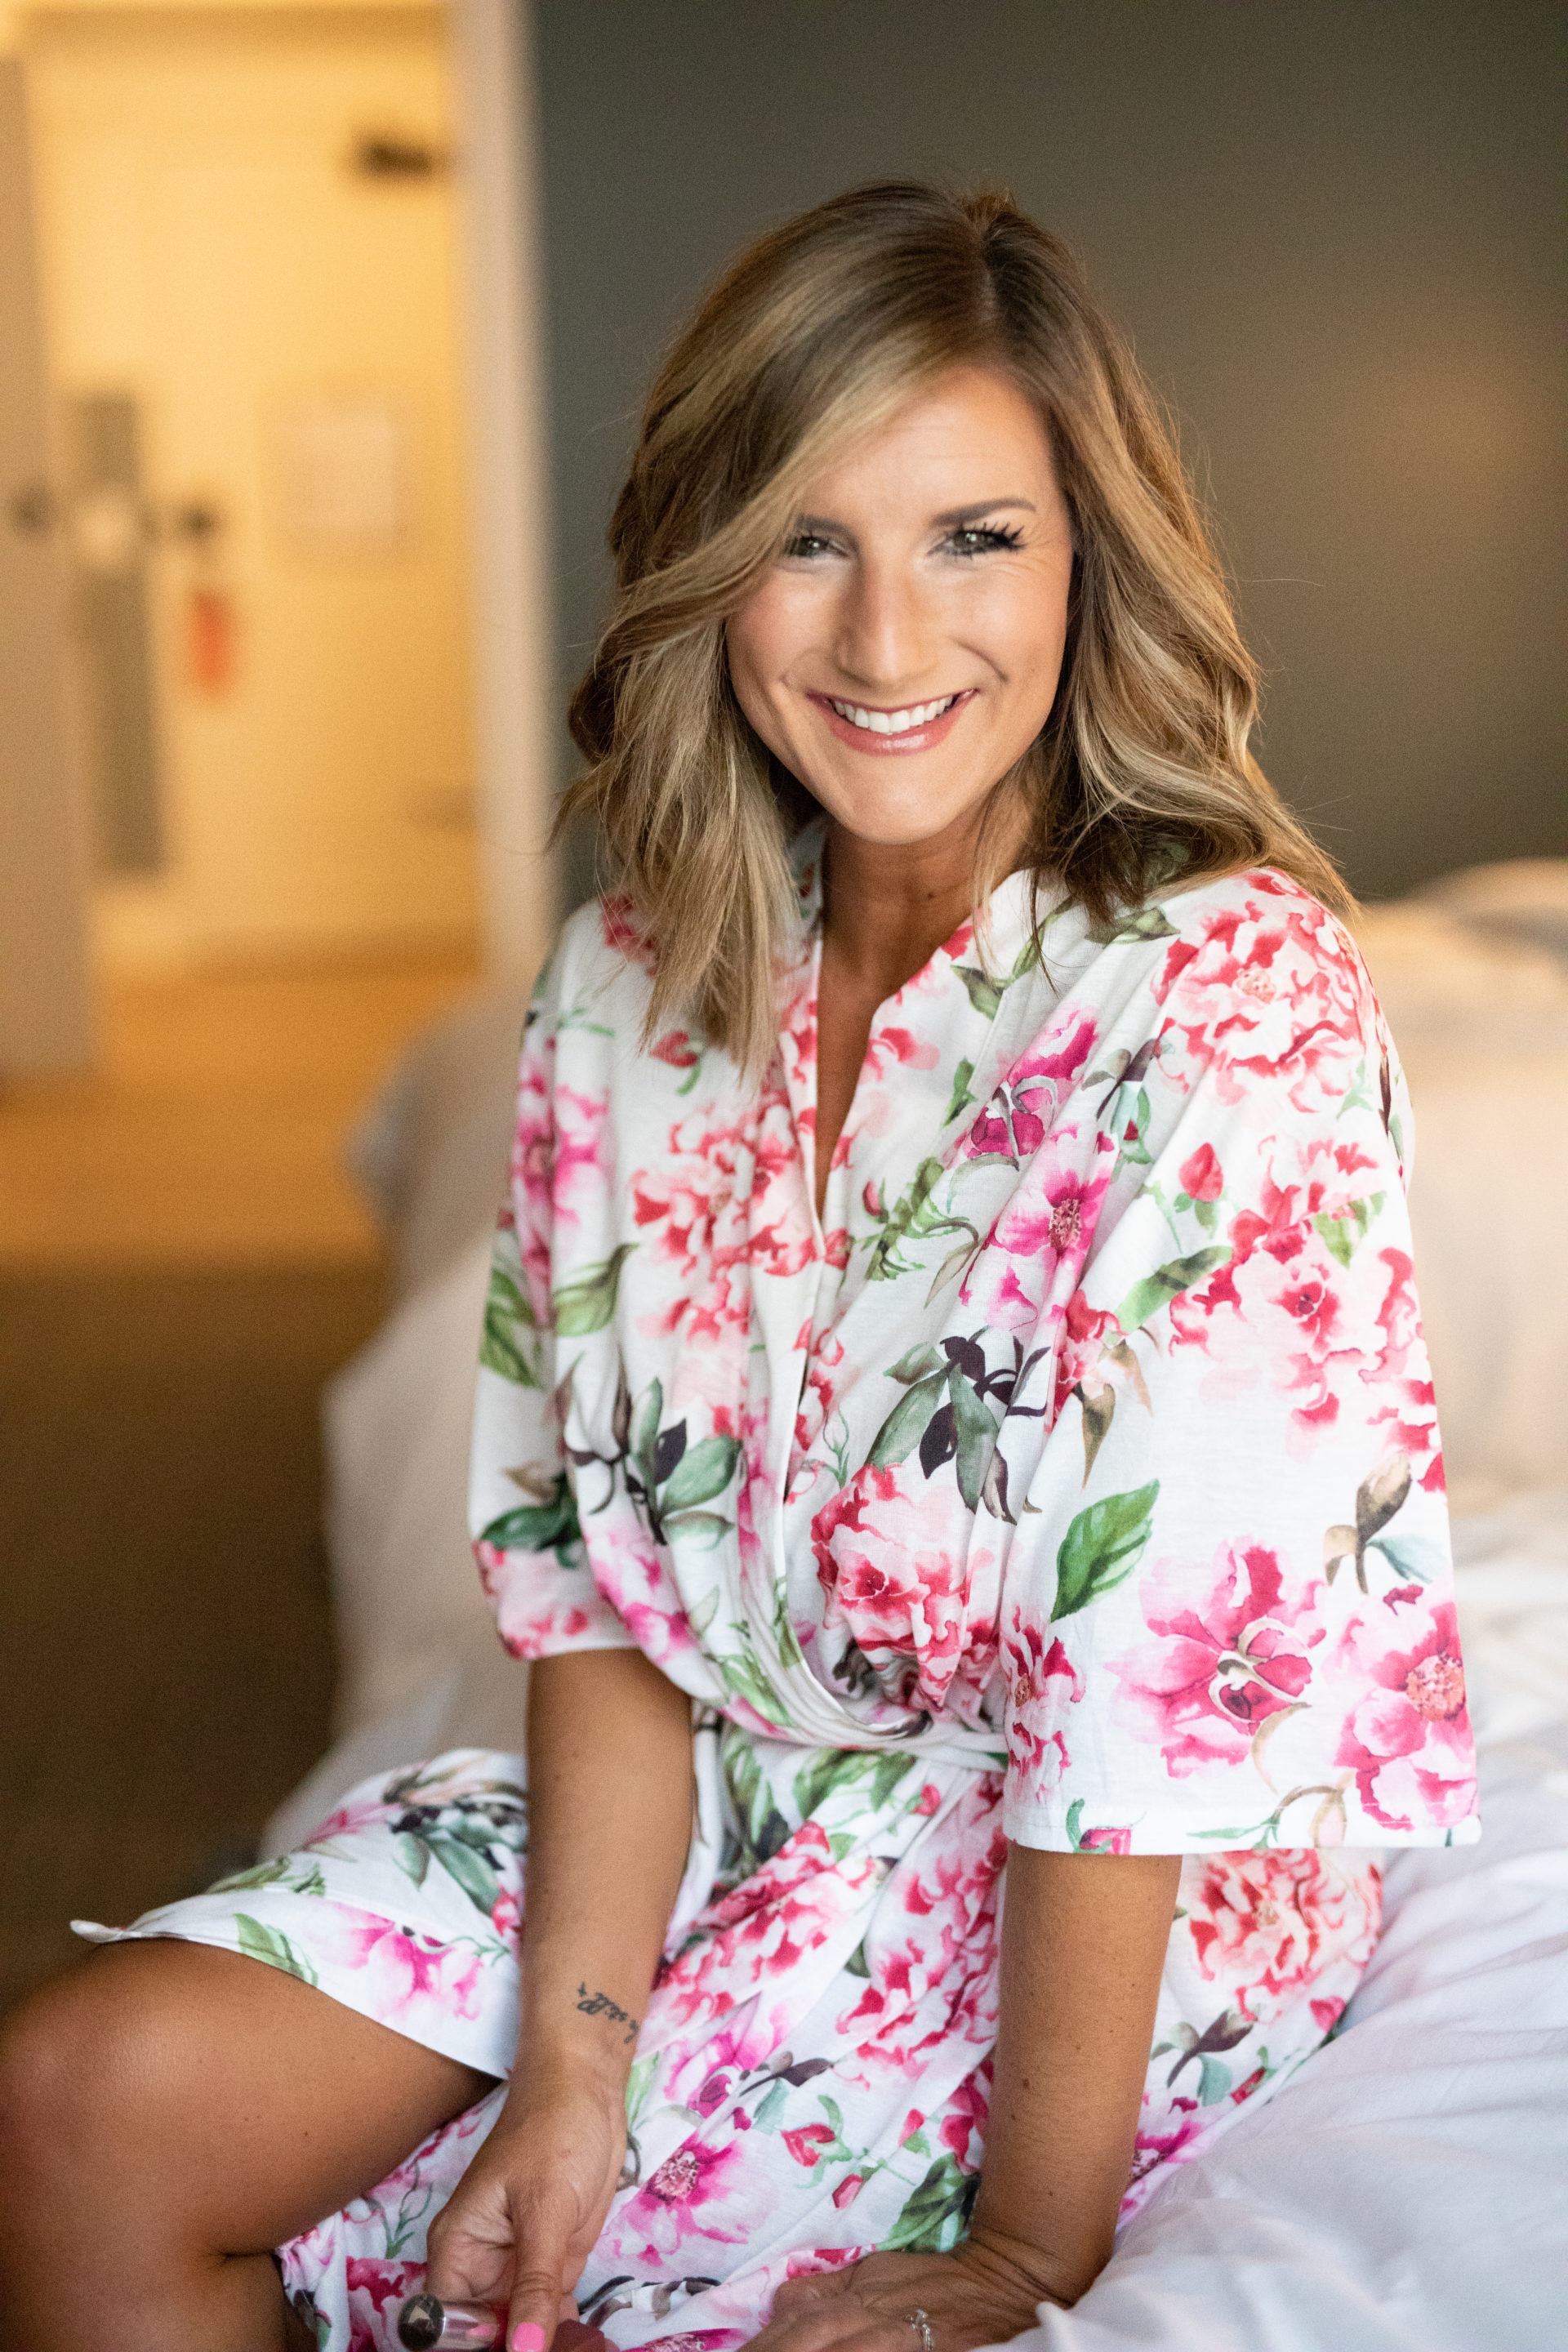
The Finished Product
Here is the full final reveal — presenting Erin 2.0.
 Robe: Show Me Your Mumu Brie Robe ~ Garden of Blooms
Hopefully this post was somewhat helpful and if you have any questions about my makeup routine or I missed something – don’t hesitate to ask! I should note that to remove it all, I use Mary Kay Eye Makeup Remover [it’s the best in the biz] and currently my $4 Brandless Facial Cleanser that I’ve been loving! In between shoot days, I did use a GLAMGLOW Oxygenating Mask for a deeper clean!!
And that my friends, is how I achieve my makeup routine [in just 30 simple steps ;)] I can’t wait to show you the full reveal of the photos and collection on April 23rd — stay tuned and get those shopping fingers ready!